
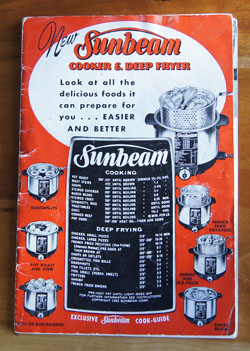
Cookbook #188: Sunbeam Cooker and Deep Fryer, Sunbeam Corporation, Chicago, Illinois, 1952.
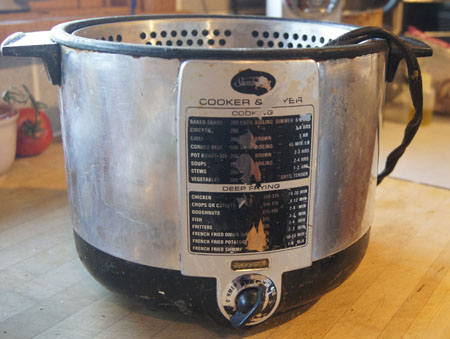
 My Sunbeam deep fryer spends most of its time down on a shelf in the basement. It is greasy and old and just the thought of deep-frying sends fears of high calorie food into my healthy eating plan. Even though I read (and mostly believed) The Big Fat Surprise by Nina Teicholz, I am reluctant to deep fry foods. But I must cover this cookbook, and so I’ll just have to indulge a bit!
This booklet, Sunbeam Cooker and Deep Fryer, definitely belonged to my mother. I am not sure how I acquired my deep fat fryer – whether I got it new or as a hand-me-down or bought it myself or received it as a gift. Introduced in 1952 as both a deep fryer and a cooker, this appliance pre-dated the introduction of slow cookers into the American cooking culture. It’s likely my Sunbeam deep fryer is almost as old as I am. Now that’s scary!
 The Sunbeam Cooker and Deep Fryer booklet advises the cook to use solid vegetable shortening, such as “Spry”, a product I discussed in my blog entry for the 1942 cookbook Good Cooking made Easy, Spry, the flavor saver. (Crisco® is now the common brand-name solid shortening.) The Sunbeam Cooker and Deep Fryer booklet directs cooks to re-use shortening by lifting the little bits of food from the warm shortening, and then allowing it to cool and solidify. The shortening can even be stored right in the fryer. (Well, I’m not going to do that.)
The booklet begins with recipes for coated and deep fried chicken, pork chops, liver, hot dogs, fish, shrimp, oysters, and clams. Next are fritters and croquettes, from apple and banana fritters to tuna or macaroni and cheese croquettes to french toast. “Appetite-teasers” include fried pigs in a blanket, liver sausage bonbons, salted nuts, and French fried pop corn.
Doughnuts are next (more on that later!).
Breaded and deep fried vegetables is the next section: cauliflower, tomatoes, mushrooms, onions (I’ve made these), sweet potato balls, and potato cakes. I have used this deep fryer to make french fries many many times, but I only occasionally indulge in french fries nowadays. When I do, I use the method in this booklet, because it’s the best! First, you peel and cut potatoes into half-inch “fries”, then soak them in hot water for about 30 minutes. Next you drain and dry them, carefully lower into 375˚ oil for 5-7 minutes, until the potatoes are tender but not brown, and then lift the basket out of the hot oil (this step can be done an hour or so before serving the fries). Just before serving, you heat oil to 390˚ and re-fry the potatoes until browned and crisp, about 3-5 minutes. Serve at once.
The final section section in the Sunbeam Cooker and Deep Fryer booklet covers “cooking” rather than deep frying, including bean, chili, stew, ribs, and soup recipes. You can even use “Your New Sunbeam” as a steamer, or a bun warmer (!).
For this blog, I choose a recipe for doughnuts. I will do this on a morning when we have company to enjoy this rare treat! Doughnuts can be made from a quick-bread dough or from a yeast dough. After frying, doughnuts can be topped with sugar or frosting – I think we all know about the variety of doughnut toppings!
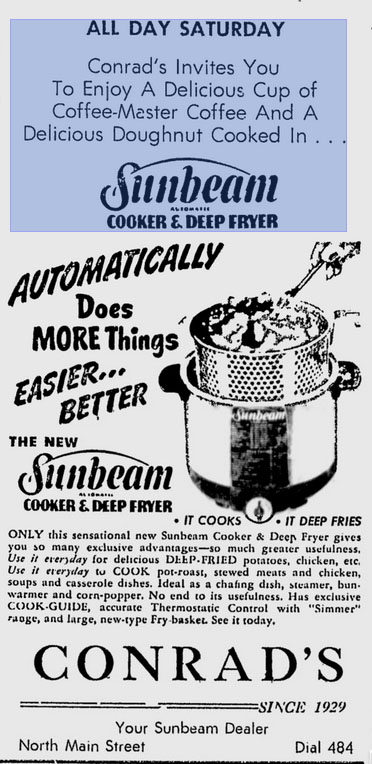
Here is an add for a demonstration of the Sunbeam Fryer at Conrad’s, from The Dispatch, Lexington, NC, Friday, March 6, 1953 (article reference).
Before I begin my doughnuts, I must clean my deep fat fryer. It is in shameful shape.
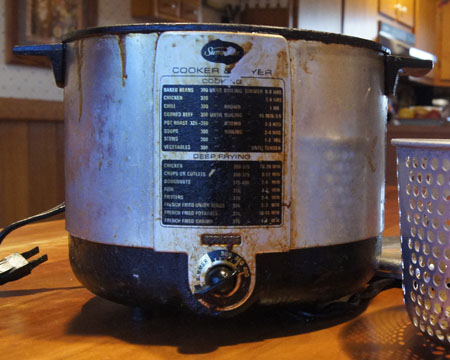 Cleaned up, it doesn’t look a whole lot better. Some of the paint came off before I realized it was happening.
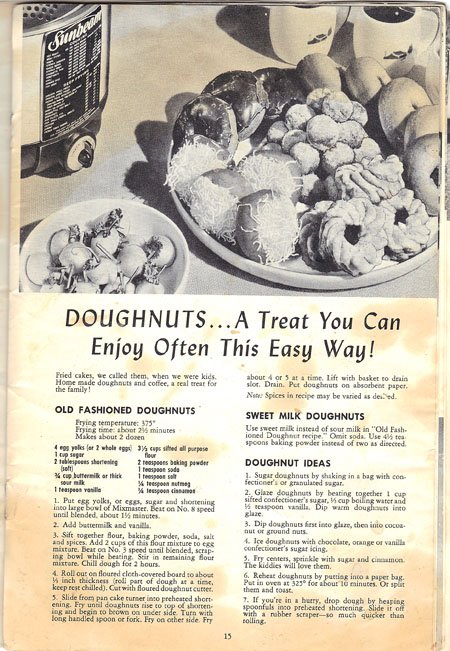
 Below is the scanned-in recipe for Old Fashioned Doughnuts in the Sunbeam Cooker and Deep Fryer booklet. I can tell from all the grease splashes that I have used the doughnut recipe before:
I prepared two different types of dough: one that used baking powder as a leavener (Old Fashioned Doughnuts) and one that uses yeast (Glazed Yeast Doughnuts, from a website). I prepared both doughs the day before, so that my morning could be simplified.
Old Fashioned Doughnuts
makes about 2 dozen
- 2 eggs
- 1 cup sugar
- 2 tablespoons vegetable shortening
- 3/4 cup buttermilk
- 1 teaspoon vanilla
- 3 1/2 cups flour
- 2 teaspoons baking powder
- 1 teaspoon salt
- 1/4 teaspoon nutmeg
- 1/4 teaspoon cinnamon
Mix eggs, sugar, and shortening in a mixer for about a minute. Add the buttermilk and vanilla.
Stir together the dry ingredients, then add to the wet mixture, blending (and scraping the bowl) until the mixtures are completely combined.
Chill the dough 2 hours (or overnight).
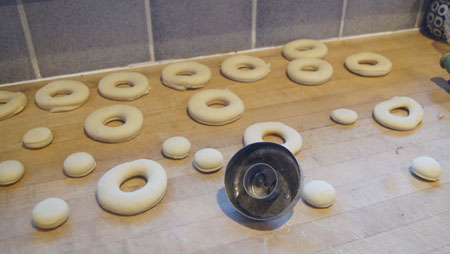
Roll the dough out on a floured board until about 1/3-inch thick. Cut out doughnuts with a floured doughnut cutter.
Slide each doughnut into 375˚ oil. Fry until the doughnuts rise to the top and begin to brown on the under side. Turn, fry other side. Fry about 4 or 5 at a time; takes about 2 1/2 minutes each.
(Fry doughnut holes too.) Sugar, sugar-cinnamon, dip in powdered sugar/water, vanilla glaze and then you can dip in coconut or chopped nuts.
I also want to make raised doughnuts. The recipe for these treats in Sunbeam Cooker and Deep Fryer states to use your favorite yeast sweet roll dough recipe, and after the dough rises, roll out and let rise again before frying. Well, I want doughnuts for breakfast, and do not want to get up at the break of dawn to start these! Luckily a google search found a recipe for raised doughnuts that you start the day before in a breadmaker, store the dough overnight in the fridge, and then rise the dough only a short time before frying. The sweet yeast dough recipe is similar to my own, so I decide to use this recipe.
Glazed Yeast Doughnuts
makes about 2 dozen
I used this online recipe: Glazed Yeast Doughnuts for the Bread Machine on AboutFood.com.
Comments
I rolled out the Glazed Yeast Doughnuts dough first, assuming it would take a half hour or so to “wake up” the yeast. I even found my ancient “doughnut cutter” to form the doughnuts. It’s a biscuit cutter with an optional doughnut-hole cutter that can be added to the center.
 Here are the doughnuts cooked and glazed. I found out on the next batch that it helps to keep the glaze hot so that it covers the doughnuts better. These look a bit sloppy, but they tasted delightful!
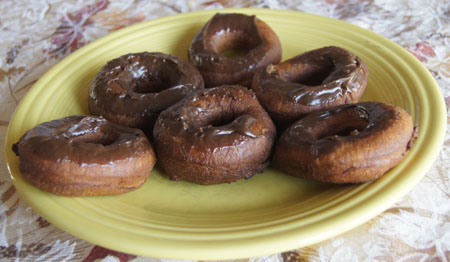 I cooked the “Old Fashioned Doughnuts” too. They were sweeter with a nice hint of spices. I recommend both recipes!