Cookbook #25: The Soybean Cookbook, Adventures in Zestful Eating. Dorthea Van Gundy Jones, ARC Books, NY, Fourth ARC Printing, July 1971. ©The Devin-Adair Company, 1963. 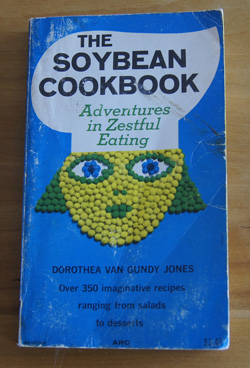 I pull The Soybean Cookbook off the shelf, and sigh at the images that flash through my mind: a much younger version of me gleefully boiling pots of soybeans, trying to get them cooked soft enough to eat, and then trying to get them seasoned into a hot chile so we could stand eating them. The picture of myself that comes to mind is me as the crazy chemist in tattered blue jeans in the kitchen of our trailer. Well I was a crazy chemist, but this is me as a crazy kitchen chemist. I was determined to make those soybeans palatable. And I knew I wanted to do this because one of the current health-fads was the soybean: high in quality protein and other nutrients and perhaps able to stave off coronary disease and maybe even cancer.
Eventually I gave up trying to cook whole soybeans. Much to the relief of my partner, I’m sure. By the time our kids came along, soybeans were no longer a staple in my kitchen.
I take the small paperback that is The Soybean Cookbook to my favorite chair and settle in. What the heck can I find to cook from this cookbook? Perhaps to avoid looking at the soy recipes, I start reading the title page, prefaces, and the chapter on the history of soybeans. Hey, there is a mystery here!
Mildred Lager and Dorothea Van Gundy Jones
On the book’s title pages, the author is given as Dorothea Van Gundy Jones, the copyright date is 1963, and my copy is the 4th printing, 1971.
Two prefaces come after the table of contents. The first preface is titled “preface to the first edition” and the author is “Mildred Lager”. Who is Mildred Lager? She is not listed on the title page.
The second preface is titled “preface to the revised edition” and the author is Dorothea Van Gundy Jones. She does not mention Mildred Lager in her preface.
Hmm.
The first chapter is titled “History of the Soybean”. The author writes: “The father of one of the authors, T. A. Van Gundy, became interested in the nutritional value of soybeans while attending the World’s Fair in San Francisco in 1915, where they were featured in the Oriental exhibits.”
Okay, so Dorothea Jones admits that the book has more than one author, who I figure must be Mildred Lager.
Time to google “Mildred Lager”. Here is what I found.
Mildred Lager (1900-1960) was one of the pioneers of the natural foods and soyfoods movement in Los Angeles. She encouraged soybean use through recipe books, a heath food store, and a radio program. She also was the president of the Health Food Dealers of Southern California and the vice-president of the National Dietary Association. (Reference, SoyInfo Center website: Mildred Lager – History of Her Work With Soyfoods and Natural Foods in Los Angeles.)
A little digging on the SoyInfo Center reveals:
- 1960 Jan. 25 – Mrs. Edwin S. Jones (Mildred Lager), age 59, dies at her home at 4114 Warner Boulevard, Burbank, California. She leaves her husband, Edwin S. Jones.
- 1960 Aug. 7 – Edwin S. Jones (age 69) marries Dorothea Van Gundy (age 57). It is her first, his third. They revise and update Mildred Lager’s books, then both work hard for many years to keep them in print – in part as a source of family income.
So Mildred Lager’s married name was “Mrs. Edwin Jones”, she died in 1960, and a half year later her husband married Dorothea Van Gundy. More from the SoyInfo Center:
“After Mildred’s death, in August 1960, Ed Jones married Dorothea Van Gundy, a former sweetheart, and encouraged her to revise Mildred’s soyfoods book and bring it out under a new title, The Soybean Cookbook, which subsequently became a best-seller.” “In 1981 Mildred’s fine book The Useful Soybean, was very difficult to find (it should be reissued), but The Soybean Cookbook was widely available.”
Mystery solved! Mildred Lager wrote The Useful Soybean which fell out of print, and Dorothea revised and updated it as The Soybean Cookbook. I think it’s fitting that she includes Mildred’s preface and it all makes sense now.
(Reference: Mildred Lager: Work with Soyfoods in Los Angeles – download the entire book here.)
Interesting points from the prefaces
Here is a quote from Mildred Lager’s preface in The Soybean Cookbook:
“For many years I had the privilege of being on a crossroad of nutrition, working with every phase of the healing art. That was when soybeans were literally thrust upon me. I experimented with them as a food, secured various soy products for special diets, made up recipes, and taught the use and cooking of soybeans when they were practically unknown. In 1942, when the beans came into the limelight as a war emergency food, a collection of my recipes was published under the title of 150 Ways To Use Soybeans. In 1945 McGraw-Hill published my complete book on soybeans, their story as well as recipes, called The Useful Soybean.”
Note the publication date of Mildred Lager’s first soybean cookbook: 1942. My previous post in this 250 Cookbooks blog was about Aunt Jenny’s odd cookbook praising the merits of Spry, a solid vegetable shortening, a book also published in 1942. Two totally different takes on war-time cooking. (I’d go with the soybeans as the best choice for nutrition.)
Mildred Lager continues:
“I believe that proper nutrition and common-sense living are man’s best medicine. I also believe that science cannot equal the Master Chemist and that therefore natural foods are better than the refined.”
Master Chemist! I love that! By the capitalization, we all know (hint, hint) who or what she is talking about. And the “chemist” reference speaks to me in itself, as that was my career. (Besides being a cook/witch stirring a bubbling pot.)
Dorothea Van Gundy Jones’ preface does not speak to me as does Mildred’s. She writes that new methods have been worked out for removing “too-positive soy flavor”, and adds that no pepper or hot spices are included in the recipes because of their “irritating effect on the delicate tissues in the digestive tract”. (This tells me why I don’t like many recipes in this book: I like spicy foods.)
What I learned
The “health food craze” in the US did not begin with the hippies in the 60s. The pioneers of healthy eating were at work long before the first young man grew his hair long, before the first young woman burned her bra.
Soybean history
If you have a real interest in the history of the soybean, by all means go to the SoyInfo Center, an amazingly comprehensive and accessible website (accessed 2013). The bullets listed below are only the topics discussed by the authors in the chapter on soybean history.
- Soybeans are one of the oldest crops grown by man. They are mentioned in Chinese records from beyond 2000 BCE.
- Although the authors give 1804 as the year that soybeans were brought to the US, the SoyInfo Center differs, stating that the earliest known references to soyfoods in America were by Samuel Bowen. He brought soybeans to Georgia, where they were first planted in 1765. (SoyInfo Center)
- W. J. Morse is sometimes called the “father of the soybean”. (SoyInfo Center)
- J. A. LeClerc, a research worker connected to the USDA, helped promote soybeans.
- In 1920, the American Soybean Association was organized.
- Henry Ford saw the possibility of the use of soybean plastics in the automobile industry (SoyInfo Center)
- T. A. Van Gundy is the father of Dorothea Jones. Mr. Van Gundy developed palatable soy products and went into business selling them. (SoyInfo Center)
- H. W. Miller was a missionary doctor in China who used soy milk in infant feeding (SoyInfo Center)
- Clive M. McCay, a professor of nutrition at Cornell Univeristy, and his wife “did much research and experimental work to find palatable ways of incorporating soybeans into the American diet. They made a real contribution in popularizing this little-known and highly valuable protein food.” (SoyInfo Center)
The recipes
Okay, I have stated that I am not a fan of cooked whole soybeans, but the book uses products other than whole beans, such as tofu, ground beans, sprouted beans, soy flour, and soy milk, with recipes from salads to desserts. Surely I can find something to cook, some recipe to try.
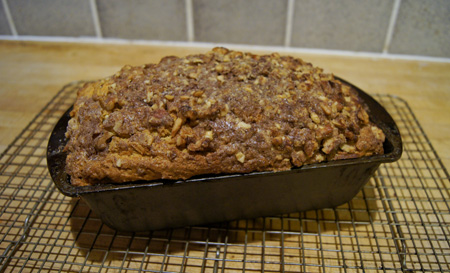
I frown at recipe after recipe. Soybean burgers and loaves, soy souffle, soy-stuffed bell peppers, tofu casserole . . . all with very few seasonings other than salt, pepper, and MSG (!). Finally, in the baked goods chapter, I find a recipe for “Fruit Nut Bread”. Soy milk and soy flour are used in the batter for this yeast-leavened quick bread. It’s low in fat and high in protein. I’m going to add cinnamon to it, though!
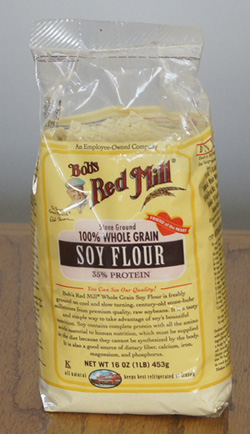
this soy flour is simply “powdered soybeans”
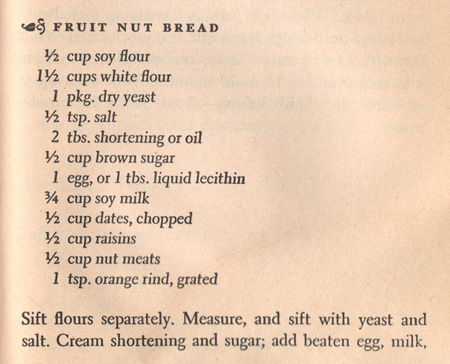
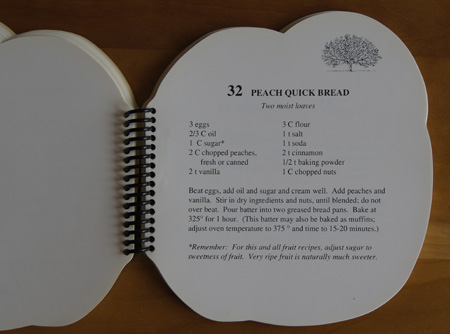
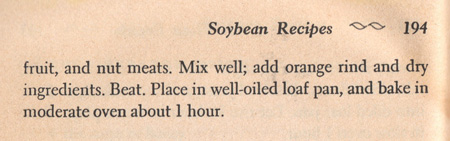 Fruit Nut Bread
- 1/2 cup soy flour
- 1 1/2 cups all-purpose flour
- 1 pkg. dry yeast
- 1/2 teaspoon salt
- 1 teaspoon cinnamon
- 2 tablespoons vegetable oil (or shortening: you can use Spry!)
- 1/2 cup brown sugar
- 1 egg
- 3/4 cup soy milk (plain or vanilla-flavored)
- 1/2 cup dates, chopped
- 1/2 cup raisins
- 1/2 cup chopped nuts (I used walnuts)
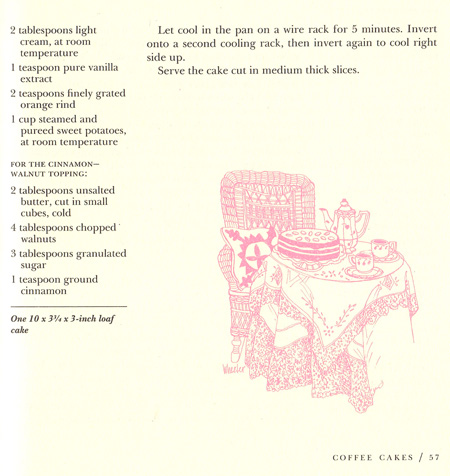
- 1 teaspoon grated orange rind
Mix the flours, yeast, salt, and cinnamon.
Cream the vegetable oil and sugar; add the egg and then the soy milk, mixing well. Add the fruits and nuts and orange rind, then add the dry ingredients and mix well.
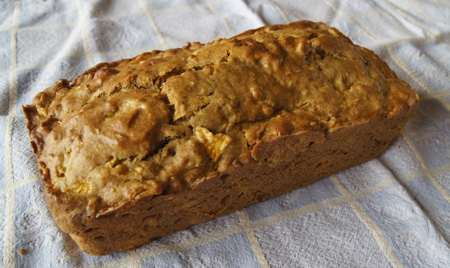
Place in a well-oiled 8″x4 1/2″ loaf pan. Bake at 350˚ for 50-60 minutes, until it tests done with a toothpick.
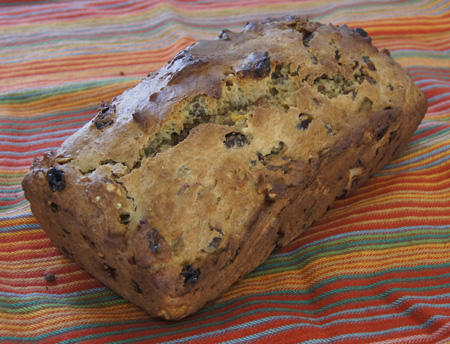
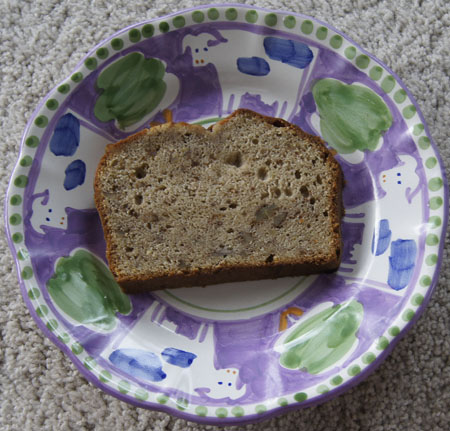
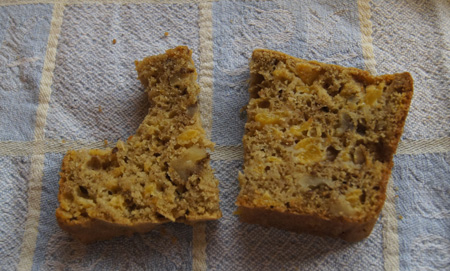
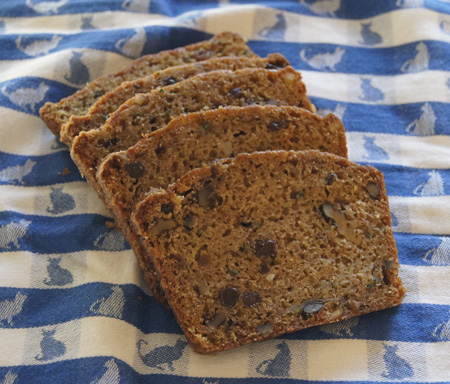
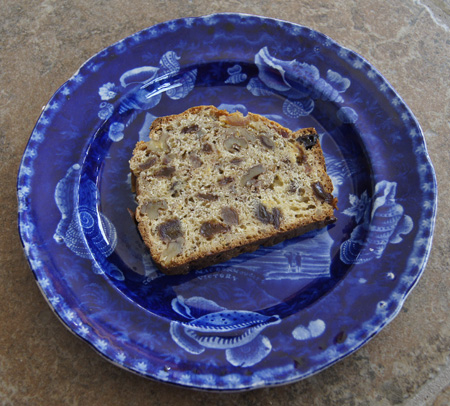
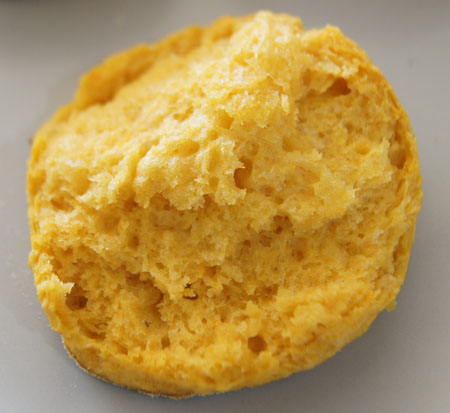
The loaf is a bit broken and lopsided, but it tasted really good. We had it at breakfast, and it’s a lot like a fruit cake. It’s dense, but flavorful. No one would guess that it has soy in it. And it’s full of protein while being relatively low in fat. A slice of this bread along with a scrambled egg and milk kept my appetite at bay for hours.
I thought it odd to add the dry, undissolved yeast to the batter and cook the bread immediately. Throughout The Soybean Cookbook, yeast is used in this manner instead of baking powder or baking soda, and I don’t understand why. Author’s preference? Anyway, if I try this again, I would dissolve the yeast in a little of the soy milk, warmed, then add it to the batter. Then I would let the loaf rest in a warm place to rise until it lightens a bit before baking. That way, it might be lighter and less dense.
Shall I keep this book?
I am going to keep the book, but mostly for its historical value. I don’t mean it’s worth any amount of money, it’s that it was one of the important books that helped incorporate soybean products into American cuisine.
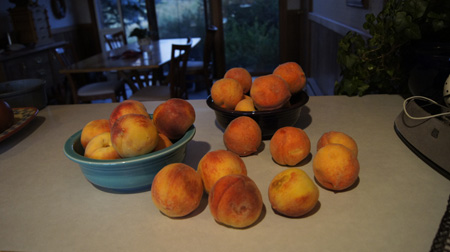
I decided to go on a field trip and find how many soy products I could easily find at three local markets. Tofu was easy to find, it’s everywhere. I like tofu, plain or in stir fries or added to breads. Soy milk, too, is prevalent, both shelf-packaged and refrigerated. I bought a carton of fresh vanilla-flavored soy milk and found that I really like it. There is also soy coffee creamer. And soy ice cream. Soy flour was only in 2 of the 3 stores that I searched. All three stores had edamame (green soybeans) in the frozen section; I’ve had edamame before, but had forgotten about it. I brought some home and put a handful in a soup and it was great. I picked up some tempeh and tried it; I’m not much of a tempeh fan. I had to really search to find dry soybeans, but did find them at the third store. Soy crisps! I like these little high protein crackers that stave off hunger. (Beyond the mentioned soy products, I’m sure if I looked at the labels of packaged foods, I’d find soy listed as an ingredient in a lot.)
This has been a good exercise for me. I started this blog thinking that I was no longer a “soybean nut”. But I was wrong. I may not use whole soybeans, but I use soy products all the time. And now that I have rediscovered soy, I plan to re-incorporate soy flour, milk, and edamame into my weekly breads and meal plans.
Mildred Lager would be proud.
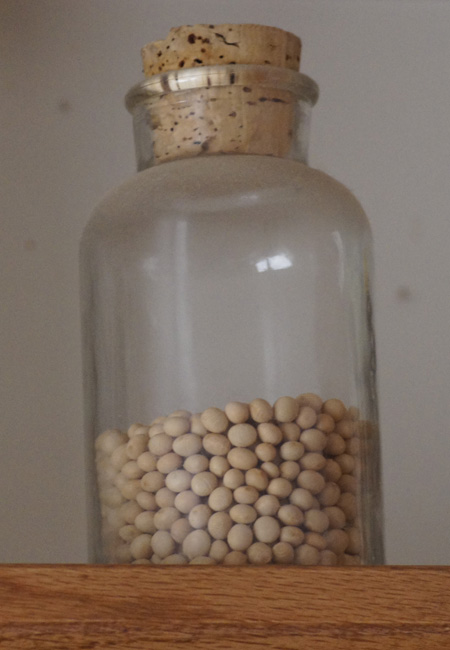
This dusty jar of soybeans has been on my soffit for probably 20 years – I thought to look up there when I was looking for dried soybeans – crazy me – they were hiding in plain sight!
250 Cookbooks next post

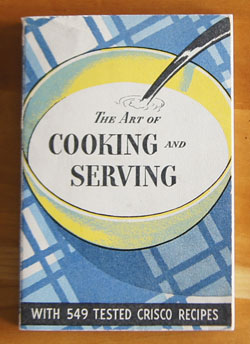
 Next come four chapters that discuss the proper way to manage a kitchen and serve food. Transport yourself back 81 years, to the kitchen of my grandmother, to the culture of America in the 1930s. Here is the beginning of the first chapter:
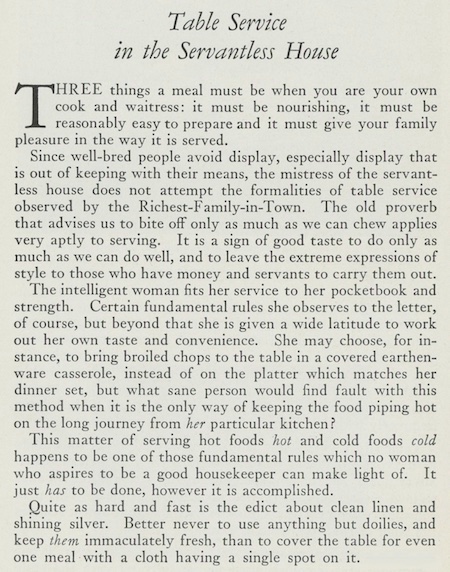
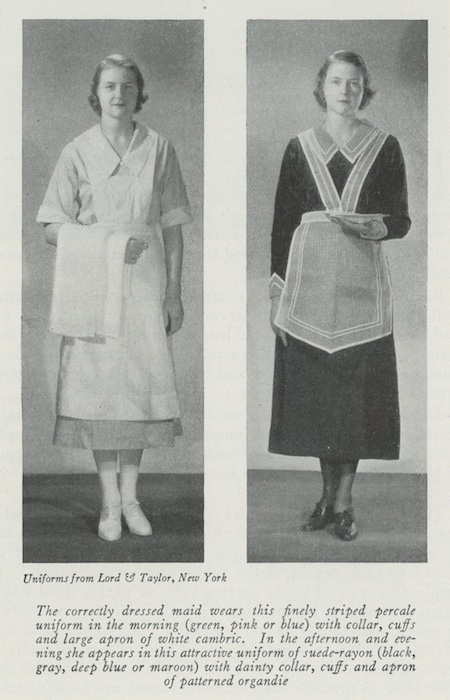
 This chapter goes on for 24 pages describing the proper way to serve food in the servantless home. And if you have a maid? That chapter has 9 pages, beginning with these paragraphs:
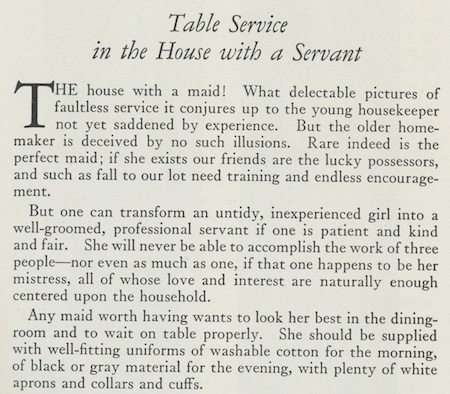
 “How to Plan Your Meals” is a short chapter on what foods to include in your diet for sufficient protein, energy (fats, starches, sugars), body regulation (roughage and minerals), vitamins, and water.
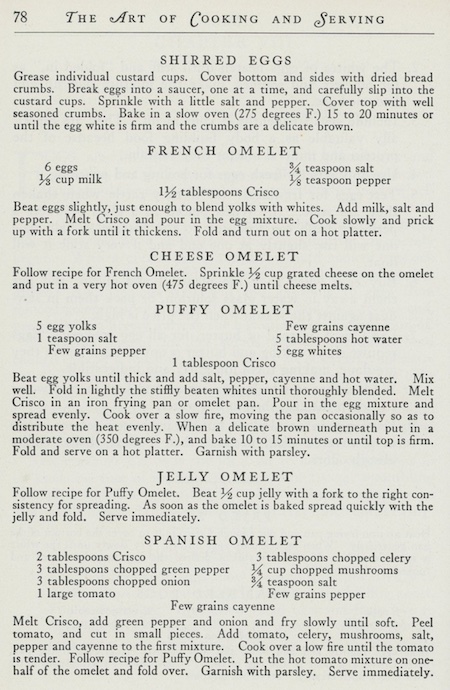 Here is a photo of the omelet:
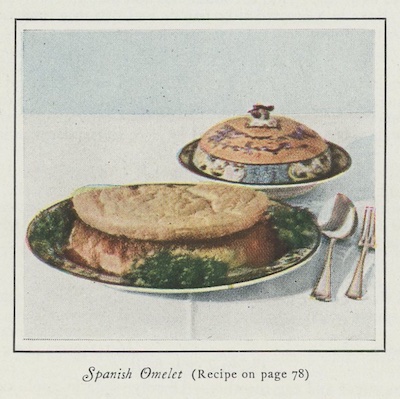 These recipes are for main dishes.
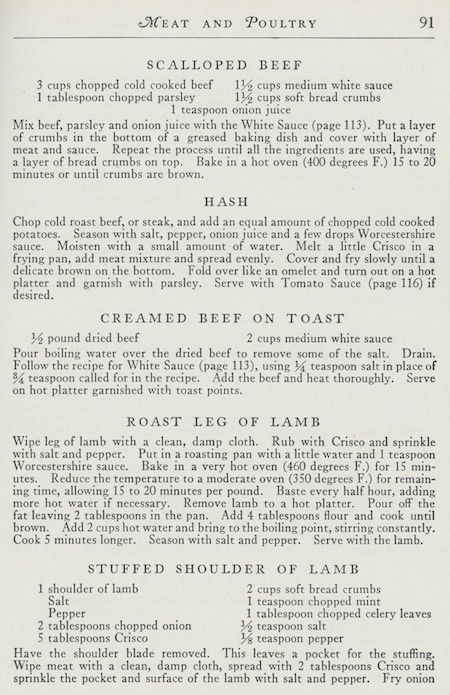 These are classic cookie recipes, especially the Hermits (a dark spice cookie filled with fruits and nuts) and the Oatmeal Cookies.
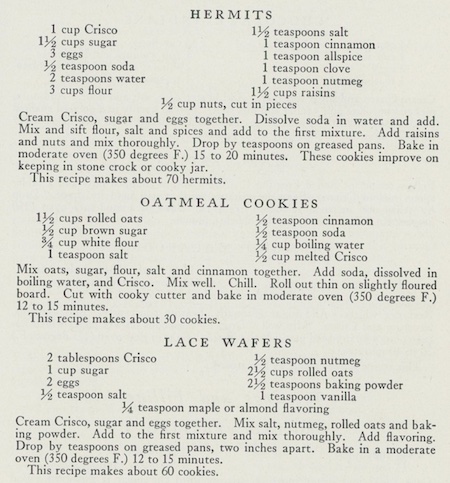
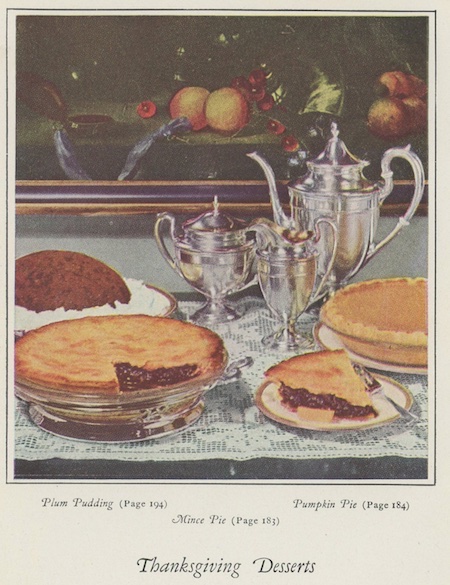
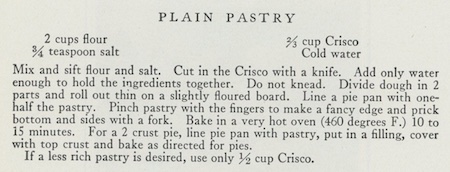 And what type of pie to make with the plain pastry crust? Why not old-fashioned Mincemeat Pie, or Mock Cherry Pie:
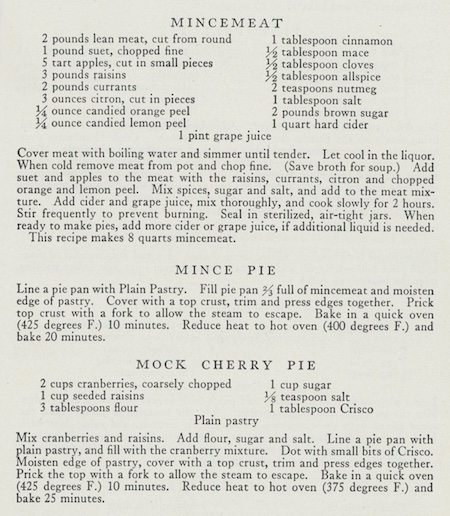
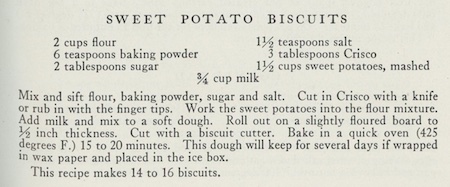 I think this is an amazing recipe. For one, it calls for 1 1/2 cups of sweet potatoes – and that’s a lot! And it calls for only 2 tablespoons of sugar and 3 of shortening. I think the 2 tablespoons baking powder might be a bit much, but I stayed with that original amount. I am going to use my immersion blender to mash the sweet potatoes with the milk, and my food processor for the flour and shortening. Otherwise, I am staying with the original recipe.
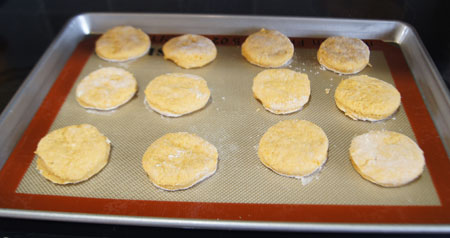 Here they are, baked:
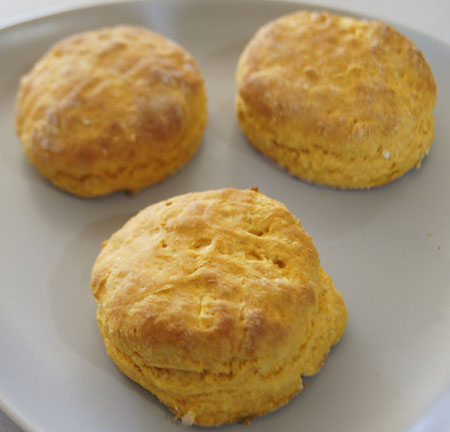
 My daughter and I really loved these. Hubby avoided them – he isn’t a sweet potato fan. His loss. And more for us! This was definitely a successful recipe.
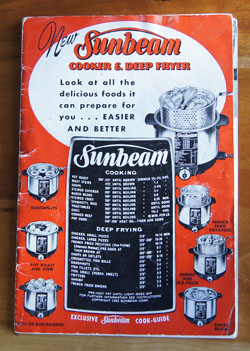 My Sunbeam deep fryer spends most of its time down on a shelf in the basement. It is greasy and old and just the thought of deep-frying sends fears of high calorie food into my healthy eating plan. Even though I read (and mostly believed)
 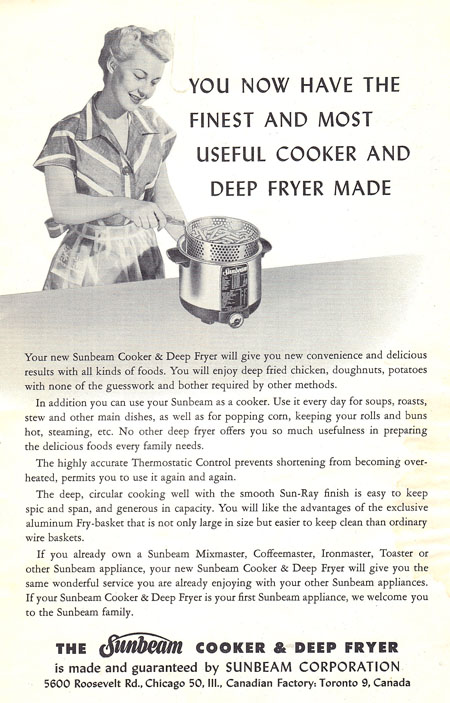 The Sunbeam Cooker and Deep Fryer booklet advises the cook to use solid vegetable shortening, such as “Spry”, a product I discussed in my blog entry for the 1942 cookbook
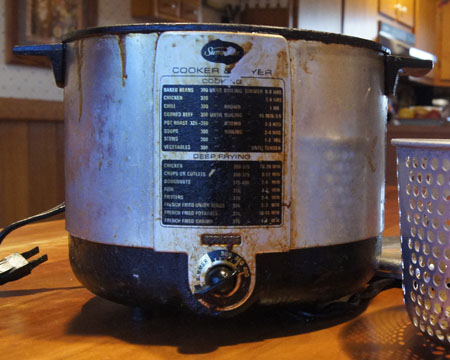 Cleaned up, it doesn’t look a whole lot better. Some of the paint came off before I realized it was happening.
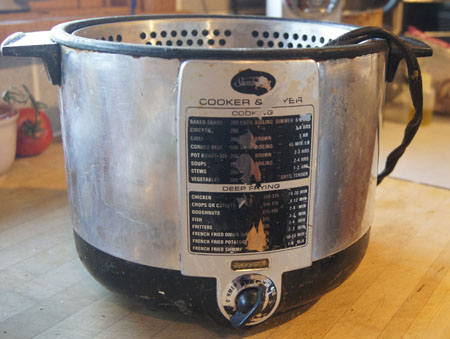 Below is the scanned-in recipe for Old Fashioned Doughnuts in the Sunbeam Cooker and Deep Fryer booklet. I can tell from all the grease splashes that I have used the doughnut recipe before:
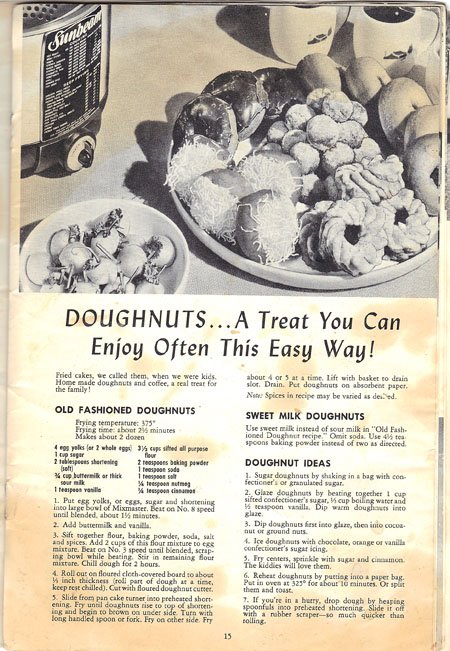
 Here are the doughnuts cooked and glazed. I found out on the next batch that it helps to keep the glaze hot so that it covers the doughnuts better. These look a bit sloppy, but they tasted delightful!
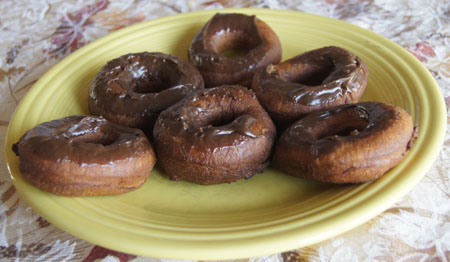 I cooked the “Old Fashioned Doughnuts” too. They were sweeter with a nice hint of spices. I recommend both recipes!
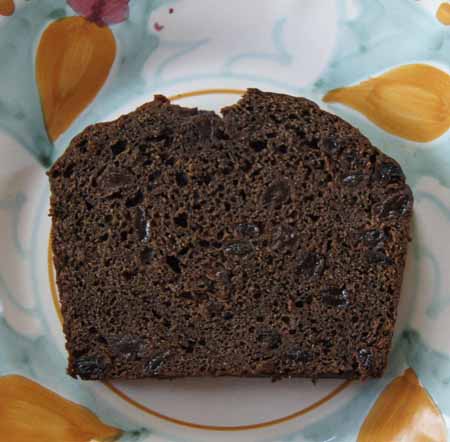
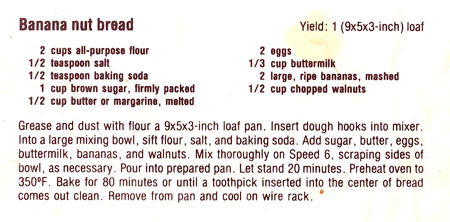
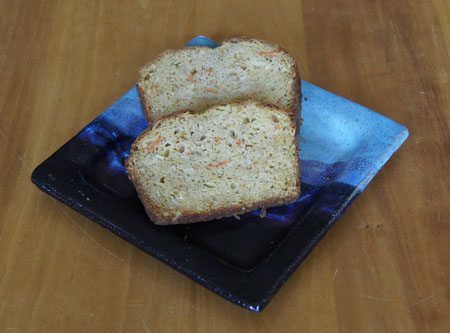
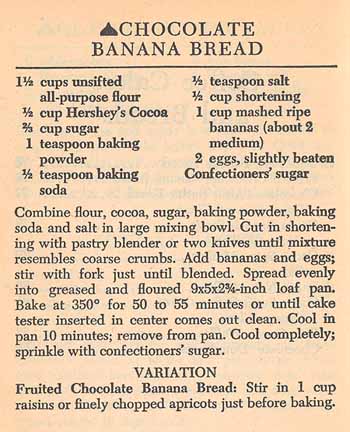 I decided to use unsalted butter rather than the shortening. And I added raisins. I felt that the batter would fit better into an 8×4-inch loaf pan (and I was correct). Instead of cutting in the butter with a pastry blender, I used a food processor. I used an immersion blender to mash the bananas because I like to get them really smooth. Below is my version of the recipe.