
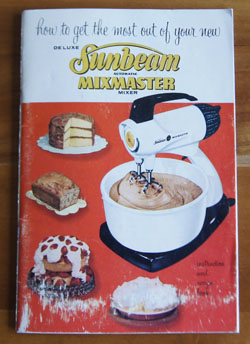
Cookbook #228: Sunbeam Mixmaster, Sunbeam Corporation, Chicago, Illinois, Canada, 1957.
I open the first page of this vintage cookbook and a slip of paper falls out:
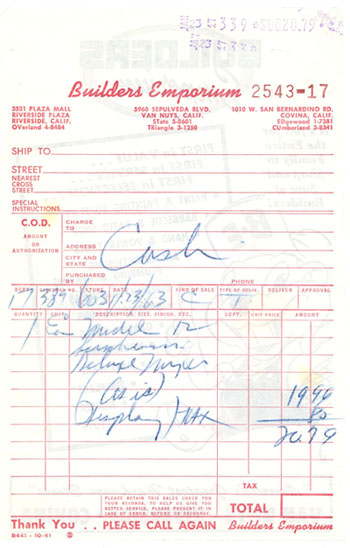
The receipt for my mother’s Sunbeam mixer! Purchased 1/23/1963 at Builders Emporium in Van Nuys California – for $20.79. The clerk wrote “as is, display”. Since it was neither Christmas nor my mother’s birthday, my guess is that she bought it for herself with “mad” money, money she received at birthdays and Christmas. I remember this mixer in her kitchen, mixing up cakes and pie fillings and batches of cookies. Mother believed in homemade, and loved baking. So her mixer really, really got used.
I don’t know if this was her first electric mixer, or a replacement. The first electric mixers were introduced to the American public in 1910-1920, so she probably had some sort of electric mixer before. But I’m sure that this was a big step-up for her.
(I covered the history of electric mixers in my post on my own Sunbeam that I got in 1983. Please see my 250 Cookbooks post Sunbeam Deluxe Mixmaster Mixer for more on this topic.)
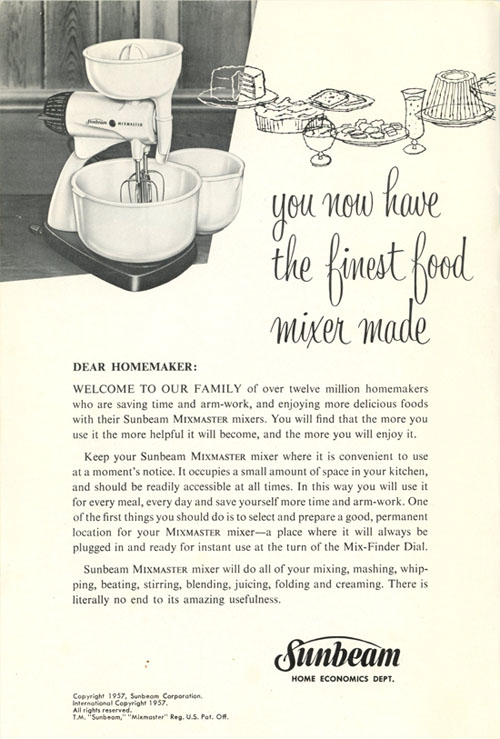
I will keep this booklet ony for my own nostalgia. The recipes? They all look good, but nothing stands out, I’ve seen similar recipes in the many other older cookbooks I’ve covered. But do join me in perusing some of the pages of this 1963 cookbook. First, the inside cover:
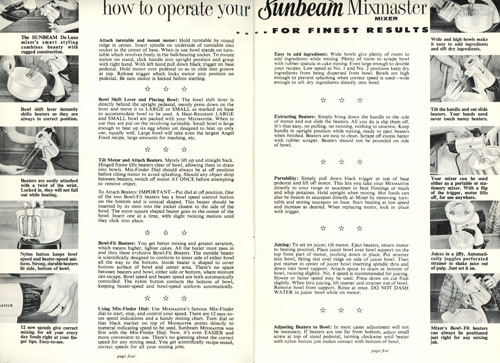
Two pages of instructions:
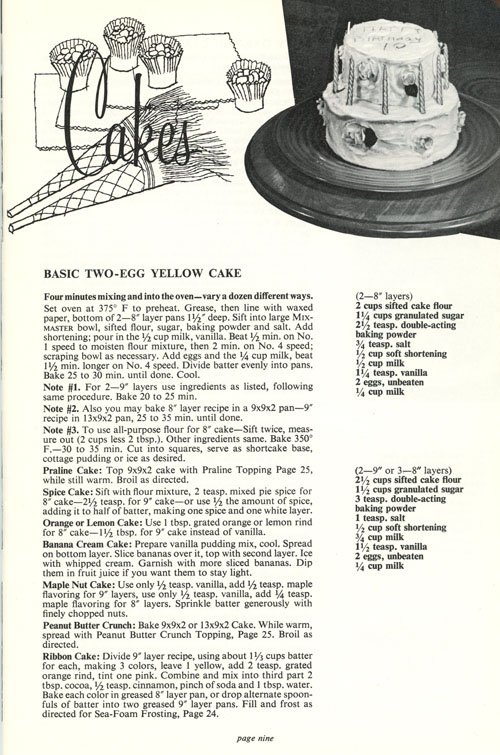
 Basic instructions for making cakes. I like the vintage black-and-white photos:
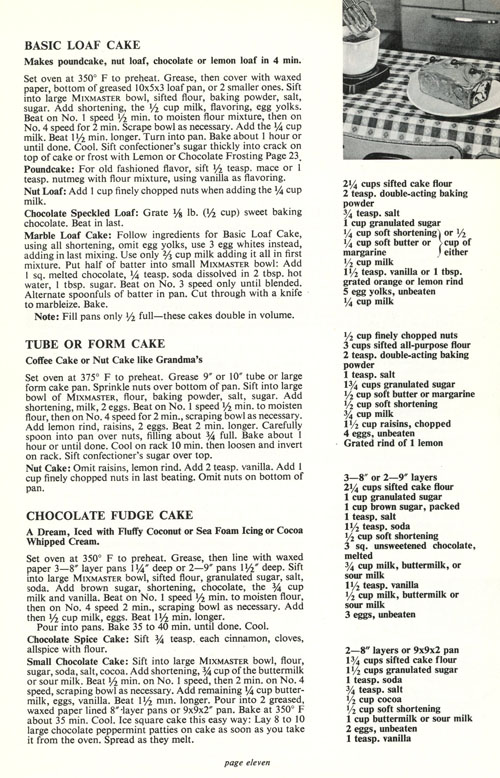
 Loaf cakes:
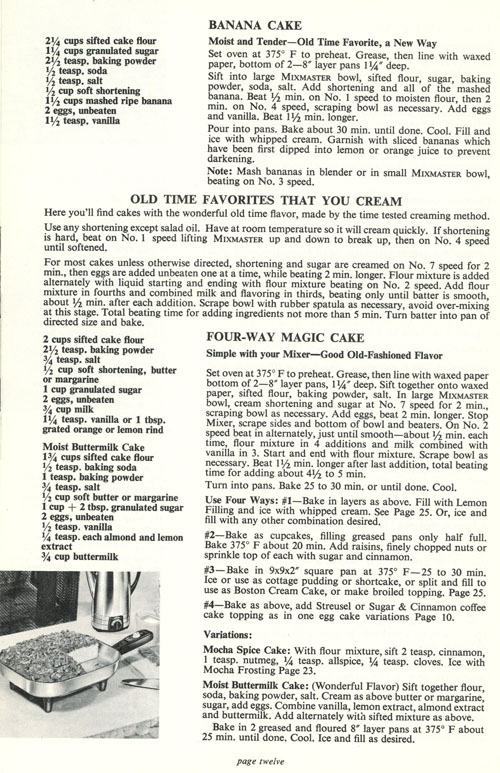
I like this next one for several reasons. First, I like the banana cake recipe. I’m not positive I have a layered banana cake recipe in my repertoire. Second, there is a discussion of what it means to “cream” the shortening and the sugar. Finally, the photo at the bottom of the page is a cake baked in a Sunbeam electric fry pan. (See this and this.)
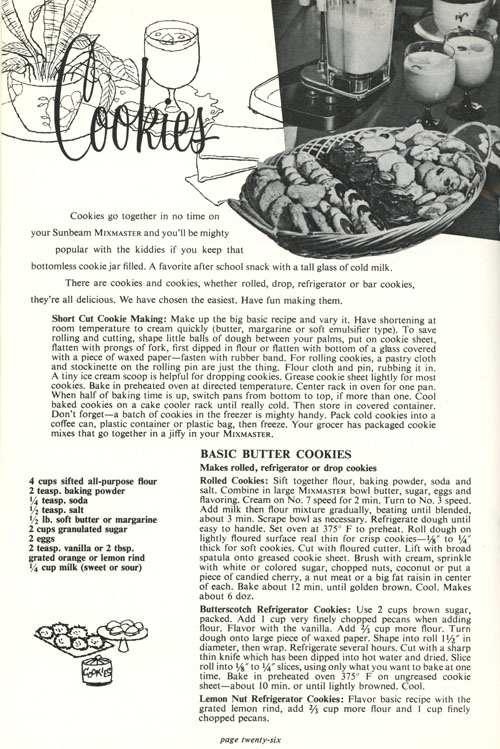
Cookies, of course!
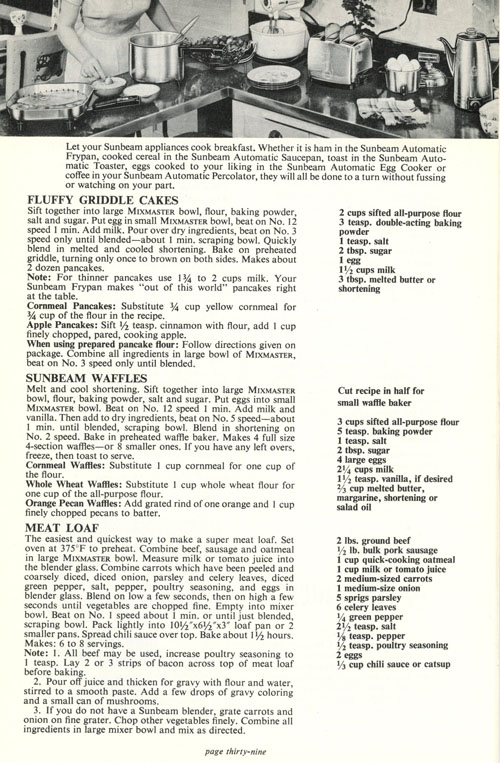
 I like the following page for the kitchen counter photo at the top of the page. And the text below suggests to use a Sunbeam electric fry pan for the pan cakes, a waffle iron for the waffles, and a blender as well as the mixmaster for the meat loaf.
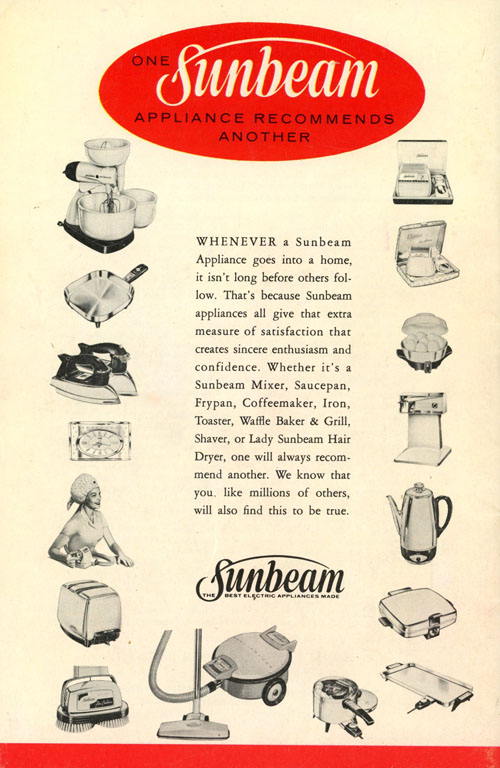
 Finally, the back cover, showing all the available Sunbeam appliances in 1957. I made a similar scan of the back cover of Sunbeam Controlled Heat Automatic Frypan (1953), if you want to compare.
I decide to make Butterscotch Refrigerator Cookies for this blog, the ones describe in the second paragraph on the scanned “cookie” page, above, under Basic Butter Cookies. I like refrigerator cookies – I have recipes for four types in this blog so far! When cooking for just two, they are nice because I don’t have to bake up a whole batch at a time to get a few fresh cookies for dessert.
Butterscotch Refrigerator Cookies
- 4 2/3 cups flour
- 1 cup very finely chopped pecans
- 2 teaspoons baking powder
- 1/4 teaspoon baking soda
- 1/2 teaspoon salt
- 1/2 pound butter (1 cup or 2 sticks)
- 2 cups brown sugar
- 2 eggs
- 2 teaspoons vanilla
- 1/4 cup milk
Stir together the flour, pecans, baking powder, baking soda, and salt. Set aside.
Combine the butter, sugar, eggs, and vanilla and beat in an electric mixer at relatively high speed for 2 minutes. Turn to low speed and add the milk and then the flour mixture gradually, beating until blended, about 3 minutes.
Turn the dough onto a work space and shape it into two rolls, each 1 1/2 inches in diameter and 11-12 inches in length. Wrap the rolls and refrigerate several hours.
Cut with a sharp knife (dipping the knife in hot water then drying might make this easier). Make the slices 1/8 to 1/4 inch thick. Cut only as many as you want to bake at one time.
Bake at 375˚ on ungreased cookie sheets for about 10 minutes.
 These are tasty. I cooked them too long because I didn’t read my directions! I thought it was “12 minutes”, but it was “10 minutes”. I checked them at 12 and thought they weren’t brown enough, so I gave them another 2 minutes and they actually tasted burned. 10 minutes! They will not look real brown but will be done!