
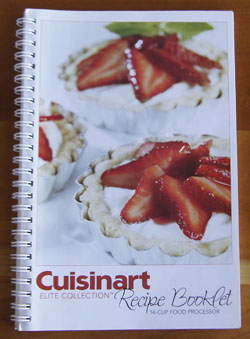
Cookbook #232: Cuisinart Elite Collection, 14-cup Elite Collection, Cuisinart, Conair Corporation, NJ, circa 2010.
 My current food processor is the 14-cup Elite (I covered my old one in this post). I give this Cuisinart permanent residence on the counter in my kitchen! I chose this 14-cup food processor for myself in 2010, when I retired from the University of Colorado. The folks in the Chem Dept took up a collection and gave me a gift card the night of my retirement celebration – and this Cuisinart Elite is what I chose to buy for myself. I look at it with fond memories.
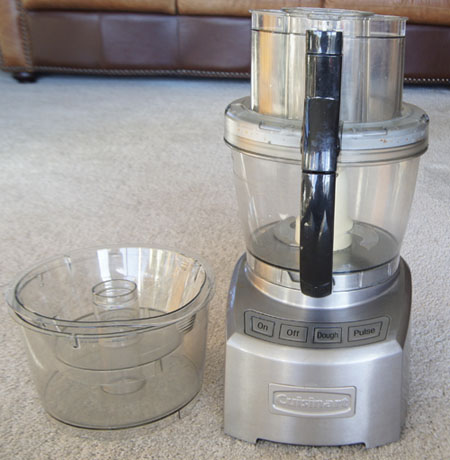
The 14-cup Elite comes with 3 bowls: small, medium, and large; a blade for chopping and a blade for dough; and the usual slicing discs and grating discs. The blades and discs fit into a cute Barbie-style plastic storage box. I use the large bowl a lot, and the small one is especially nice when I am preparing food for the two of us.
How would I review this Cuisinart, after using it for 8 years? Well, no food processor is perfect. Liquid sometimes leaks from the top, because the rubber gasket does a poor job of sealing the connection between the bowl(s) and the top of the unit. It’s also tricky sometimes to get the lid and feeder in the proper position for the switch to work (sometimes I have to hold the lid down with my hand while chopping). Cheese, especially jack cheese, just doesn’t want to grate in it, it gobs up into chunks. When I grate carrots or any vegetable, big chunks are left on top of the shredding disc. Sure there are 3 bowls, supposedly so you can quickly move through different parts of a recipe, but the blades and discs and the processor lid always have to be rinsed inbetween. If I had a clean-up person following me around, I’d use my Cuisinart a lot more. Often it’s easier to just grab a good knife and chop.
But would I choose to live without it? Heck no. It’s my best tool for quantities of chopped vegetables, it’s what I use to make pie crusts, it’s what I use to make hummus, pesto, and salad dressings. As I said, I allow it permanent space on my kitchen counter, and that says a lot. It looks good too. Plus, Cuisinart has excellent support for their products. My food processor and I just have a sort of love-hate relationship.
 I page through the recipes in this booklet. Yum, I want to make about every-other recipe! Just like my Cuisinart Prep 11 booklet, this is an excellent and enticing recipe resource. (A complete opposite from the Pressure Cooker, User’s Manual booklet that I covered a couple weeks ago.)
Here are all the recipes I’d like to try: Tartar Sauce, Spinach Pasta Dough, Classic Bruschetta, Caramelized Onion, Steak and Gruyere Quesadillas, Tomato Soup, Shredded Carrot Salad with Honey-Ginger Dressing, Spinach Ravioli, Classic Meatballs, Sweet Potato and Black Bean Empanadas, Stuffed Roasted Peppers, Cherry Crumb Muffins, Chocolate Chip Crumb Cake, and Pound Cake with Pine Nuts and Olive Oil.
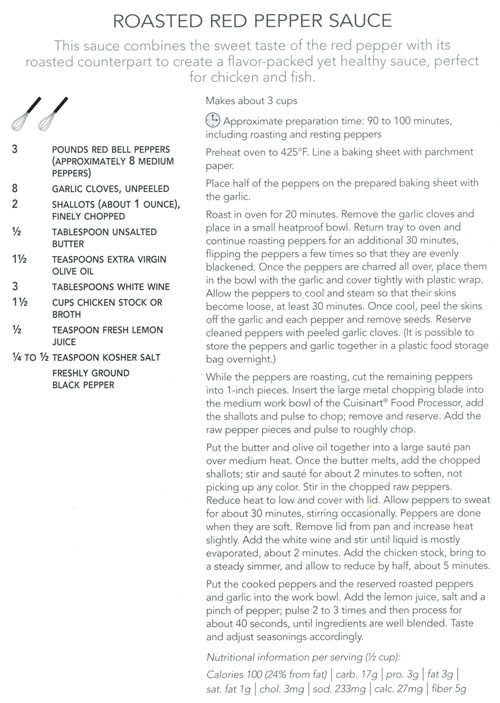
For this blog, I will make the Roasted Red Pepper Sauce, scanned in below. Note how nicely this book is laid out – so much nicer than my other appliance recipe/instruction books:
 I decided to make just a half recipe for the two of us.
Roasted Red Pepper Sauce
makes about 1 1/2 cups
- 4 medium to large red peppers (1 1/2 pounds)
- 8 garlic cloves, unpeeled
- 1 shallot, about 1/2 ounce, chopped
- 1 teaspoon butter
- 1 teaspoon olive oil
- optional: 1-2 tablespoons white wine or a few splashes of white vinegar
- 3/4 cup chicken stock
- dash of fresh lemon juice
- salt and pepper to taste
Heat the oven to 425˚. Put half the red peppers and all of the garlic on a parchment-lined baking sheet. Roast it all in oven 20 minutes, remove and save the garlic, then continue roasting the red peppers for 30 more minutes. Turn the peppers occasionally so that they become evenly blackened. When they are charred all over, remove them and immediately seal them in a plastic bag. After about 30 minutes, the peppers will be cool and the skin easy to remove. Peel both the roasted peppers, removing the seeds, and also peel the garlic cloves. Store them together until you are ready to complete the sauce (I left mine overnight in the refrigerator).
Put the shallots in a food processor bowl fitted with a chopping blade. Pulse to chop, then remove them and set aside. By hand, chop the remaining 2 red peppers into 1-inch chunks and put these chunks in the food processor; pulse several times to roughly chop. Remove and set aside.
Heat the butter and olive oil in a large sauté pan using medium heat. Cook the shallots a couple minutes to soften – don’t let them get brown. Stir in the chopped red peppers, then cover the pan and reduce the heat to low. After 30 minutes, the peppers will be soft and “sweated”. Remove the lid from the pan and increase the heat slightly. Add the white wine (if you are using it) and stir unti the liquid is mostly evaporated (2 minutes). Add the chicken stock and simmer until reduced by half, about 5 minutes.
Put all of this shallot-pepper-stock mixture into the work bowl of the food processor, add the lemon juice and salt and pepper, and add the reserved roasted red peppers and garlic. Process about 40 seconds, until the mixture is well blended. Taste and adjust seasonings accordingly.
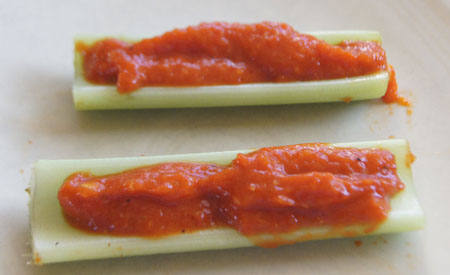
This was a lot more work than I signed up for! I didn’t read the recipe carefully enough before I started. But it is a very, very good sauce. So far I’ve just eaten it on celery – it would also be good on sandwiches but we are on a two-week no-carb stint. But this sauce/relish should keep a week or so in the refrigerator, and I will look for a chicken dish to use it on.