Cookbook #172: Putting Food By, Ruth Hertzberg, Beatrice Vaughan, Janet Greene, The Stephen Greene Press, Brattleboro, Vermont, 1973.
The following is a quote from my own blog a couple years ago, when I covered the Complete Guide to Home Canning, Preserving and Freezing USDA.
“I used to put up tomatoes, hot salsa, jam, and pickles each year. I’d go to local vegetable stands and buy vegetables and fruits by the bushel. Why? So that I’d know the ingredients in my food, and I enjoyed doing it.”
And this is a quote from Putting Food By:
“Putting food by is prudence, and it’s involvement. It’s also a meaningful return to old simplicities and skills. Above all, it is deeply satisfying. We know what is added to food we put by for our families.”
Seems like the authors and I are in complete agreement! Putting Food By also gives a heads up to the USDA-produced pamphlets (like the Complete Guide to Home Canning) in the acknowledgements:
“The authors are grateful to all the anonymous dedicated people in federal- and provincial- and state-run projects in the United States and Canada who are constantly researching better and safer ways to handle our food.”
As I stated in my 2-year old blog post, these days I only put up jams. Well, that is, at least until I wrote that post and made dill pickles – I’ve made them several times since. Home made pickles are wonderful.
Both of these “canning” books are 1973 editions. I must have bought them In the mid-1970s, where for a year we rented a “quaint” old house on Walnut Street, called “Walnetto” by our circle of friends. Somewhere in that house I found (and kept) two books: The Fannie Farmer Cookbook and the Whittier Wildcat Cookbook. Walnetto had a long backyard that went all the way to the creek that runs east between Walnut and Canyon. We used to have volleyball games there. And – we had a garden! The only time my husband and I really had a vegetable garden. He was the real gardener, I have to admit. I might have helped plant seeds but was lame on maintenance, like weeding and watering. But I loved having that garden, going out and picking fresh lettuce and carrots for salads. Lots of tomatoes, and of course overgrown zucchini. (There was even a shed with a fenced yard where we had a few chickens. The last chicken we had was the meanest thing . . . but I digress.)
I probably bought Putting Food By and the Complete Guide to Home Canning, Preserving and Freezing USDA in that era, and used the information to put up the overflow from our garden. We even had an ancient canning-pressure cooker. Ah, the memories.
Putting Food By is still in print! It’s in the 5th edition, published in 2010, with the same three authors. My copy is the first edition (and I’d love to see a copy of the 5th sometime). The chapters are: Canning, Freezing, The Preserving Kettle (jams, marmalade, fruit butters, relishes, pickles, mincemeat), Drying, Root-Cellaring, Curing (salting and smoking), The Roundup (rendering lard, pasteurizing milk, making soap, sausage, and cottage cheese), and Recipes. (There are also recipes throughout the book; the “Recipes” chapter covers using the canned/preserved foods.)
I think it’s the chemist in me that makes this all fascinating. And the fact that I love fooling around in the kitchen.
Alas, time and the easy availability of good canned and preserved foods makes delving too far into putting food by . . . well . . . I’ll just say I have tons of other things I like doing too. And I don’t have a vegetable garden to force me into it. So . . . I guess canning is less of a priority to me than it used to be.
The canning directions and recipes in Putting Food By are clear, and cover the gamut of anything I ever might want to put up (if I again get in the mood).
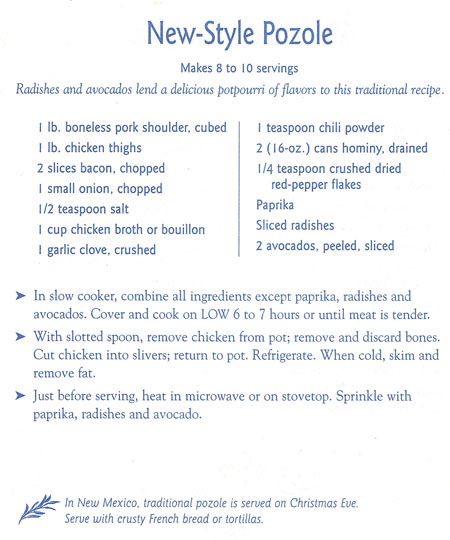
I have no trouble finding something to try for this blog: “Corn Relish”. It’s corn season here in Colorado, and a corn relish sounds like a nice accompaniment for Mexican food.

 This corn relish requires a “hot pack”. When I put up jam and such, I always use the popular 2-piece canning lids. To hot pack this type of canning lid, you put the hot vegetable or fruit mixture into hot sterilized jars, put a hot “dome” lid (the flat part) on top, screw down tightly with a hot metal screw band, and place the jar into a hot water bath that covers the jar to process. I refreshed my memory on this process by reading pages 10, 19, and 31 of Putting Food By.
I decide to leave out the turmeric and add a California green chile, but otherwise follow the recipe in the book.
Corn Relish
makes 4 pints
- 8-9 ears corn (you need enough for 4 cups corn kernels)
- 1 cup diced sweet red peppers
- 1 cup diced sweet green peppers
- 1/2 cup California (Anaheim) green chile, diced (these are the long, milder green chiles)
- 1 cup celery, chopped fine
- 1/2 cup onion, chopped fine
- 1 1/2 cups white vinegar
- 3/4 cup sugar
- 1 1/2 teaspoons dry mustard
- 1 teaspoon celery seed
- a few drops of a hot sauce, like Tabasco
- 2 tablespoons flour mixed with 1/4 cup flour (optional)
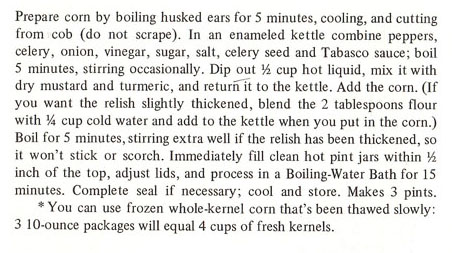
Shuck the corn and cook in boiling water for 5 minutes. Let cool, then cut the corn from the cob to make 4 cups. Set aside.
Bring a large pot of water to a boil and add 4-5 pint glass canning jars to sterilize them while you prepare the relish. Also have a small amount of boiling water to sterilize the dome lids.
Combine in a big pot: peppers, celery, onion, vinegar, sugar, dry mustard, celery seed, and hot sauce. Bring to a boil and boil 5 minutes, stirring occasionally.
If you want the relish thickened, at this point, add the flour and water mixture.
Add the corn to the pot and boil, stirring frequently for 5 minutes.
As the relish boils, remove the jars from the boiling water bath. (This water bath is used in the next step, so don’t empty the pot yet!) Drain the jars on a clean cloth.
Immediately pour the cooked, hot relish into the drained, sterilized jars. Top with a sterilized dome lid, then add the screw-top band and tighten. Put the capped relish jar back into the boiling water bath, making sure the level of the boiling water is above the level of the top of the jars.
Process in the boiling water bath for 15 minutes. Remove the jars and let them cool. They will keep at least a year in your pantry, but always check the jars before use to make sure the seal is not compromised.
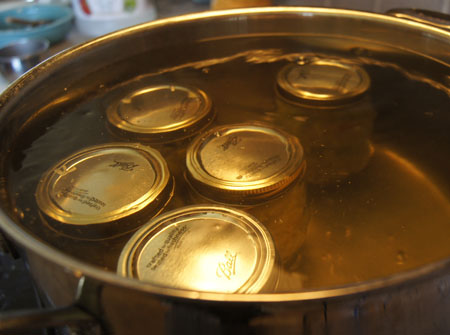
In the photo below, I have the relish boiling and the empty jars sterilizing.
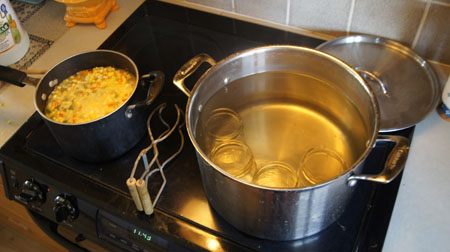
Next, the filled, sealed jars are in their 15 minute boiling water bath.
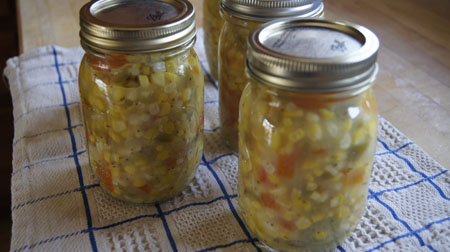
 And here are the jars of canned relish!
Comments
This relish is good. It is sweet and sour and hot. I will use it mostly as a garnish for Mexican food.
I will definitely keep Putting Food By. Along with Complete Guide to Home Canning, it is a great reference for when I come upon a lot of produce or have a hankering to play around in the kitchen.
250 Cookbooks next post

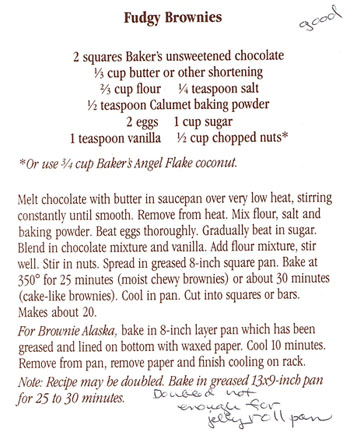
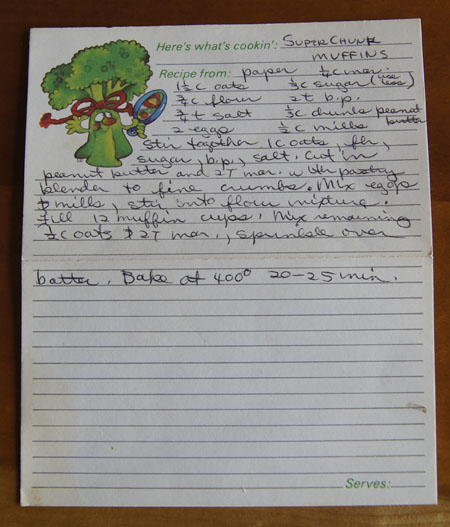
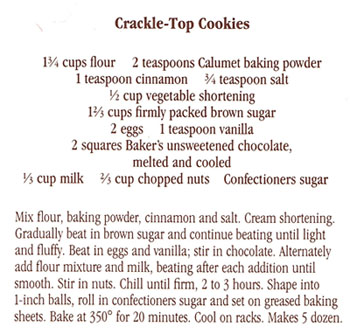 This recipe is very similar to my recipe for Chocolate Chews. The differences are that this recipe has less flour, adds cinnamon, uses brown sugar instead of white, and has more nuts. Plus the baking time: these are cooked 20 minutes instead of 10 minutes.
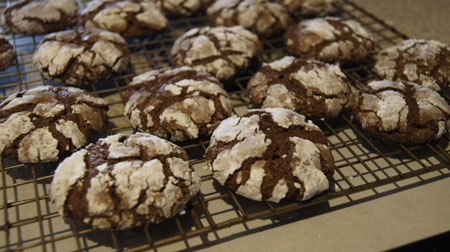 These are excellent! I cooked the first batches 20 minutes, and I thought they were too crisp. The last batch I cooked only 10 minutes, and they were soft and chewy. We like the soft and chewy ones a lot better!

 A crock pot has been a staple in my kitchen for a very long time. I have 10 crockpot cookbooks! I have another cookbook written by Mable Hoffman,