Cookbook #189: Encyclopedia of Cookery, Vol. 9, Pec-Pur, Woman’s Day, Fawcett Publications, NY, 1966.
 I have a set of twelve Encyclopedia of Cookery volumes and this is the ninth of that set – I covered the first eight in previous posts. I’ve enjoyed all of them so far! This volume covers curious and helpful information about foods from pec(tin) to pur(ée).
Pectin is an ingredient I use when making jams – it helps them thicken. I learn that it comes from the cell walls of citrus, apples, and sugar beets. “Pennsylvania Dutch Cookery” actually derives from Deutsch, meaning German. Penuche, a favorite candy my mother used to make, is made from brown sugar. “Pepper” has two listings: pepper (capsicum) is hot peppers; pepper (piper nigrum) is our familiar black peppercorns. Pfeffernusse is an old fashioned spicy traditional Christmas cookie. It has German origins, and I remember one of my older relatives giving these to us at Christmas when I was a kid. They were hard, spicy little cookies, and I liked them, but have yet to find a recipe that is like the ones I had. Phillipine Cookery includes many recipes, piccalilli is a pickle relish made with green tomatoes, bell peppers, onions, sugar, vinegar, pickling spices, and often cabbage.
James Beard wrote a nostalgic section on picnics: “My family upbringing imbued me with a passion for picnics. We lived in western Oregon, a green countryside whose mountains, streams, and beaches provided perfect setting for outdoor dining.” I like his recipe for Pungent French Rolls made with red onions, green peppers, cucumbers, anchovies, tomatoes, olives, parsley, capers, and his recipe for Italian Rice Salad made with rice, pimientos, peppers, onions, basil, olives, chicken, and anchovies.
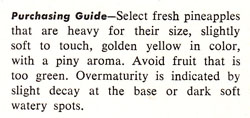
The Pie Cookbook includes recipes for meat, vegetable, and dessert pies. Mother made a note on the Black Bottom Pie recipe, a delicious chocolate pie I remember from childhood. If I ever need to know how to carve a suckling pig, all I have to do is open this cookbook. Pineapples are native to South America – and I love pineapples. Most of the pineapple recipes call for canned pineapple. I’d like to try Pineapple Oatmeal Cookies, and choose a chicken/pineapple main dish for this blog. Here is a guide for selecting fresh pineapple:
 Pimientos are red bell peppers. It is interesting that red bell peppers are actually green bell peppers that have reached a further state of maturity. The pimiento variety of bell peppers are heart-shaped and very sweet. You can find them canned in the markets, often in small glass jars. I usually substitute fresh red bell peppers for pimientos in recipes.
The Plum Cookbook has a recipe for Plum Dumplings with these ingredients: fresh plums, sugar cubes, butter, flour, riced cooked potatoes, and eggs. How much sugar in a sugar cube? Google tells me “One sugar cube, which is equivalent to one teaspoon of sugar, weighs approximately 4 grams.”
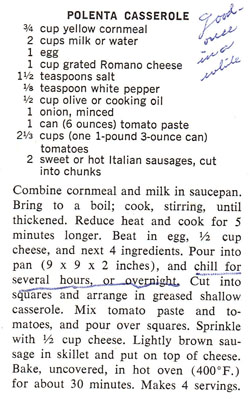
I like polenta and have several good recipes using it. It’s basically a type of cornmeal used in Italian cooking. But I was surprised that my mother knew about and used polenta! Here is the recipe with her note: “good – once in a while”.
Polish and Polynesian cookeries. I’d like to try Opini, a Polynesian ceviche made with scallops. Popcorn, popovers, poppy seed. The poppy seed filling interests me because we once had a landlord (and friend) who raved about this filling for pastries. A “porgy” is a fish.
As I read the Pork Cookbook and Portugese Cookery sections, I reflect on how it seems that older recipes and foreign country recipes include lots of fish, game, whole pigs, organ meats, tongue, pigs feet.
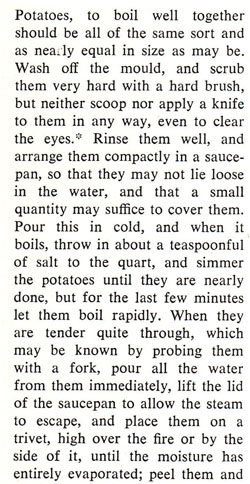
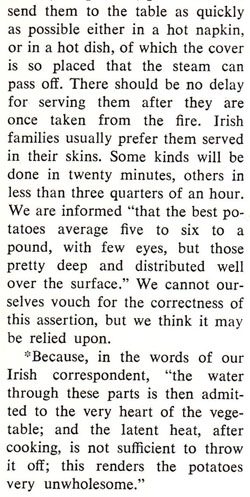
James Beard writes on the white potato. They originated in South America, probably Peru or Ecuador: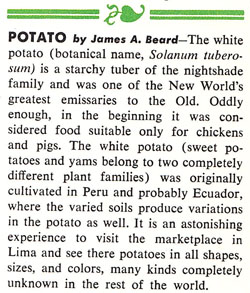 From the same article by Beard: “Eliza Acton, in her magnificent book of Modern Cookery, published in London in 1848, quotes the following ‘genuine Irish receipt’ for boiling potatoes”:
From the potato section of recipes, I’d like to try Pommes Anna, potato chocolate cake, and potato waffles.
Pot Roast is defined as “a term applied to larger cuts of meat which are cooked by braising, that is cooked slowly in a small amount of liquid or in steam. The meat may or may not be browned in a little fat before it is braised.” Poundcake is “a compact, fine-grained, easily sliced cake which, as its name suggests, traditionally contained a pound of sugar, a pound of butter, a pound of eggs, a pound of flour, a flavoring such as vanilla and no chemical leavening agent. Pralines are any confection made of nuts and sugar, although it originally was made with burnt almonds. Pressure cookers cook foods fast because the food is cooked with moisture (water) under pressure, and by increasing the pressure in the container, water’s boiling point increases and foods cook faster. Soft pretzels date back to the Middle Ages, while the hard pretzel is relatively new.
Prosciutto, prunes (lots of recipes, but none interest me), and a pudding cookbook. Puerto Rican Cookery, puff paste, pumpkin, including an interesting essay by Esther E. Wood entitled “Pumpkins and Philosophy”. Pumpkin pie spice is a blend of cinnamon, cloves, and ginger. This volume has lots of recipes for punch, either with or without alcohol. And lastly, purée, a mixture made by pressing a raw or cooked food through a sieve or food mill, or by whirling it in a blender so that it is smooth and thick.
I choose to make “Hawaiian Pineapple and Chicken” for this blog:
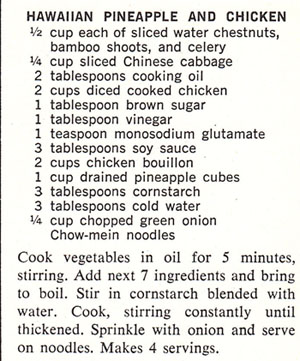
This is similar to sweet and sour chicken, as it has sugar and vinegar in it. I decide to keep some of the ingredients and change other ingredients. For instance, I like canned water chestnuts for their crunchiness and flavor, so I will keep them. But I think canned bamboo shoots are tasteless and soggy, so I will leave them out. I decide to use boneless chicken breasts because I don’t have any cooked chicken. Definitely I’ll leave out the monosodium glutamate (Accent®). I want to use fresh instead of canned pineapple. Chow mein noodles? I generally think of these as the crunchy kind of noodle that doesn’t need cooking, and I have a bag of these on hand, so I will use them.
Below is my version of the recipe.
Chicken with Fresh Pineapple
serves 2
- 1 boneless chicken breast, about 10 ounces, cut into chunks
- 1/4-1/2 cup sliced celery
- 1/4-1/2 cup bell pepper, cut into chunks or diced
- 1 cup sliced Napa cabbage (or use Chinese cabbage, bok choy, or regular cabbage)
- 1/4-1/2 cup sliced water chestnuts
- 1 tablespoon brown sugar
- 1 tablespoon vinegar (rice, red wine, white wine, apple cider, or white vinegar, your choice)
- 3 tablespoons soy sauce
- 1/2 to 1 cup chicken stock (or water)
- 3 tablespoons cornstarch
- 3 tablespoons water
- 1 cup fresh pineapple, cut in chunks
- 1/4 cup sliced green onions
Cook the chicken in a little hot oil until browned; add the celery and bell pepper and cook until the vegetables soften. Add the cabbage and water chestnuts and stir a couple minutes. Add the brown sugar, vinegar, soy sauce, and 1/2 cup chicken stock; bring to a boil. Combine the corn starch and water in a small bowl, then stir into the chicken-vegetable mixture. Add more chicken stock if it is too thick.
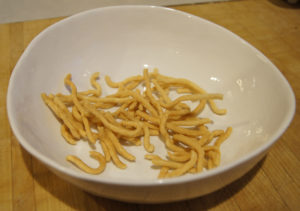
Add the pineapple and cook until the pineapple is hot, then serve over chow mein noodles and garnish with green onions.
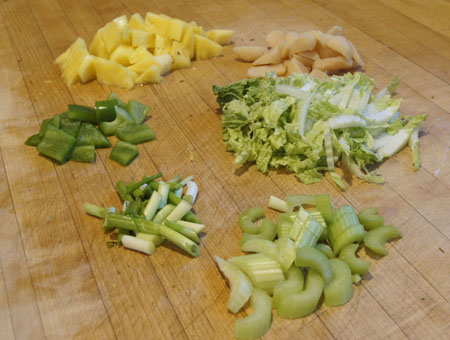
Here are my ingredients, all but the chicken. Note that the tan chunks above the cabbage are water chestnuts. Usually they are white; I bought these at Whole Foods and they were darker and had excellent flavor.
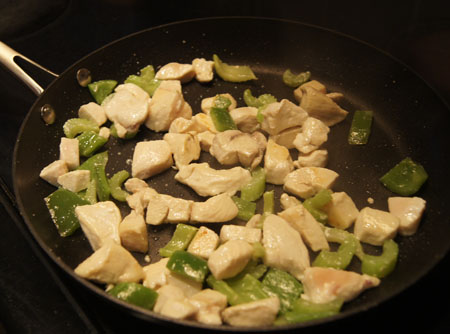
Frying the chicken and celery and peppers:
 The completed dish:
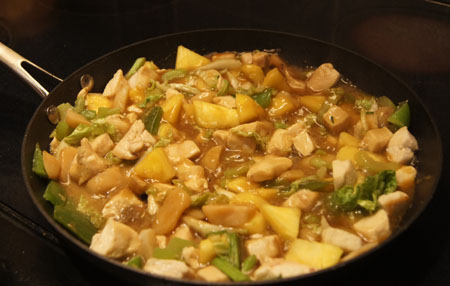 This was excellent, worth making again! It’s fast and easy, and I like the fresh pineapple in it. I liked it over crunchy chow mein noodles, but any Oriental noodle or rice would also work well with this dish.
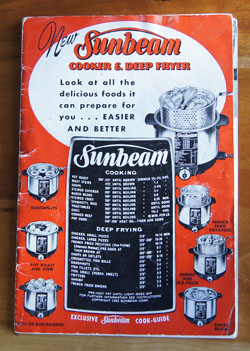 My Sunbeam deep fryer spends most of its time down on a shelf in the basement. It is greasy and old and just the thought of deep-frying sends fears of high calorie food into my healthy eating plan. Even though I read (and mostly believed)
 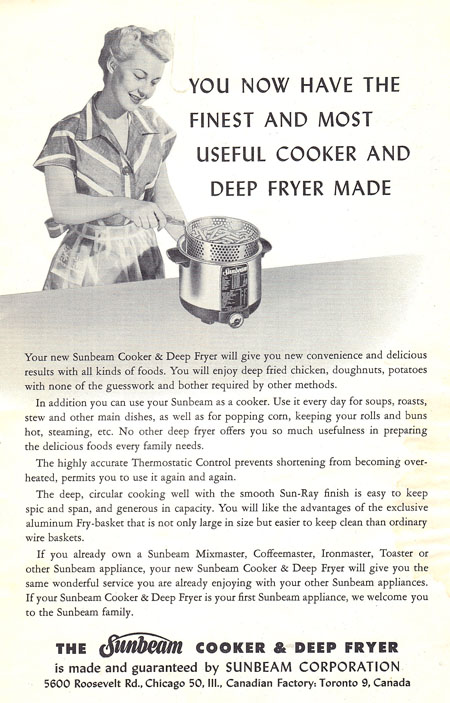 The Sunbeam Cooker and Deep Fryer booklet advises the cook to use solid vegetable shortening, such as “Spry”, a product I discussed in my blog entry for the 1942 cookbook
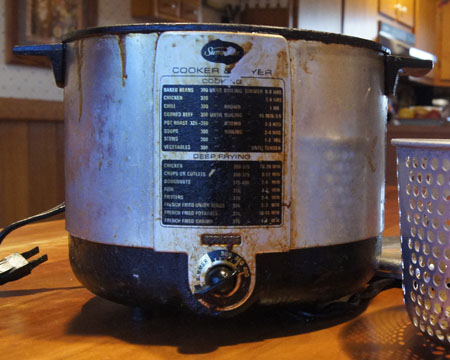 Cleaned up, it doesn’t look a whole lot better. Some of the paint came off before I realized it was happening.
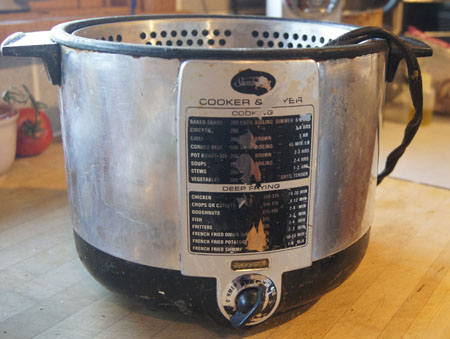 Below is the scanned-in recipe for Old Fashioned Doughnuts in the Sunbeam Cooker and Deep Fryer booklet. I can tell from all the grease splashes that I have used the doughnut recipe before:
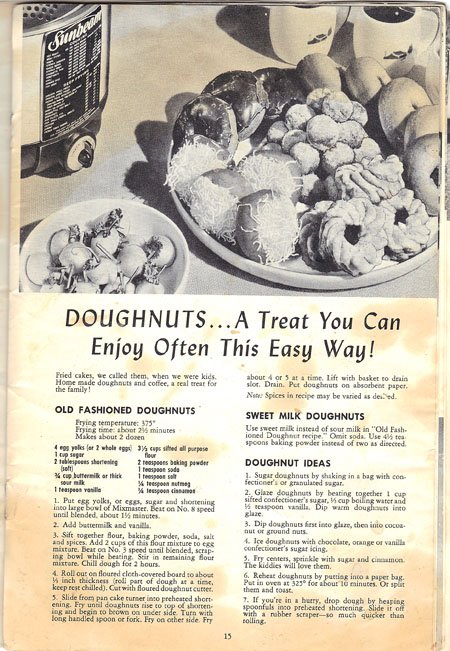
 Here are the doughnuts cooked and glazed. I found out on the next batch that it helps to keep the glaze hot so that it covers the doughnuts better. These look a bit sloppy, but they tasted delightful!
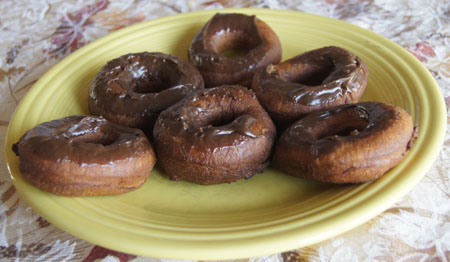 I cooked the “Old Fashioned Doughnuts” too. They were sweeter with a nice hint of spices. I recommend both recipes!
 Here are the rolls, ready for the oven after the first rise. They rose to just above the top of the muffin tin.
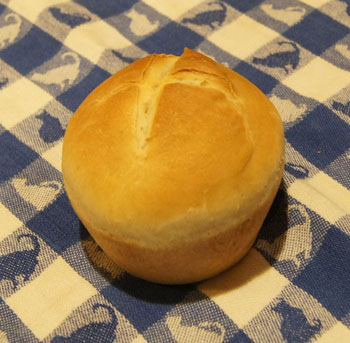
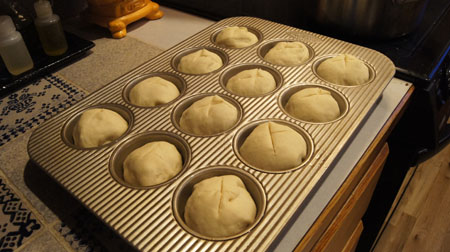 And here are the golden brown rolls, baked:
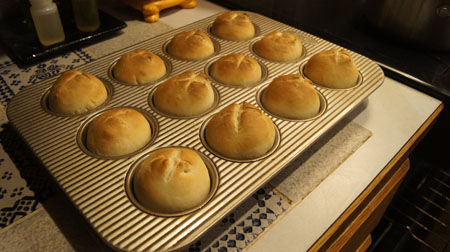
 Note: I put the extra rolls in the freezer. A week later, I need bread for a dinner, so I popped three in the microwave on high for 60 seconds. Perfect! Now these are “60 second 60 minute rolls”.