Cookbook #57: The Complete Book of Mexican Cooking. Elisabeth Lambert Ortiz. The Condé Nast Publications, Inc., US, 1967.
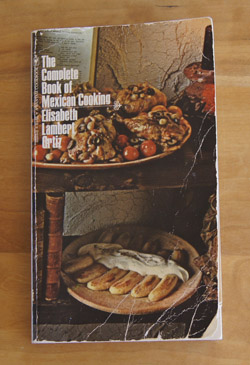 I bought this paperback cookbook for myself, probably used. Chronologically, this book was published between the other two Mexican cookbooks that I have covered in this blog: Elena’s Secrets of Mexican Cooking (1958) and Sunset’s Mexican Cookbook (1972). I think I bought it at a used book store sometime in the 70s.
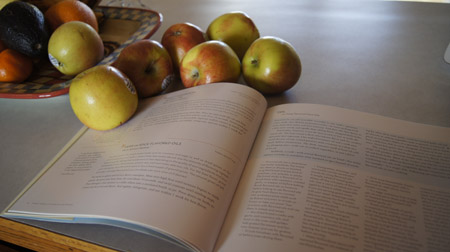
I was quite worn out after that long 1913 cookbook post, and wanted a quick and easy cookbook to discuss. And I wanted Mexican food. So I took The Complete Book of Mexican Cooking off the shelf and flipped through to find an easy casserole.
And then I got caught up in the author’s story and a plethora of interesting recipes.
From the forward:
“The Mexican kitchen is an exciting one, but it is not easy to discover, even at firsthand. For the most part, the señoras I met socially didn’t cook, and cooks don’t write down their recipes. There is not a large literature available; and when I first went to Mexico soon after my marriage, my own situation was further complicated by my not knowing any Spanish.”
“A decade ago Mexican women, not as liberated as they are now, were more dependent on servants; and no one took my attempts to learn the local cuisine seriously. The fact that I cooked at all was frowned on, until my cook-cum-maid reported to my mother-in-law that I was, after all, a respectable ama de casa (Spanish-elegant for housewife). She said I couldn’t really cook; I only pretended to be able to; that I looked everything up in a book, and what real cook would do that?”
I was hooked. I read the rest of the 6-page forward and went on to the introduction. Elisabeth (first name of the author: I feel like I know her now!) recounts how the native cuisine of the Aztecs used foods then unknown outside the Americas: chocolate, vanilla, corn, chiles, peanuts, tomatoes, avocados, squash, beans, sweet potatoes, pineapple, and papaya. I learned this earlier from Elena’s cookbook, but I still can’t get over the fact that chocolate and vanilla and corn were not known by Europeans until the discovery of the Americas. I sure am glad I was born when I was.
The chapters of the book are: The Corn Kitchen, Soups, Sauces, Eggs, Fish, Poultry, Meats, Vegetables, Salads, Desserts, and Drinks. Each chapter has an introduction; this is a personal and friendly book. I do like the recipes: fresh ingredients and meals made from scratch. Even though the book was published over 45 years ago, I can still use most of the recipes “as is”. They aren’t weird, is what I am saying. They are useful.
I was looking for a mid-week meal. I sort of wanted a very simple Mexican casserole, with hamburger. But I came to a recipe for seviche, and that got me started on a bigger plan. We last had seviche (or ceviche) at The Fork in Lyons (2025: this restaurant is no longer in existence). It was served in tiny taco shells. I want to make seviche and put in on small tortillas and then . . . what to go with it? I found a recipe in this book for tortilla ball soup that uses stale tortillas: what a great idea! I rounded out the meal with a salad on each plate.
What is seviche? It’s raw fish “cooked” in an acidic liquid. As a chemist, this has always intrigued me. I haven’t made this delicate and tasty treat in years. The recipe includes a salsa for the seviche, and I have all of the ingredients on hand.
The Fork’s appetizer inspired me to make my own mini-tortillas to go with the seviche. I haven’t made my own tortillas in years. Can I find my old tortilla press? Clomping down the basement stairs, I rummage in the kitchen stuff I store there. Can I find it . . . yes! Now, how do I use it, where is my recipe?
This is where being a pack rat really comes in handy. I am the database queen. When I first discovered Filemaker at work way back in the 80s, I felt that databases were created just for me. After I entered all of the chemicals at work in Filemaker, I got a copy of the program for home use and entered all of my clipped recipes and instructions on one of my early Macs.
I searched my clipped-recipe database for “tortilla press” and found that the instruction book that came with the press is stored in a manilla folder labeled “instructions” upstairs in a certain file box. Yay! I not only found the press, I also found out the instructions on how to use it. (Sometimes it is good to be a little obsessive.)
Here is Elisabeth Oritz’s recipe for seviche:
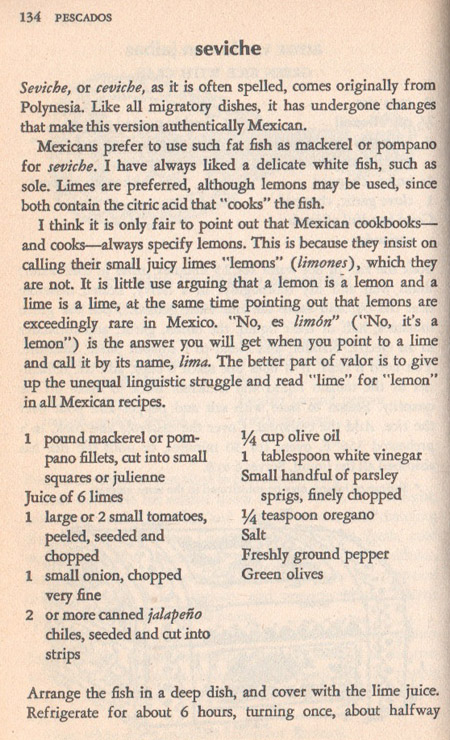
 See how she introduces the recipe with a personal note? That’s one reason I like the cookbook. Limes are called lemons (limones), lima is the name for a lime but they still call one a limón. (We ran into this same issue in Togo last January; if you ask for a lime, they will inevitably give you a lemon.)
I will use mahi mahi because I have some in my freezer. I have a fresh jalapeño, so will substitute it for canned ones. Cilantro: the salsa begs for cilantro! I will serve it piled on the small homemade tortillas, and instead of mixing the seviche and salsa, I will spoon a little of each on the tortillas.
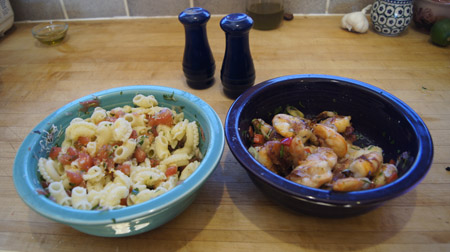
Below is the plated meal.
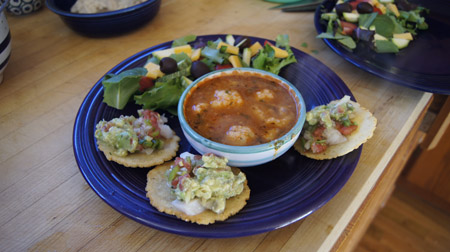
Seviche on tiny tortillas with guacamole and tortilla ball soup and salad.
Seviche with Salsa on Tiny Tortillas
this recipe will probably serve 2-4 as appetizers
Seviche
- 1/4 pound fish, such as sole, cod, or mahi mahi
- juice of 2 limes
Salsa
- 2 medium tomatoes, peeled, cored, and chopped
- 1 smallish onion, chopped very fine
- jalapeños, chopped fine, to taste; I used half of a fresh one finely chopped
- optional: other chopped peppers to taste, such as pablanos or anaheims, finely chopped
- 2 tablespoons olive oil
- scant tablespoon white vinegar
- lime juice to taste (one or two limes)
- a few sprigs each of parsley and cilantro, finely chopped
- oregano (dried), salt and pepper to taste
Tiny tortillas
- 1 cup masa
- 5/8 cup water
- 1/2 teaspoon salt
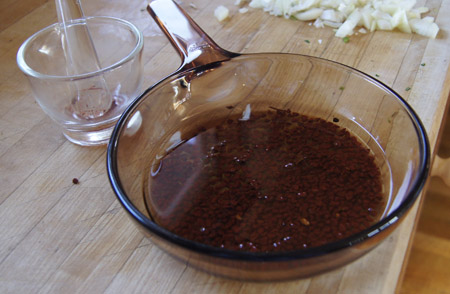
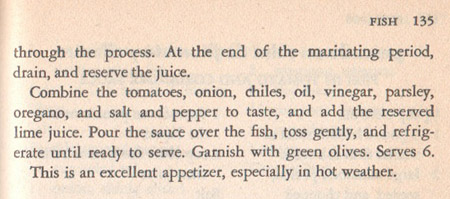
For the seviche, chop the fish into small julienne and cover with the juice of 2 limes in a small non-metallic bowl. Cover with plastic wrap and refrigerate for 6-8 hours, stirring occasionally. Then, drain (and toss) the juice. (Here I disagree with the author’s recipe: I think the lime juice off the fish is too fishy tasting to add to the salsa. Also, I want to use the salsa for other purposes, not just with the seviche.)
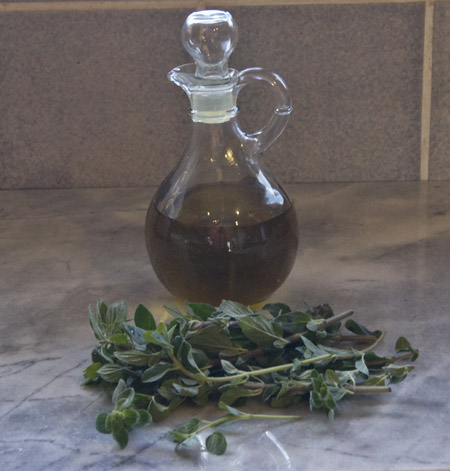
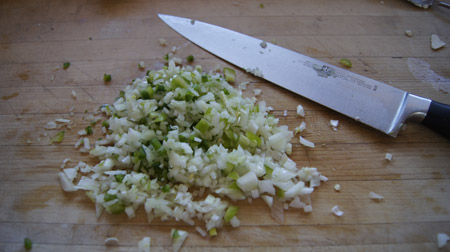
Prepare a salsa with the tomatoes, peppers, olive oil, fresh lime juice, vinegar, herbs, and olive oil. Chop the onions and peppers quite fine. This salsa will top the very delicate seviche, and I think it’s worth the extra effort to make a finely-chopped salsa in this case.
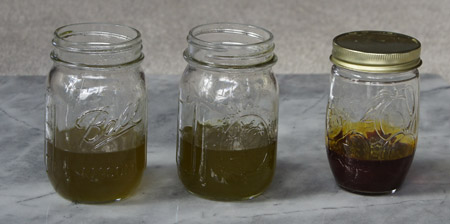
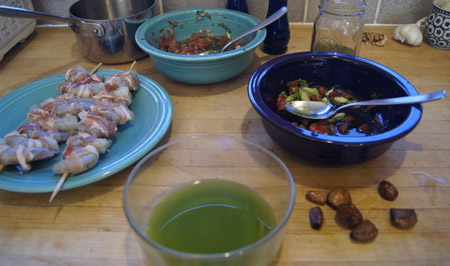
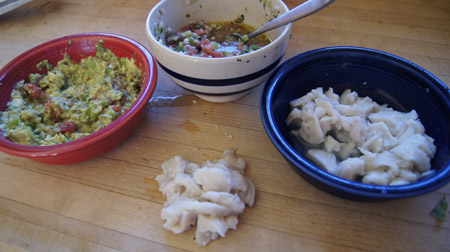
 Here is the salsa and the seviche. Yes, I made guacamole too.
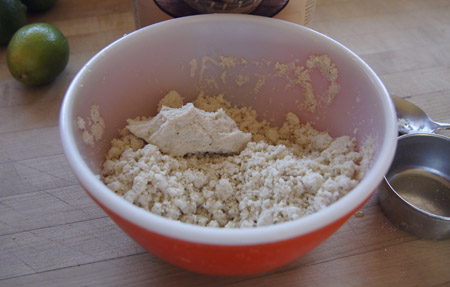
 For the tortillas, mix the masa, water, and salt to form a dough that will just hold together. Let it rest 15 minutes to an hour.
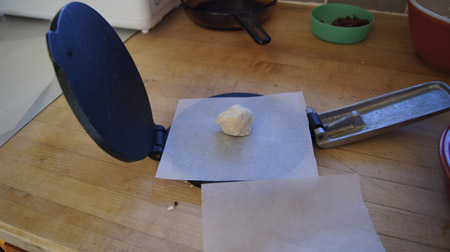
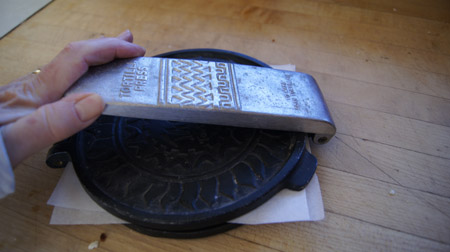
 Cut pieces of wax paper in squares that cover the inside of the tortilla press: two squares will make two tortillas. (Parchment does not work – I tried it.) Place a piece of wax paper on one face of the tortilla press, then add a small ball of dough.
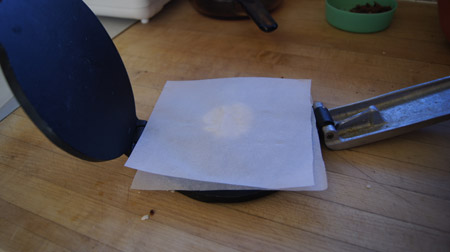
 Cover the dough with another piece of wax paper.
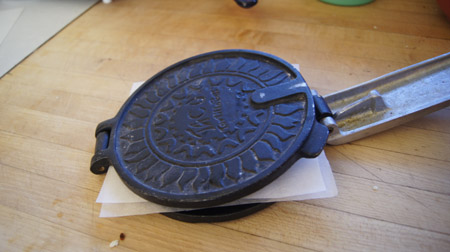
 Close the press and apply pressure for a couple seconds.
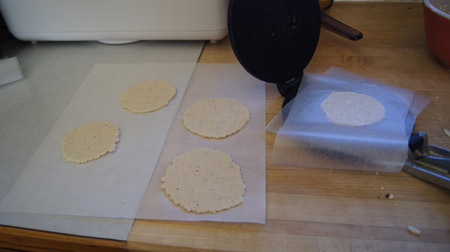
 Open, and carefully remove the papers. You will have to experiment a bit with the amount of dough to make a small tortilla (about 3-inch diameter). Also, if the dough sticks too much to the paper, add a bit of masa flour to the dough; if it won’t make a ball at all, add a bit more water to the dough. You can re-use each piece of wax paper once by putting the used side against the press for a second pressing.
Carefully transfer each pressed tortilla onto a large piece of parchment. If you don’t plan to cook these immediately, cover with plastic wrap.
 To cook, put an inch or so of vegetable oil in a heavy pan. Heat over high heat until it pops and sizzles when you carefully toss in a drop of water. Turn down just under “high”, then carefully transfer the pressed tortilla dough into the oil. You can cook a couple at a time because they are so small.
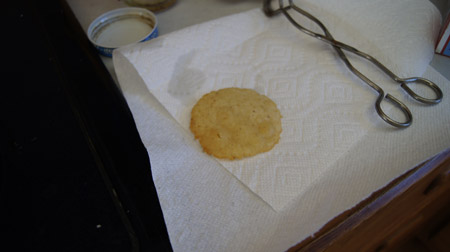
 Fry each until golden brown, then transfer to paper towels to drain and cool.
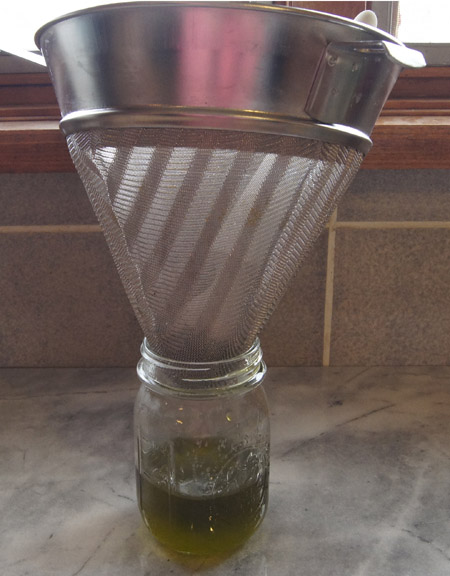
 (I re-use the oil that I use to fry store-bought or homemade tortillas. I pour the cooled oil into a jar, cover it, and store in the refrigerator.)
To assemble, place a teaspoon of seviche on each tortilla, then top with a teaspoon of salsa. I added some guacamole too – just couldn’t resist!
My photo is above, where the recipe starts. I broke tradition and showed you the results first!
I made a salad (lettuce, olives, cheese, peppers) some Tortilla Ball Soup to go with the seviche. Below is the author’s version of this soup; I made many changes.
 Preparing this soup should have been straightforward, since I have stale tortillas and most of the other ingredients. But Epazote, what’s that? I don’t have any and have no idea what flavor it has. A google search revealed that I might be able to find it fresh in ethnic markets, or dried versions online. But fresh is recommended. So I ventured out to Longmont and found a Mexican store on Main Street:
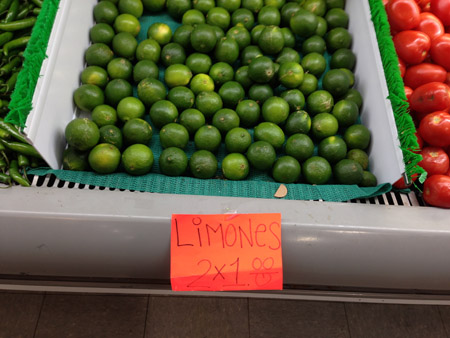
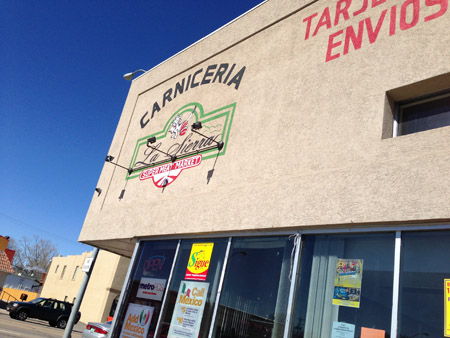 The store was a wonder. Fresh butcher-served meats, including tripe and lots of sausages as well as pork and chicken; shelves and baskets of spices and chiles; canned goods; cleaning items; cell phones; lots of fresh produce. I looked through both the spices and the fresh produce, but could not find epazote. I did find limones!
 I gave up and asked the store clerk where the epazote, trying to say the word and then spelling it. “Epazote, yes, we usually have it”, she said, carefully pronouncing it “ep a szot ee”. But alas, none today, I should come back tomorrow. I was almost jumping up and down, excited that soon I’ll be able to taste this exotic (to me) herb.
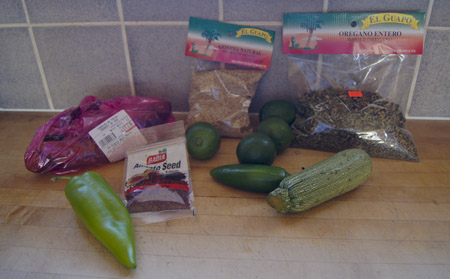
My moseying around the store filled my basket with quite a bit of items. Chorizo, because this Mexican sausage is made differently by every store that produces it. Limones, because one can never have enough. A huge bag of oregano for only $1.29 – no way do I need this much, but, oh well! The annato seeds? Don’t know what I am going to do with them, but I have used anchiote paste made from annatos for carnitas. A big cheap bag of sesame seeds. A zucchini-like squash. And limes and peppers.
 That was an adventure! Back home, I began making Tortilla Ball Soup. As I went along, I made a ton of changes to the printed recipe. I cut the amounts by a quarter, and still had way too much dough. It was hard to cut “1 egg and 2 egg yolks” by a quarter, and the one-egg that I added made the dough too sloppy. I suggest using cheap yellow corn tortillas, since the type I used did not soak up the milk very well: my food processor never did get the tortillas into a fine mush.
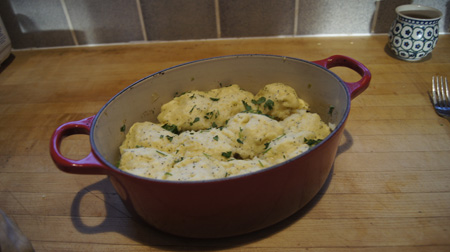
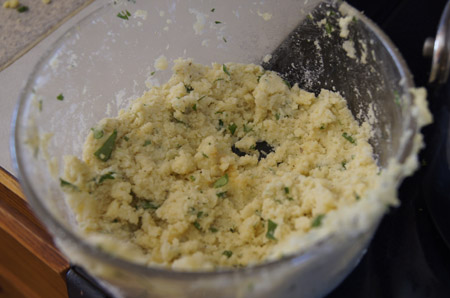
 Here is the dough after the addition of some egg and a little masa. I used cilantro for the missing epazote.
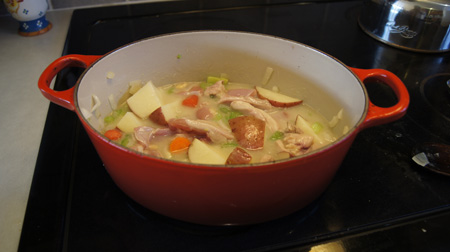
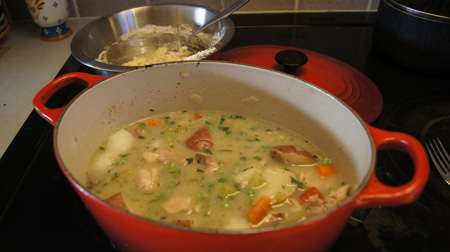
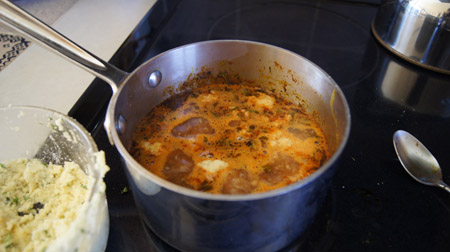
 I made lots of additions to the basic beef broth/tomato puree specified in the cookbook: pinto beans and peppers (bells and hot peppers) and more onions and garlic and a little tomato and some cooked chorizo. I also added dried oregano and plenty of cilantro. After the broth and soup ingredients were hot, I carefully dropped in my sort of messy tortilla ball dough. Some cooked in balls, some sort of dissolved into the soup. Below is the soup bubbling on the stove.
 This recipe needs work, but it has potential!
As to the whole meal, it was perfect. Soup, salad, and seviche, yum.
250 Cookbooks next post

 I have four “Hershey’s” small cookbooks and this 1971 one is my oldest. The full title is “Hershey’s 1934 Cookbook, Revised and expanded with chocolate recipes brought up to date for use in today’s kitchen.” From the forward:
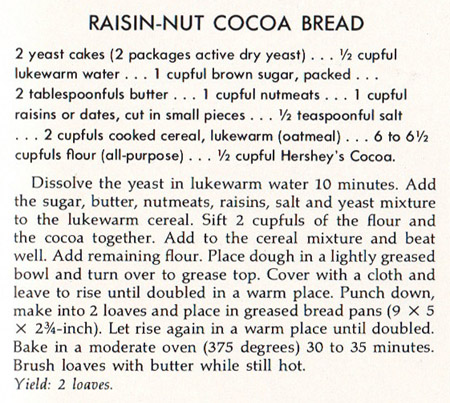 One of “all the things that make baking a lot easier for you than it was for your mother” that we have in 2014 is a breadmaker. I will use mine to knead and rise a half-recipe of this dough, then bake it in one 8 x 4-inch loaf pan. My experience tells me that this is the more appropriate size pan for this amount of dough. For the oatmeal, I will cook some of my favorite extra-thick rolled oats. To make enough for the batter, I boiled 1 1/4 cup water and added 5/8 cup oats and cooked for about 5 minutes. It makes just a little more than one cup.
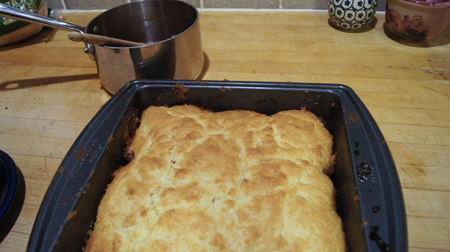
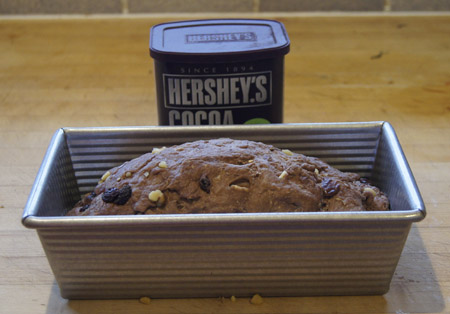 Here it is after about 45 minutes, risen and ready to put in the oven:
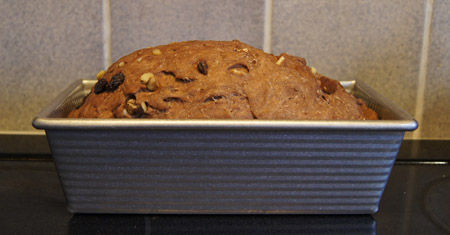 And here it is baked:
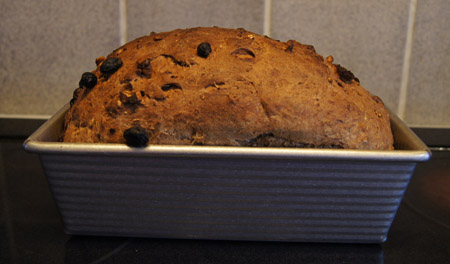 And on a rack:
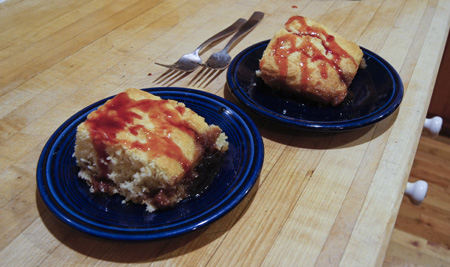
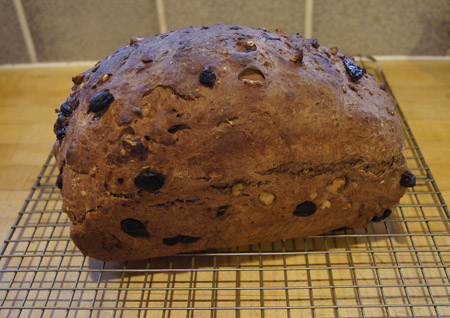 No, it’s not the prettiest-looking loaf I’ve made, but it sure tastes good. Here is a slice, half with whipped cream cheese, on a plate of my Nana’s depression glassware:
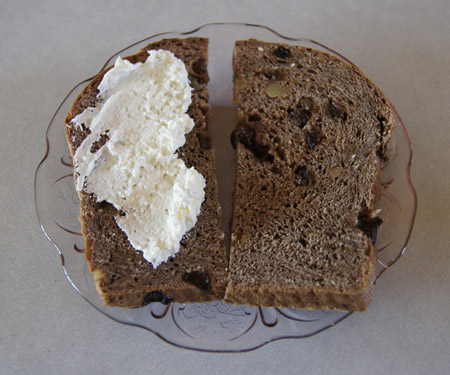 Yum!
Yum!