Cookbook #144: The Best Bagels are Made at Home, Dona Z. Meilach, Bristol Publishing Enterprises, San Leandro, CA, 1995.
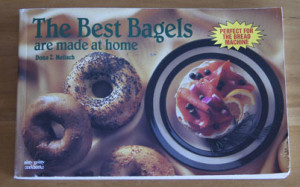
I am quite proud of my homemade bagels. Below is a 2012 photo of my “Basic New York Water Bagels“, my most-used recipe in The Best Bagels are Made at Home. I’ve made these tons of times!
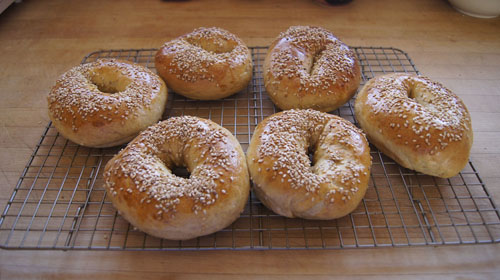
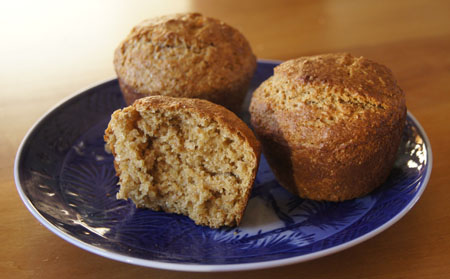
These bagels are lighter than store- or shop-bought bagels and absolutely wonderful.
Bagels are made from a yeast dough. They take a few more steps than a basic loaf of bread: instead of just dropping the dough into a bread pan and then the oven, you have to divide it into pieces, form each piece into a bagel, boil each in hot water, and glaze with an egg mixture and topping. Only then do they go into the oven.
But note: I have taken the time to make these many, many times. It’s worth it!
Who taught me how to make bagels? I learned from this cookbook. Dona Meilach clearly explains all the steps in bagel-making. I had tried to make them a few times before I got this cookbook, but met only with miss-shapen masses of baked dough – I found forming the dough into a bagel shape nearly impossible. Luckily I bought this book, studied and practiced, and now can make these any time I want!
Meilach begins with a little bagel history. What we know as the American bagel came with the Polish immigration in the late 1800s, and were popular among the Polish Jews who settled in New York. Between 1910 and 1915, the Bagel Bakers’ Local #338 union was formed. Apprentices of this union eventually moved to different parts of the US, and the popularity of bagels spread. (In one of my own 1941 cookbooks, The Bread Basket, I found a recipe for “bagles”.) In the early 1950s, bagels were handed out at the intermission of a Broadway comedy called Bagels and Yox. Soon after, popular women’s magazines ran recipes for “bageles”. And now, bagels are an institution in the US, as we all know!
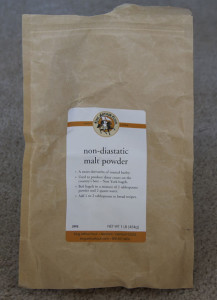
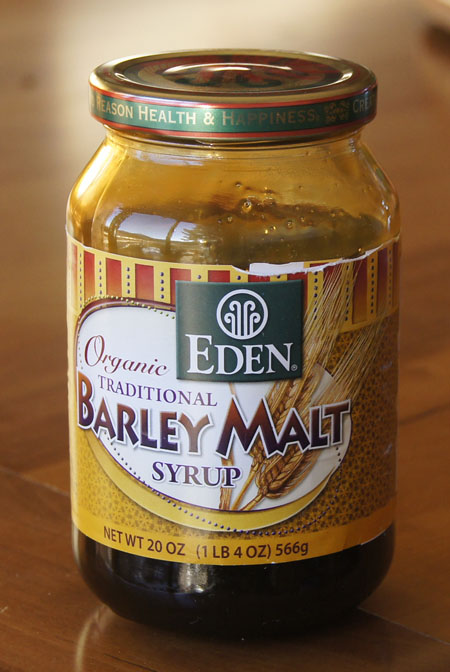
Bagel history is followed by “Directions for Making Bagels”, pages 12-31. This is an especially helpful section. The six steps of bagel making – dough mixing (bread machine encouraged) and first rise, shaping, second rise, boiling, glaze, and baking – are described in detail. Next, Meilach discusses ingredients. Of note, she advises the reader to use bread flour for its high gluten content and recommends malt syrup in bagels. Her claim is that it “helps give bagels their unique appeal, malt assists with browning, and feeds the yeast.” Malt syrup can be hard to find. I once bought it from a store that sold beer brewing supplies; later I found it at a health food store. Currently, I use malt powder that I buy from King Arthur Flour and supplement it with a little sugar. But you can always use molasses or sugar instead.
The bulk of the content of The Best Bagels are Made at Home are the recipes for different bagels – about 200 different kinds. The individual recipes list ingredients only, not the mixing and baking instructions. Useful as this might be, the organization is a tiny bit inconvenient because the recipes themselves do not give the times for the second rise and boiling and baking or even the oven temperature. Whenever I try a new recipe from this book, I have to fish back through the first 19 pages for the necessary specifics.
Okay. Critical step in bagel preparation, shaping. Meilach describes several methods for forming bagels:
- the hole in the middle method
- the hula hoop around the finger method
- the rope method
- bagel cutter method
I tried several of these before I settled on a modification of the “hula hoop around the finger” method. Photos of how I do this are below.
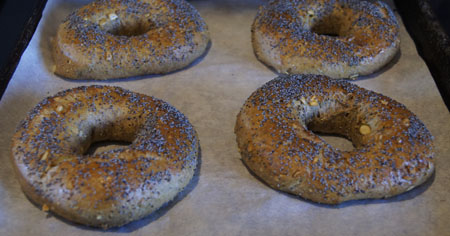
For this blog, I chose “Oat Bran Bagels with Pumpkin Seeds and Cinnamon”.
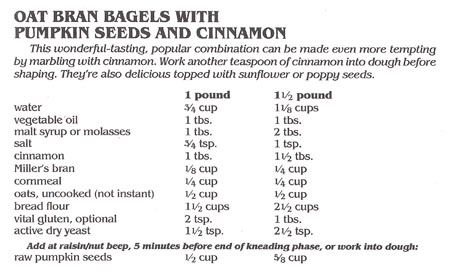
My version is below with the complete directions included. Note that “Miller’s bran” is wheat bran – it’s not critical to the recipe so you can leave it out if you don’t have any.
Oat Bagels with Pumpkin Seeds
makes 8 bagels
- 1 1/8 cups water
- 1 tablespoon oil
- 1 tablespoon sugar*
- 2 tablespoons malt powder*
- 3/4 teaspoon salt
- 1 tablespoon cinnamon (yes, a tablespoon! or even more if you like!)
- 1/4 cup wheat bran
- 1/4 cup cornmeal
- 1/2 cup oatmeal (I used the quick-cooking kind)
- 2 1/2 cups bread flour (10 5/8 ounces)
- 1 tablespoon gluten flour
- 2 1/2 teaspoons yeast
- 5/8 cup raw or roasted pumpkin seeds
*You can substitue the “1 tablespoon sugar plus 2 tablespoon malt powder” with 2 tablespoons molasses or 2 tablespoons sugar.
Combine all of the ingredients EXCEPT the pumpkin seeds in a breadmaker set on a dough cycle with a rising step. Add the pumpkin seeds when the machine “beeps” for additions, or mix them in after the bread has risen. (If you add them at the start, they will be ground to tiny bits.)
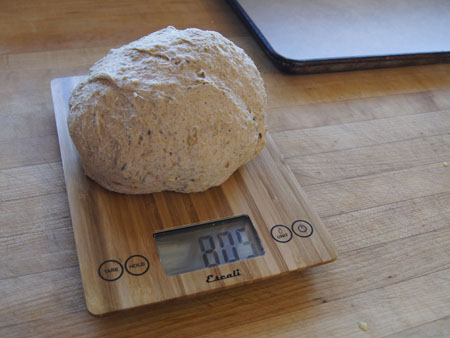
When the breadmaker cycle is done, take the dough out. Fold it a few times, then weigh it. Mine weighed 809 grams.
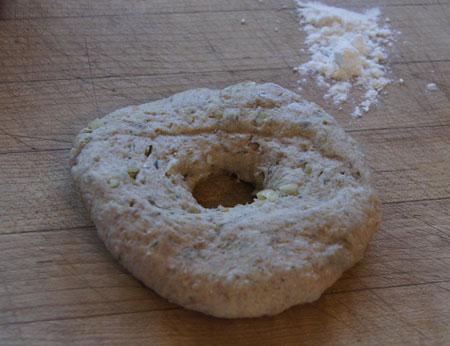
Divide the dough into 8 pieces – mine were about 100 grams each. (You could make 10 bagels if you want smaller bagels.) Flatten each to a circle, as shown below. I keep a little flour on my breadboard in case things get sticky.
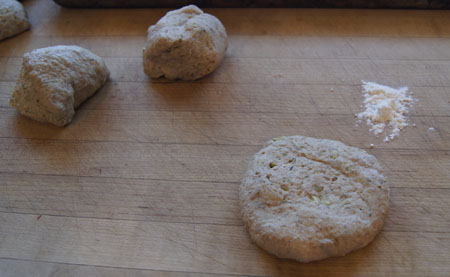
Poke a hole in the center of the flattened circle.
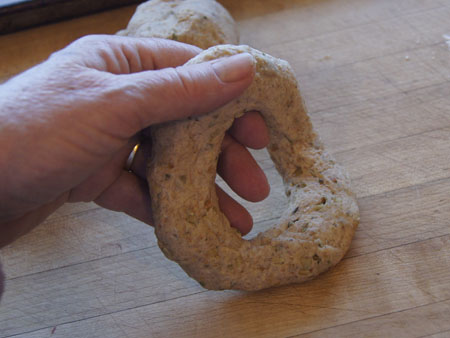
Now, pick up the bagel dough. You can put it on your finger and swirl it around, or put a few fingers in the center and stretch and pull and smooth the dough until it is a nice bagel shape. With one hand inside the hole, I kind of roll the bagel between my palms to smooth it. Leave a hole a bit bigger than a bagel-hole that you are used to in purchased bagels. The bagel will rise in all directions in the next steps, and the hole will get smaller.
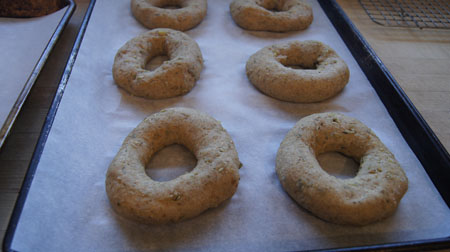
Place the smoothed bagel on a lightly greased surface or on parchment and let rise 20-30 minutes.
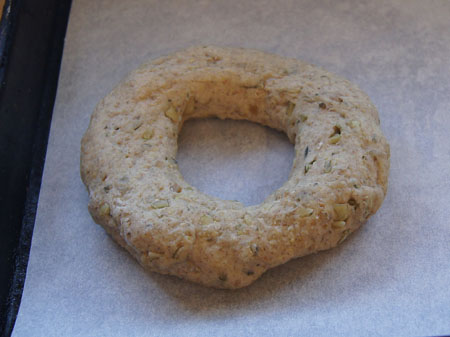
My kitchen was a bit cool, and this dough has a lot of bubble-popping bran in it, so I let my bagels rise about 40 minutes.
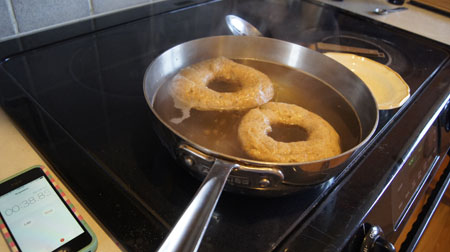
While the bagels rise, bring a pot of water to a boil. Add a tablespoon of malt powder (or use a tablespoon of sugar). Have ready an egg wash (1 egg whisked with 1 tablespoon water) and your choice of seeds for the top (I chose poppy seeds).
Take a bagel and put it in the boiling water, flipping it so that you put the top side down (this gives smoother looking baked bagels). Set a timer and boil 30 seconds, then turn it over, add another flipped bagel, and boil another 30 seconds. Remove the first bagel and turn the second and add another – continue until all the bagels are boiled.
If the instructions in the above paragraph are hard to follow, just do this: boil each bagel 30 seconds on each side!
Set each boiled bagel on a rack. Brush with the egg wash and sprinkle with seeds.
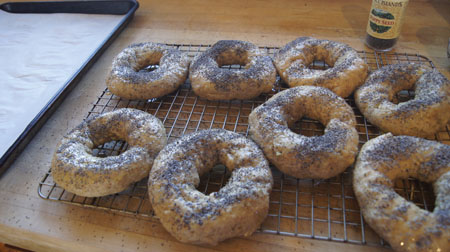
Bake at 400˚ for 20 minutes.
I ate one right out of the oven! Boy was it good. The next day I had one with cream cheese and jam for breakfast. Deli meat and cheese and lettuce and tomato for lunch. Gotta make some more!
250 Cookbooks next post


 Great again! The simple mixing method worked fine. I liked the cinnamon-sugar on top: sometimes I skip that step. Sometimes too I try to cut calories by decreasing the sugar and oil. But this time, I made them as they were meant to be. And they were delicious.