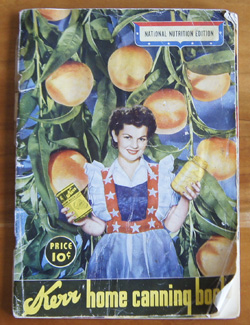
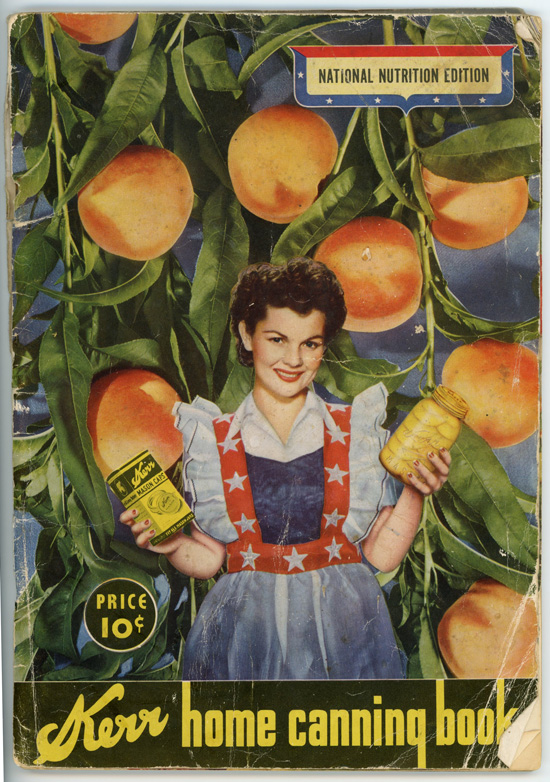
Cookbook #226: Kerr Home Canning Book, Kerr Glass Manufacturing Corporation, National Nutrition Edition, 1943.
 The time is 1943 and World War II is raging when this Kerr Home Canning Book is published. My parents, grandparents, uncles and aunts are affected, whether serving in the armed forces or living in the US. The entire American population gathers together to help the war effort. I wish now that I had had long talks with my parents and grandparents about the war, and learned more about their experiences, their feelings.
During the war, rationing stamps were issued to reduce the pressure on the food supply and indirectly help the war effort. Books like Kerr Home Canning Book encouraged and taught women how to can foods from their gardens to feed their families nourishing foods during those times of food shortages. To me, Kerr Home Canning Book is more a history lesson than a cookbook! Others agree. The Internet Archive (a non-profit) is building a digital library of Internet sites and other cultural artifacts in digital form. “Our mission is to provide Universal Access to All Knowledge.” On their site, I found that they have digitized a copy of the 1943 Kerr Home Canning Book. (And they also archived my own website for organic chemistry students at the University of Colorado, Boulder, beginning in 1998, in the Wayback Machine. I am humbled.)
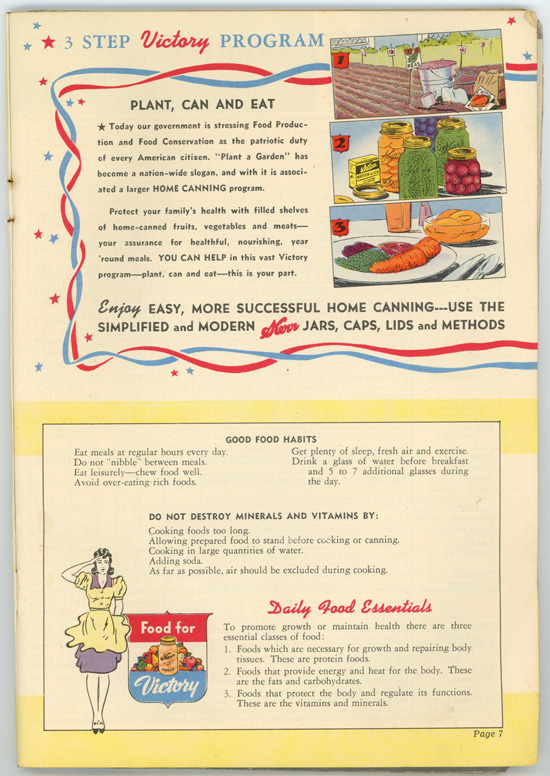
The inner cover is below. Note the “Food for Victory” slogan and the dedication to “the women who serve without banners . . . the Homemakers of America”.
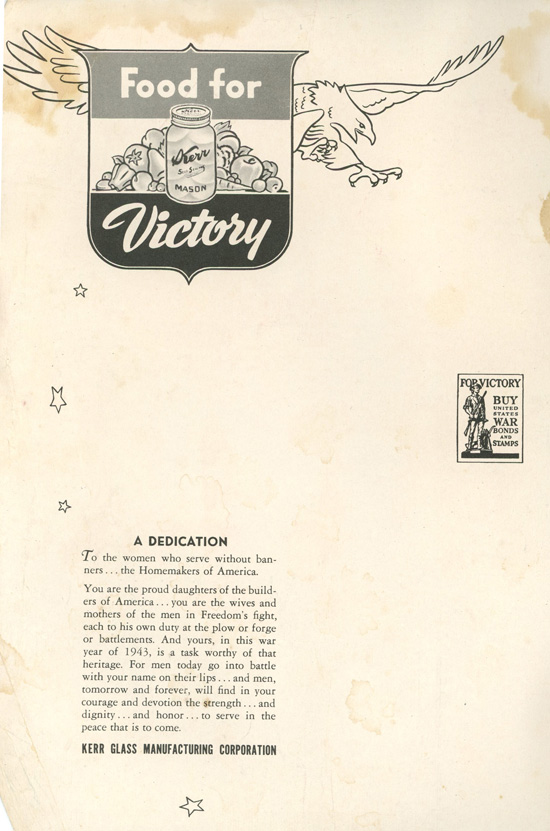
Food for Victory refers to “victory” or “war” gardens: fruit and vegetable gardens planted in public parks and private homes during both world wars. According to Wikipedia, by May 1943, there were 18 million victory gardens in the United States. “Grow your own, can your own” was the slogan of these families tending victory gardens.
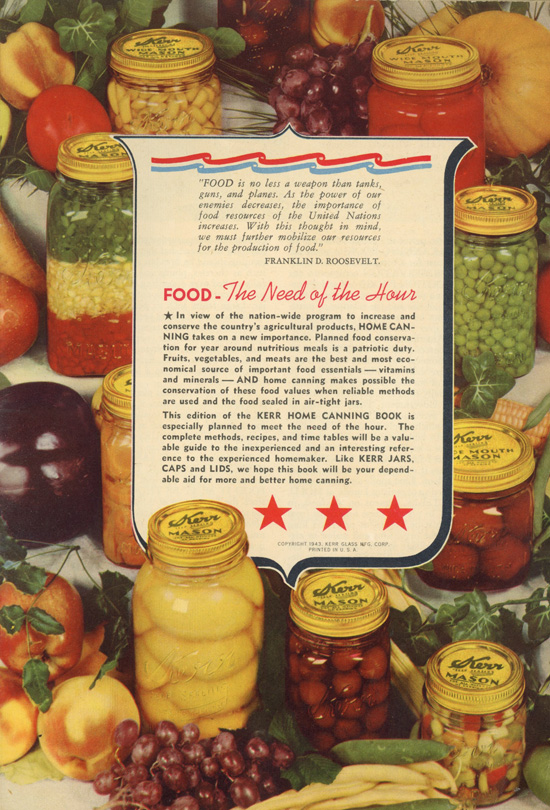
Kerr Home Canning Book has great color photos. Below is the title page. I enjoy the quote from Franklin D. Roosevelt, and “Food – The Need of the Hour”.
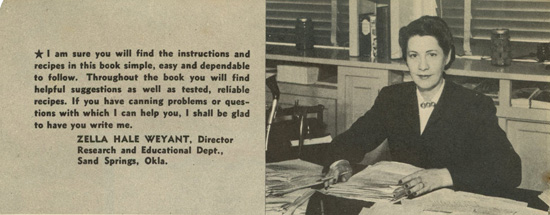
The introduction is written by Zella Hale Weyant, then the director of Kerr’s Research and Educational Deptartment, Sand Springs, Oklahoma. She invites readers to write her with any home canning questions:
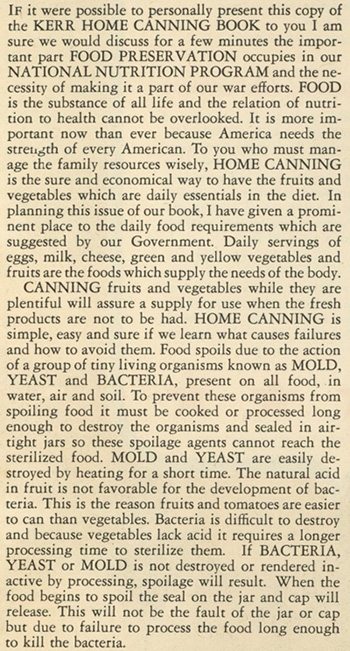
Her introduction begins:
 More nostalgia:
Following the introduction are a few pages of how to put up foods using the open canning method (for fruits and pickles) and pressure cooker processing (for vegetables and meats). The instructions are clear and helpful. (But If I were to use pressure cooker processing today, I would use the instructions that would come with the equipment.) Oven processing is also described.
And now, the recipes! There are some treasures in the main content of this Kerr Home Canning Book.
Canned fruit recipes are first, using the open kettle or hot or cold pack canning methods. When summer and fall Colorado harvests treat me with quantities of peaches or apricots or strawberries, I make jam. Jam takes a lot of sugar. But this book points out that all fruit can be canned successfully without any sugar, as sugar is used only to sweeten the food and does not keep it from spoiling. This is an important fact, since sugar was one of the foods rationed in World War II. Fresh fruit is packed into sterilized jars and and a thin, medium, or heavy sugar syrup is added. Proportions of sugar and water these three types of syrups are given to help canners sweeten sparingly, and recipes for these syrups from white corn syrup or honey are included.
The second recipe section is for canned fruit juices. I found this interesting, because I’d never think of canning fruit juices myself! Most of the juices are canned in a boiling water bath. Some of the more interesting recipes are for mint julep juice, peach nectar, pear nectar, strawberry syrup, and grape juice lemonade.
“Nourishing Tasty Vegetables” and “Deliciously Satisfying Soups” recipes call for pressure cooker processing, or extremely long hot water bath processing. Here is a big reason why I have only rarely tried canning vegetables:
“Note: All vegetables (except tomatoes) and meats canned at home should be boiled in an open vessel 10 to 15 minutes before tasting or using.”
The reason is bacteria, yeast, or mold contamination. Botulism, for example. No thanks, I’ll trust the current food industry for my canned vegetables. But people with a good canning pressure cooker might enjoy the recipes in this section for home-canned broccoli, cauliflower, pimiento peppers, hominy, mushrooms, boston baked beans, and sauerkraut.
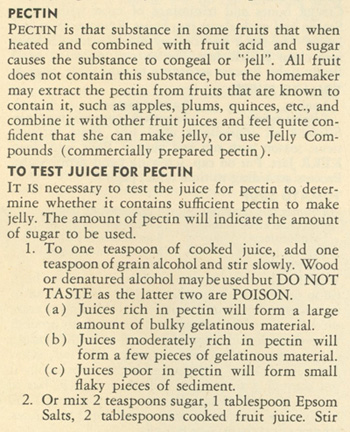
The section on jelly making begins with a discussion of pectin. Pectin, in combination with fruit acid and sugar, thickens or “jells” jams, jellies, and preserves. In my post on the Encyclopedia of Cookery, Vol. 9, I learned that pectin comes from the cell walls of citrus, apples, and sugar beets. Before pectin was sold commercially, home canners had to make their own. In the Kerr Home Canning Book, I learn that “the homemaker may extract the pectin from fruits that are known to contains it, such as apples, plums, and quinces, and feel quite confident that she can make jelly”.

Many fruits – not just citrus and apples – have enough natural pectin and fruit acid to jell without adding pectin. The Kerr Home Canning Book gives instructions for testing if a fruit has enough of these substances:
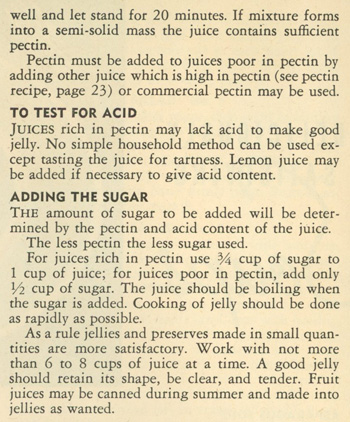 In the above excerpt, they do state that “commercial pectin” can be used, so apparently boxed or bottled pectin was available in 1943. Sure enough, Wikipedia states that pectin was commercially produced by the 1920s.
Jelly recipes include mint jelly, orange jelly, pineapple jelly, and rose geranium jelly. Preserves recipes include an interesting pumpkin preserves recipe. Jams are next – I make a lot of jams! I like the variety of recipes in this section, some unusual fruits, interesting mixtures of fruits, and a tomato jam. The recipe for peach jam directs the cook to cut up peaches, cook without the addition of water, measure the cooked peach pulp and for each cup of peaches add 1 cup of sugar, and finally cook until desired consistency. I commonly use the peach jam recipe that comes with the little packets of pectin: you prepare a specific volume of peaches, add a specific amount of sugar and lemon juice, and a packet of pectin. The recipe in this booklet is much more versatile – you can make just as much jam as you have fruit, and skip the pectin altogether.
Fruit butters and conserves are next. I have made fruit butters, namely, apple butter (and sometimes I vary the recipe by adding pears). Kerr Home Canning Book includes recipes for grape butter, peach butter from dried peaches, and tomato and apple butter. Conserves vary from jams in that they are a mixture of several fruits often combined with raisins and nut meats: cherry conserve contains raisins, peach and cantaloupe conserve includes walnuts, and grape gumbo includes grapes, oranges, and raisins.
Marmalades! Again, many possibilities, 18 in all. Pickles are next – someone wrote notes in the mustard pickle recipe, was it Ruth Vandenhoudt, or my grandmother? “Olive Oil Pickles” intrigue me, as well as Pickled Eggs, Pickled Onions, and Watermelon Pickles. Catsups, Chutneys, and Relishes include recipes for apple, crab apple, cranberry catsups, as well as the traditional tomato catsup.
The next section is for canning meat, poultry, and game. I’d never think of home canning these today. “Bunny Sausage” is made from rabbit meat, onions, and spices. Brains, liver, heart, and kidneys are also canned. Or, one can can chili con carne, stewed chicken, or meat stews. Mince Meat is a recipe I’ve run across before (Encyclopedia of Cookery, Vol. 7); mince pie used to be served at Thanksgiving or Christmas at our family gatherings. It’s made from chopped lean beef, suet, and a variety of fruits and spices. Pickled Pigs’ Feet! “Scald, scrape and clean the feet very thoroughly” it says. No thanks, I say!
A short section on canning fish and a section of “a bit of the unusual” like spaghetti sauce and hot tamales end the recipe sections of this booklet.
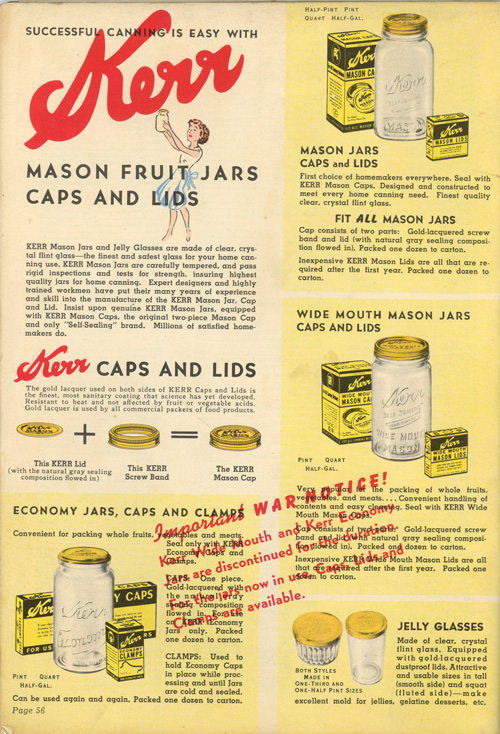
At the end of the book, there are 7 pages of questions and answers, and a comprehensive index. The final page is interesting, note the “Important War Notice!” on it:
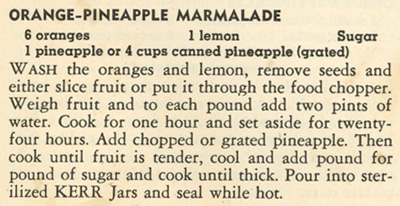
I decide to make Orange-Pineapple Marmalade for this blog.
I like the way this recipe is written. You weigh the citrus fruits after they are cut, then add two pints of water per pound of fruit. So, it doesn’t matter how big your oranges and lemons are, because the volume is appropriately adjusted to the amount of water. The same is true for the sugar: weigh the cooked fruit mixture and add a pound of sugar for every pound of cooked fruit. This makes it really easy to make smaller or larger batches of the marmalade. I decide to start with 3 oranges (they are pretty big) and 1/2 of a lemon. Here are my sliced oranges and lemon:
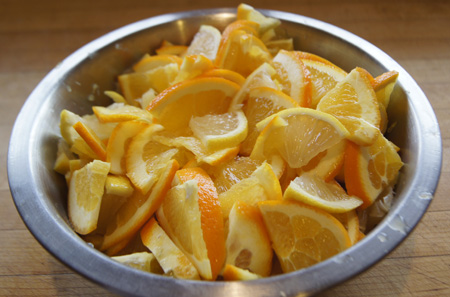
They are so pretty! Here is how I made my Orange-Pineapple Marmalade.
Orange-Pineapple Marmalade
makes about 6 pints
- 3 oranges, seeded, sliced thin or chopped
- 1/2 lemon, seeded, sliced thin or chopped
- 2 cups fresh pineapple, chopped in food processor with a few pulses
- water
- sugar
Weigh the sliced oranges and lemons, then add 2 pints (1 quart) of water for every pound of oranges/lemon, mixing them in a large (your largest!) pot. Mine weighed 2 pounds and 3 ounces, so I added 2 quarts plus 1 cup water. Bring the mixture to a boil, then simmer (sort of a “high” simmer) uncovered for an hour, stirring occasionally. Cover the pot and let it sit overnight.
Add the pineapple to the orange/lemon/water mixture and cook until the fruit is tender. I cooked about 20 minutes, mainly to boil off some of the liquid, since the fruit mixture will be cooked more after the sugar is added. I let it cool a bit, but not a lot, I simply carefully poured it into a tared metal bowl on my kitchen scale. I had 4 pounds and 12 ounces. So, I added 4 pounds 12 ounces of sugar.
Cook the mixture of fruit and sugar until thick. I cooked mine about 45 minutes at a hard boil using high heat (not my burners highest heat; about 7-8 on a scale of 1-9. I stirred it a lot to prevent it sticking to the bottom of the pan. At first it was obvious that a lot of water was boiling off; later it finally began thickening and foam rather than water bubbles formed on top. When I felt it was thick enough, I used an instant-read thermometer and it registered 212˚ F.
Stir and skim the hot marmalade for 5 minutes. Pour into freshly washed and hot-rinsed jars, top with a canning lid, and invert to complete the seal.
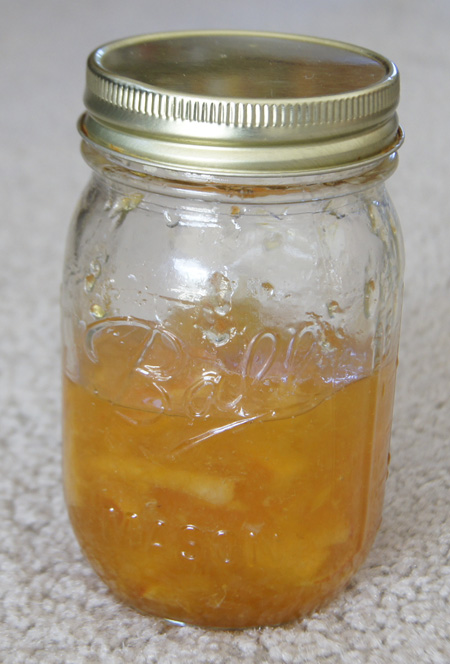
This marmalade is excellent! It is a bit “sticky”, like it was cooked too long. Next time I would add about half the amount of water to boil the orange and lemon slices. And I might even use more pineapple. But for a first try, we sure are enjoying this batch of marmalade.
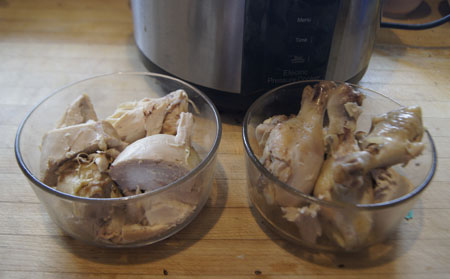
Here is a scan rather than a photo of the nostalgic cover.

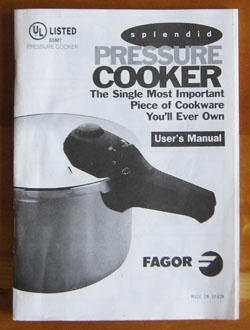 This is the instruction manual that came with the pressure cooker I bought sometime in the early 2000s. I have already talked about that specific pressure cooker in my post Fagor Pressure Cookers, More than 50 Recipes.

 I don’t need this booklet anymore, since I no longer have a stove-top pressure cooker and since the recipes aren’t very exciting. I will recycle it.
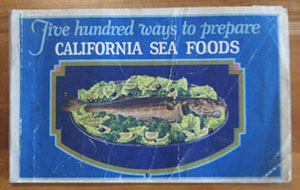 The sheer abundance of fish covered in this book is amazing – about 60 species! The table below shows the types, poundage, and total amount of fish produced in 1933 in California.
 This takes me back: when I was in elementary school, we always had fish on Friday – a tuna fish sandwich in my lunchbox. Fish on Friday was a Catholic practice, and although we were not Catholic, we nevertheless had those tuna sandwiches. Curious about this tradition, I found several interesting articles. In
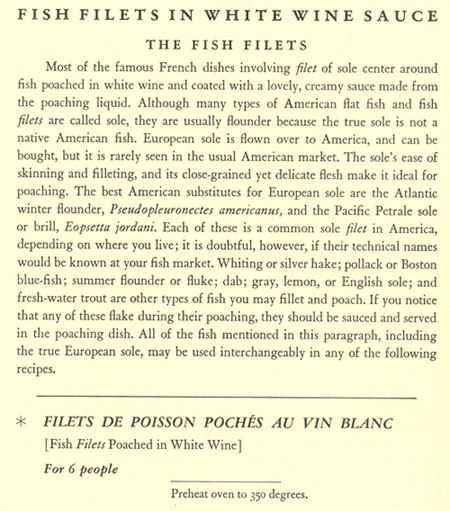
 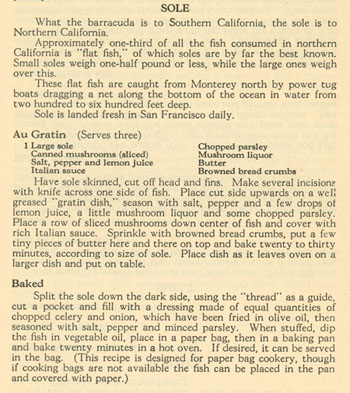 That’s not the only page of recipes for sole – they go on for four more pages!
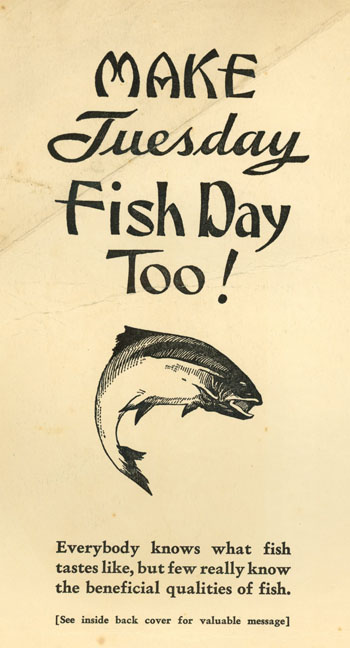
 The book ends with “Reasons Why you should make Tuesday Fish Day too!” touts fish as “one of the most heathful and nourishing foods known to science”.
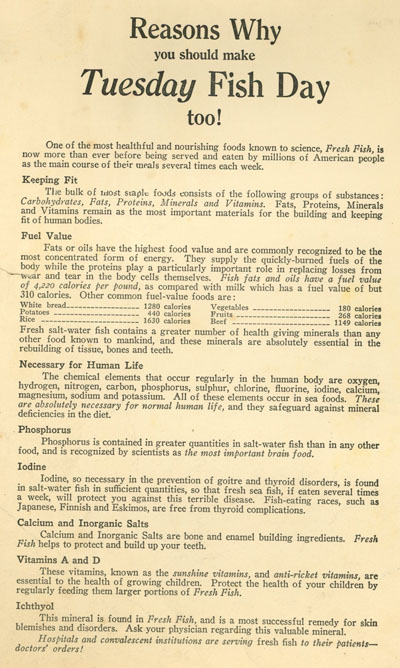
 This tartar sauce was amazingly good. Fresh and zingy. I served it with salmon along with wedges of lemon. I usually make “tartar sauce” by mixing together mayo or yogurt with a little pickle relish and tarragon. But this one is a big step up in flavor, and still very easy to make. I am sure I’ll use it a lot in the future!
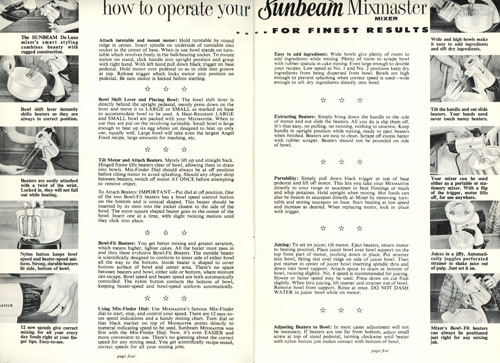 Basic instructions for making cakes. I like the vintage black-and-white photos:
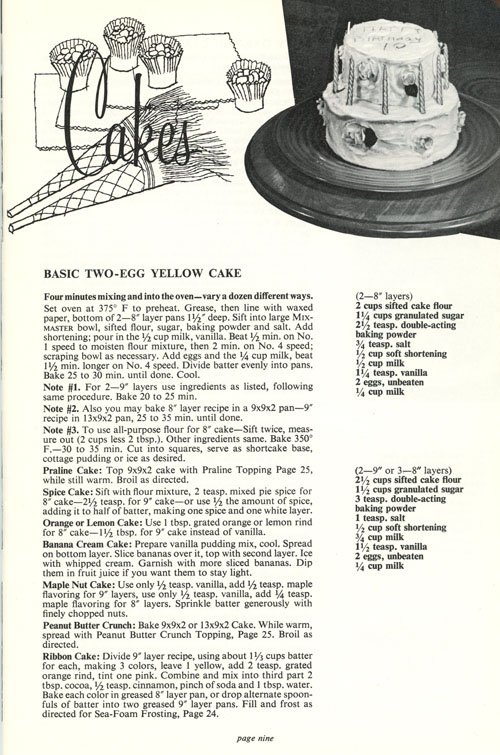 Loaf cakes:
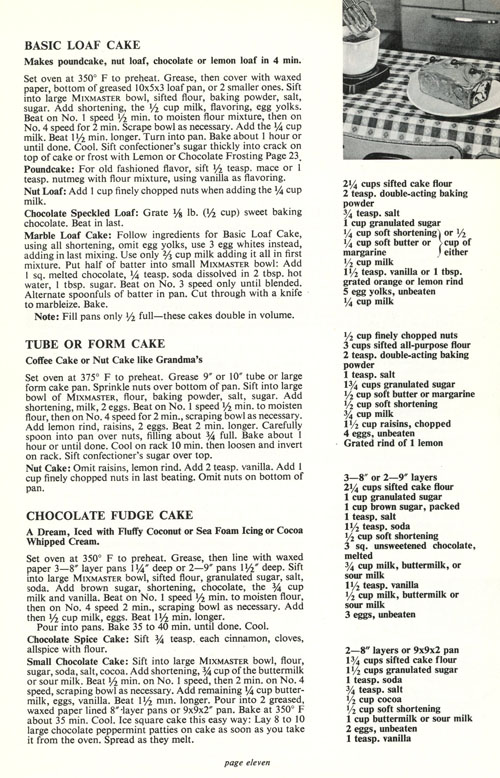
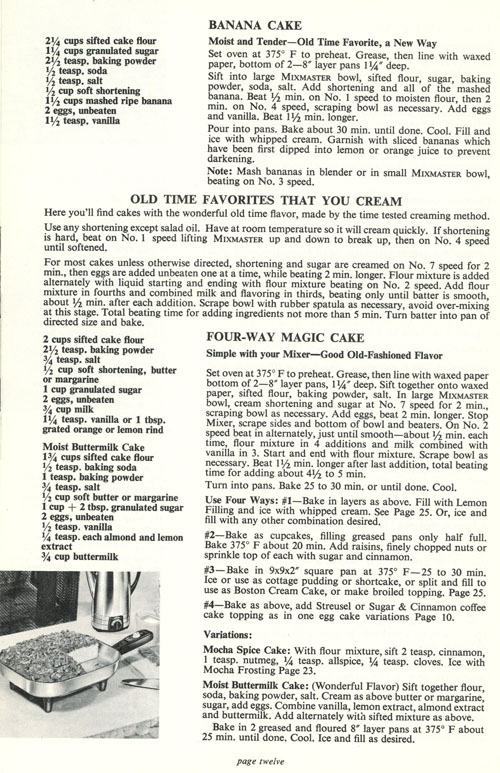
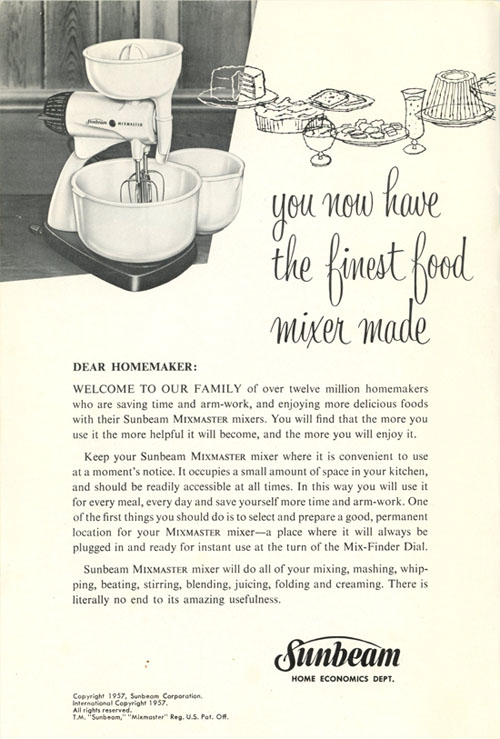
 I like the following page for the kitchen counter photo at the top of the page. And the text below suggests to use a Sunbeam electric fry pan for the pan cakes, a waffle iron for the waffles, and a blender as well as the mixmaster for the meat loaf.
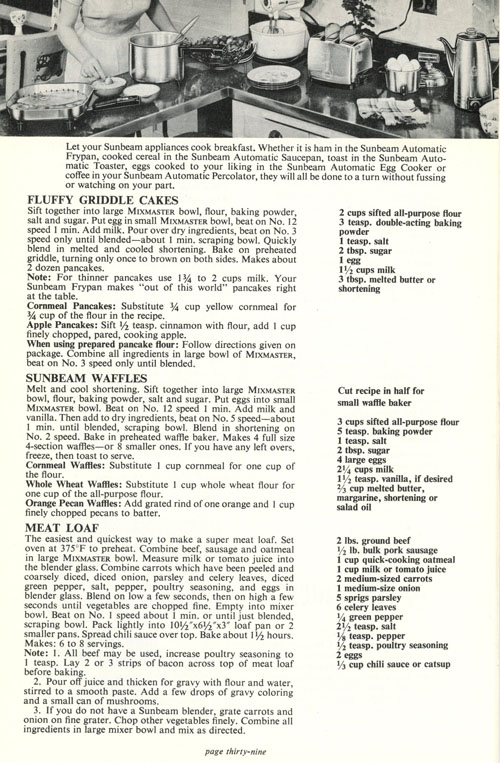 Finally, the back cover, showing all the available Sunbeam appliances in 1957. I made a similar scan of the back cover of
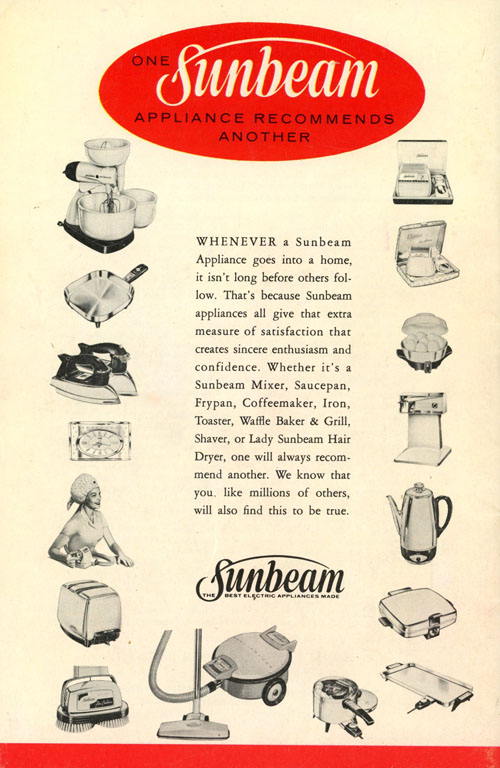
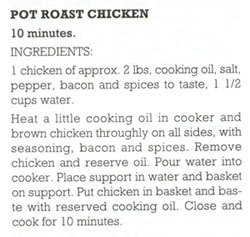
 These are tasty. I cooked them too long because I didn’t read my directions! I thought it was “12 minutes”, but it was “10 minutes”. I checked them at 12 and thought they weren’t brown enough, so I gave them another 2 minutes and they actually tasted burned. 10 minutes! They will not look real brown but will be done!

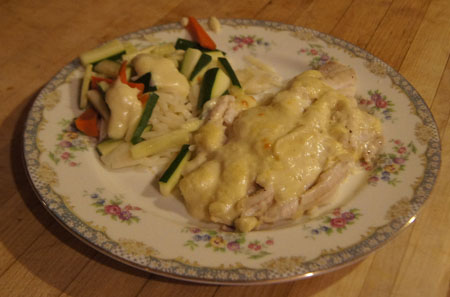 I served with a little orzo and steamed julienned zucchini and carrots on the side. I also served a loaf of