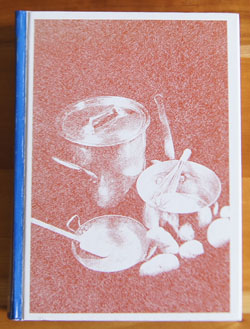
Cookbook #208: International Recipes.
 No author, no publisher, no publication date! This is the only cookbook in my collection with none of that information. It is a community-style cookbook, typed and copied, with black and white hand-drawn illustrations. The paper and cover are 3-hole punched, and it is held together with brad-style paper fasteners.
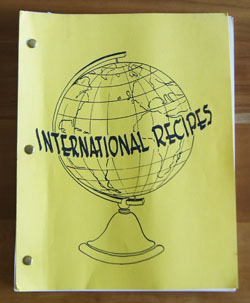
Community cookbooks were often sold as fundraisers. Usually the recipes are attributed to different contributors, but not in International Recipes. Or at least, the organization behind the cookbook is given. Maybe someone will see my photos and recognize this cookbook! Here is the first page:
 I read through this entire book, and am impressed with the author’s work. She (I assume it was a woman, at least) set up each section with an entire menu of recipes for the particular international cuisine. She referenced a sauce from one section (a raspberry sauce) that might go with a recipe from another section (a pecan torte). Because of the consistent writing style and the cross-references, I think this book was all written by one person, although she may have collected ideas from friends of different cultures. The recipes call for canned or processed items, like bean sprouts, canned shrimp and crab, and cake mixes; canned coconut milk was not available; there are several gelatin salad recipes; and microwaves and food processors are not mentioned. All of these facts lead me to believe it was produced in the sixties or seventies. Plus, it was prepared on a typewriter, not a computer.
I decide to put in the time and go through each international recipe section and take notes. Here goes!
India: Curried Chicken Balls, Curried Shrimp, Indian Puria (a deep fried dough), Chutney (onions, apples, raisins, prunes, plums, cloves, nuts, sugar, vinegar and spices), Curried Fruit Bake (canned peaches and pears baked with butter, sugar, and curry powder), and condiments (like peanuts, cooked eggs, coconut). The Curried Shrimp serves 12, and takes 2 1/2 quarts of cooked shrimp! It also calls for 9 cups of coconut milk, with instructions for how to make this from milk and canned shredded coconut.
Poland: Barszcz (a soup made from beet juice drained from canned beets), Potrawa Kurczecia z Ryzem (stewed chicken), Zucchini w sosie (zucchini with paprika and cream), Salata (lettuce salad), Tort Marcepanowy (raspberries, sugar, yellow cake mix, almond paste).
Japan: Chicken noodle soup, Cucumber and Crab Meat Salad, Japanese Rice, a Sukiyaki similar to the recipe I got from my Japanese roommate, Mandarin-Orange Dessert (gelatin, cream cheese, whipping cream, apricot juice, mandarin oranges).
Germany: Rinds Rouladin (thin steak rolled around bacon, dill pickle, onion), Green Bean Salad, Flan Tart (German Fruit Pie), Melba Sauce (raspberries, recommended to use in another section, Vienna, with the Pecan Torte).
France: Rock Cornish Hens with French Chestnut Stuffing (calls for canned French chestnuts), Tomato Stuffed with Mushrooms (ripe tomatoes, mushrooms, sour cream, Roquefort cheese, fines herbes, sherry, almonds), Coffee Cream (milk, gelatin, sugar, instant coffee, egg yolks, shipping cream, Curacao, chocolate).
Greece: Abrak (grape leaves stuffed with lamb and rice), Braised Lamb (meatballs with onions, tomatoes and lemon juice), Stuffed Tomatoes and Eggplants (Gemistes Domates me Melzana, kefaloteri cheese), Vegetable Salad (cabbage, string beans, capers, olives, beets), Baklava (the dough is made from scratch!).
China: Sweet and Sour Meat Balls (battered and deep fried), Bean Sprout and Snow Pea Salad (canned bean sprouts and garden lettuce), Buns Stuffed with Shrimp (from-scratch yeast dough, steamed), Almond Cookies.
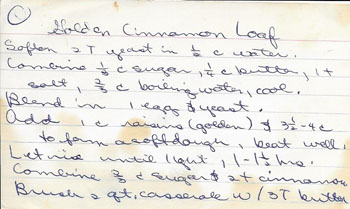
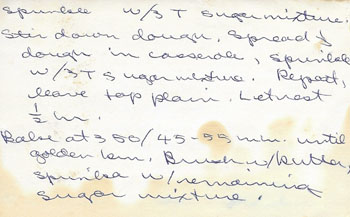
In the Latin Countries: Mexico, a mixed garden salad and Kahlua with ice cream; Brazil, a rib eye roast marinaded in vinegar, burgundy wine, gin, onion juice, bay leaves, garlic, tarragon, tabasco; Nicaragua, spiced cooked bananas; Spain, potatoes whipped with cream cheese, green pepper, butter, green onions, pimento, saffron, cheddar and parmesan cheeses, and then baked; Portugal, cinnamon bread (a yeast bread).
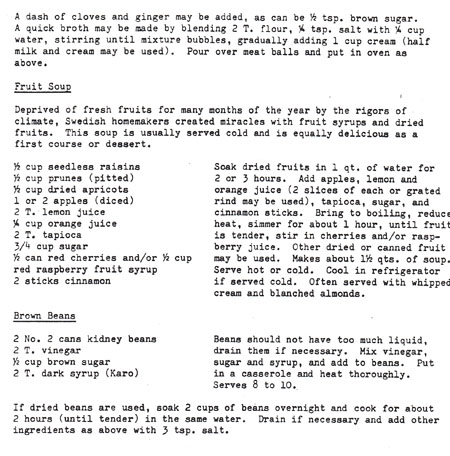
Swedish Smorgasbord: I have good coverage of Smorgasbord in my book the Encyclopedia of Cooking Volume 10. Below is the section on Swedish Smorgasbord in International Recipes.

 Hungary: Hungarian Gulyas (like a goulash), Wilted Cucumbers, Cole Slaw, Cream Apples.
Indonesia: Marinated Lamb (lamb cut in small cubes rolled in a ground-to-a-paste mixture of onions, garlic, salt, chili peppers, coriander, cumin, saffron, and ginger, then browned and simmered; Green Beans in Coconut Milk (again, a recipe for making coconut milk), Date and Fig Sauce (for ice cream or cake).
Italian: Antipasto, Chicken Tetrazini (different from my recipe), Parmesan Pinwheels (pastry mix with Parmesan cheese and olives), Caesar Salad, Biscuit Tortoni (a frozen dessert made with macaroon crumbs, whipping cream, sugar, beaten egg whites).
English Menu: Cornish Pasties, Yorkshire Salad (lettuce, green onions, molasses, vinegar), Devonshire Cream over Fruit (cream cheese, sour cream, whipping cream).
Russian: Pirozhki (meat filled pastries), Yablonnick (cooked apples), Beef ala Stroganoff, Health Salad a la Kiev (cucumbers, raw carrots, apples, tomatoes, lettuce, sour cream, lemon juice), Torte (a rich dessert with raspberry preserves and coconut).
I decide to keep this cookbook. I find it interesting! Plus I’d like to try the Chinese buns stuffed with shrimp, the Japanese salad with wilted cucumbers and crab meat, the Indonesian marinated lamb, and Abrak (grape leaves stuffed with lamb and rice).
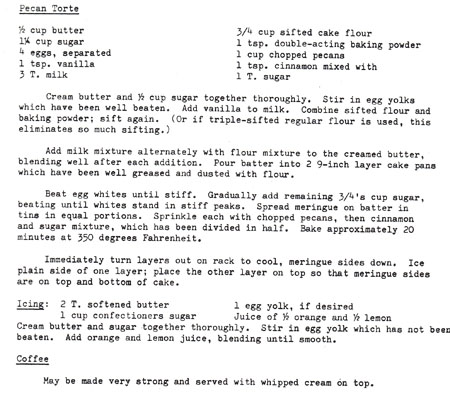
For this blog, I choose to make Herb Rolls, a Viennese recipe. The entire section for the cooking of Vienna is below, to show you how the recipes are laid out and illustrated. I’d also like to make the Pecan Torte someday, and maybe put one of the raspberry sauces on it.
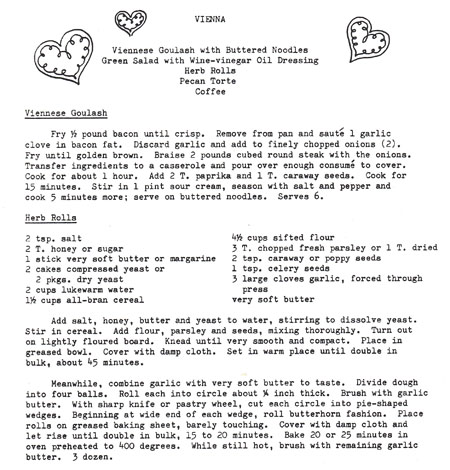
I’ll make the Herb Rolls in my breadmaker and see how it goes. I don’t need 3 dozen rolls, so I’ll halve the recipe. Still a lot for two people, but I think these will freeze well. I like the honey in the recipe, and the all-bran cereal will add some fiber. I chose poppy seeds (instead of caraway), and added the seeds and the chopped parsley when my breadmaker “beeped” to signal it was time to add seeds to a loaf (thus they do not get grinded into the dough). I’ll use bread flour (especially since I’m flush off writing my last post on French Bread).
It’s important to make this bread on a preheat dough cycle, because the bran cereal needs some time to soak and become mushy.
Herb Rolls (breadmaker instructions)
makes 16
Add the following ingredients to a bread machine in the order given:
- 1 cup water
- 3/4 cup all-bran cereal (I used the “buds” form; either would work)
- 4 tablespoons butter, cut into chunks
- 1 teaspoon salt
- 1 tablespoon honey
- 2 3/8 cup unbleached bread flour
Set the machine to a preheat dough cycle that has a rising step and push the start button. Have ready to add at the “beep” that signals time to add seeds, raisins, nuts or the like:
- 1 1/2 tablespoon chopped fresh parsley
- 1 generous teaspoon poppy seeds
While the dough kneads and rises, set out at room temperature 2-3 tablespoons butter (preferrably unsalted) so that it softens. Add to this butter minced garlic, 1-2 medium cloves.
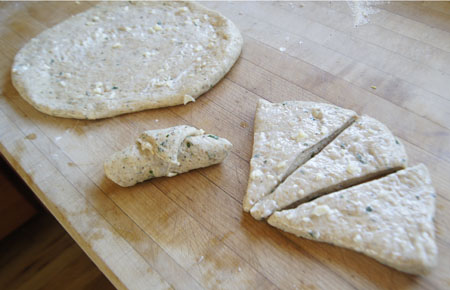
When the dough is ready, take it out onto a breadboard and knead it a few time to spread the yeast around. Then, cut the dough into two equal pieces. Roll each piece into a circle about 10-12 inches in diameter. Put half of the softened butter-garlic mixture on top of each circle, then cut each into 8 pie shaped pieces. Roll each pie shape, starting from the pointy end:
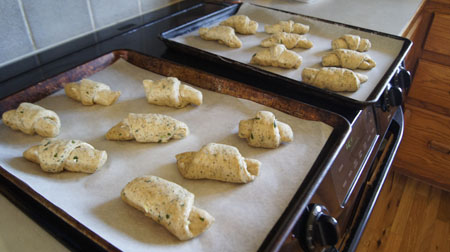
 I put the rolls on 2 parchment-lined half sheet pans and let them rise about 20 minutes (my kitchen was warm). I learned from experience that the rolls bake up best if you tuck the pointy ends under the rolls.
Bake for 25 minutes at 400˚.
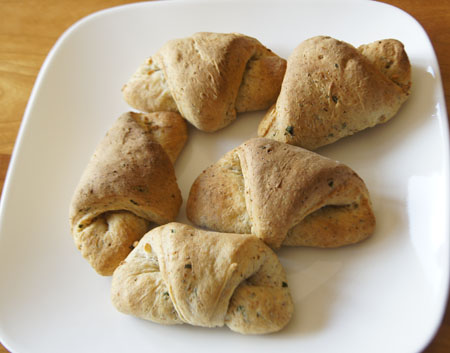 A “yum” for this recipe! These are soft and tasty, and fun to make. The bread machine method worked great. I put some of the rolls in the freezer for later use. Yes, I’d make these again!


 “I smile warmly at Julia Child’s complete love of cooking”. These words were mine when I explored
 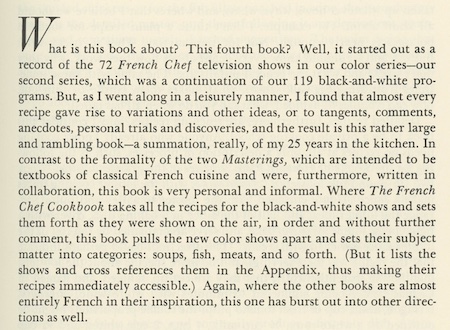 From the above excerpt, we learn that Mastering the Art of French Cooking was written as a textbook, a complete guide, and was written as a collaboration. I used to be a bit intimidated by that first tome. (Now I totally enjoy it!) From Julia Child’s Kitchen is less serious and more fun. Sure, it includes all the important methods of preparing soups, poultry, meats, egg dishes, quiches, homemade sausages, fresh vegetables, French breads, pastries and desserts. But it focuses on the American home cook, with recipes that can be made in a reasonable amount of time and with any level of cooking skill. From Julia Child’s Kitchen also has a chapter on “earthy alternatives”, such as lentils, beans and rice. I find most of the recipes a bit less calorie-laden than in her previous book. And, there are cartoons throughout.
 And in the very back of From Julia Child’s Kitchen I find this – what I call very funny – passage in one of the appendices:
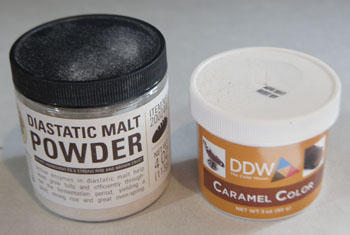
 It is just lovely and bubbly and has a wonderful yeasty sour smell.
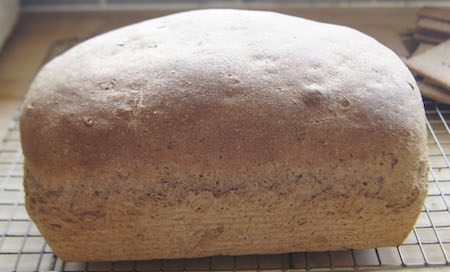
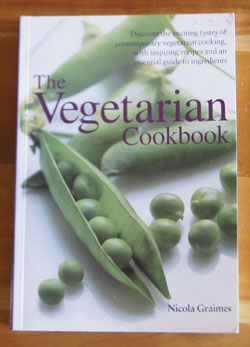 The Vegetarian Cookbook is pleasantly laid out and illustrated, and Nicola Graimes is a personable author. I probably bought this book at a time when my daughter was vegetarian. I don’t think I’ve cooked many – if any – of the recipes in it! Why not? I really can’t tell you.
 (This book is hard to open out flat enough to follow a recipe while cooking!)
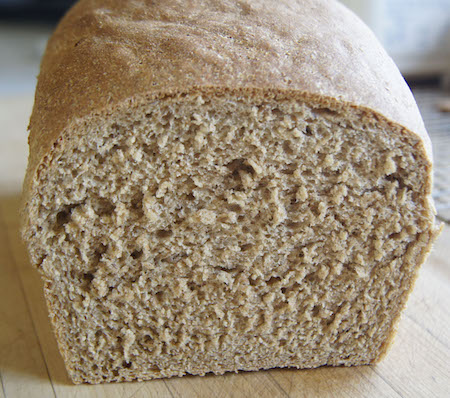
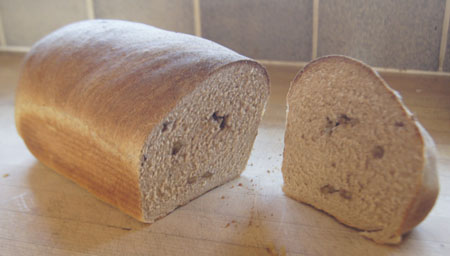 This bread is excellent! I think I found the perfect combination of whole wheat flours to give it excellent flavor and still have good texture – sometimes whole wheat loaves turn out sort of like heavy rocks. The walnuts made me keep wanting to have another bite! Note that this is a good bread for people on a low-carb diet, because it is whole-grain and also has nuts.
 I own 5 of the 27 Foods of the World volumes produced by Time-Life Books, and have covered 4 of them so far:
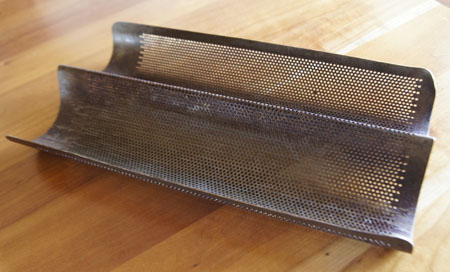
 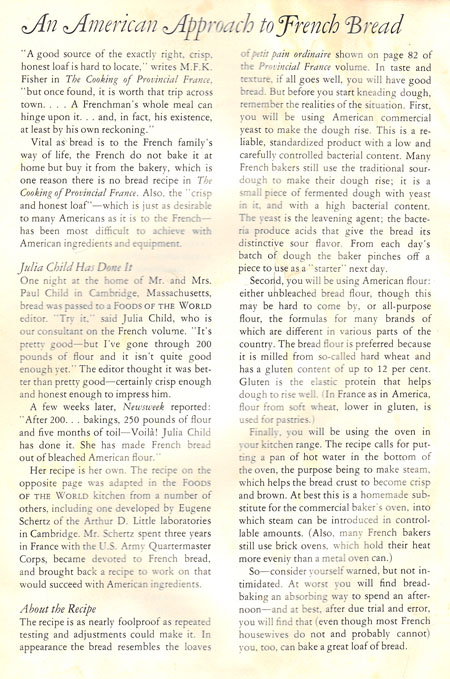 Note in the above discussion that in France, most people buy their bread fresh daily in the bakeries, or
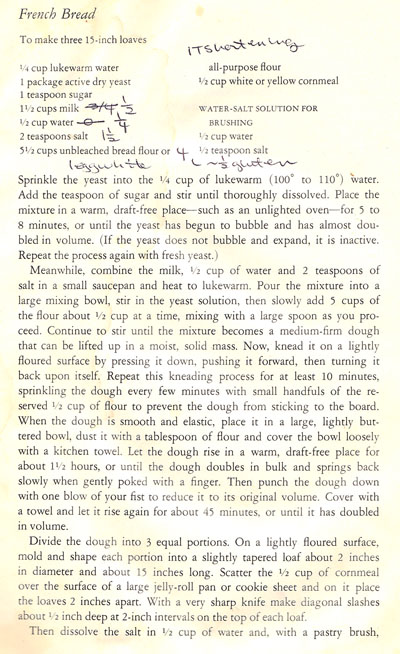
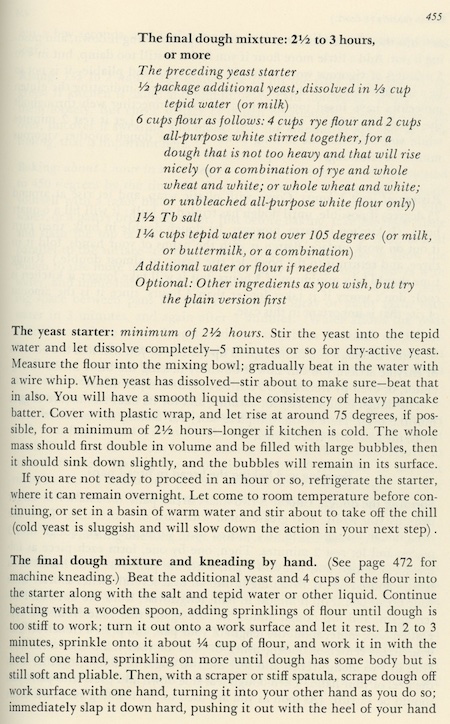
 I also added 1 egg white to the dough. I forget where I got that idea, but I found it essential for making a good loaf. I also added 1 tablespoon shortening – I forget why. I discovered early on the advantage of adding vital wheat gluten flour to my loaves, so the changes I made to the recipe include using 1/2 cup gluten flour in the total 4 cups of flour, (the rest was all-purpose flour).
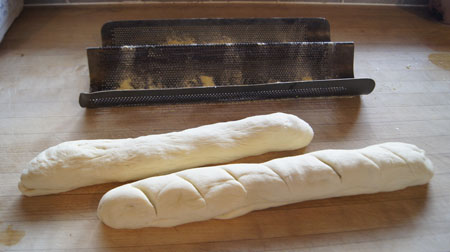
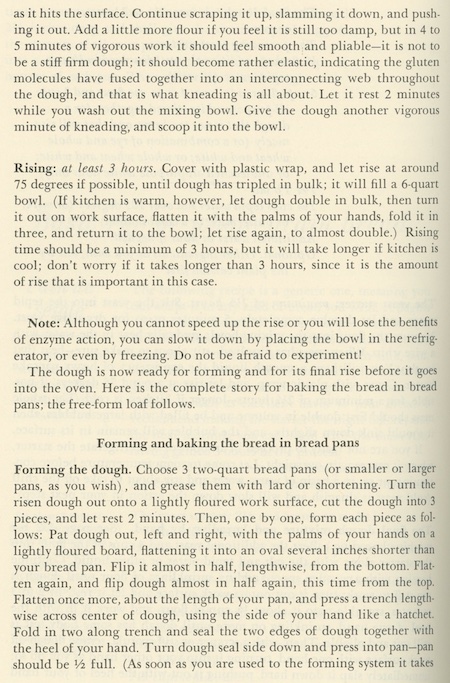
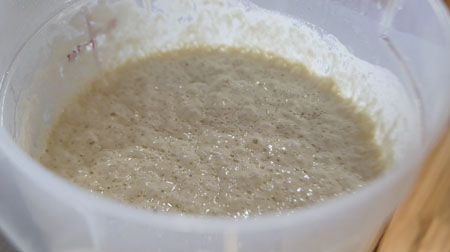
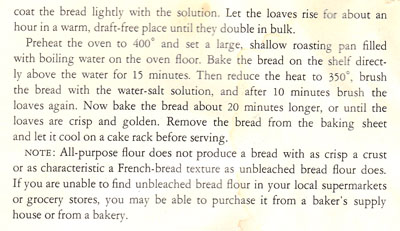
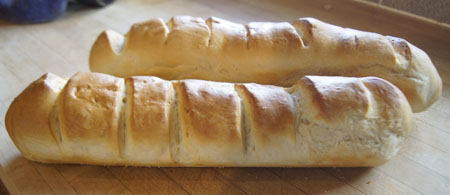 I am very pleased with the results. Granted, I made some of the slashes too deep so it may not look perfect, but the crust is golden brown and good and crunchy. The inside has a good “crumb”, sort of halfway between kneaded breads and no-knead breads. (No-knead breads are more like the artisan loaves we buy locally.) I like the flavor, too. Some chefs argue that true French bread has no milk or butter in it, but I like it this way.
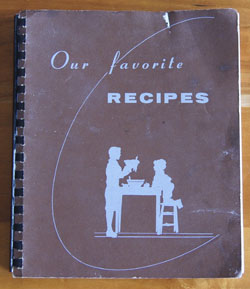


 I think there is a bit too much sugar in this recipe, I prefer butter to shortening (and less), I will use active dry yeast yeast, I want to make only half a recipe, and I want to use my breadmaker. My version of this recipe is below.
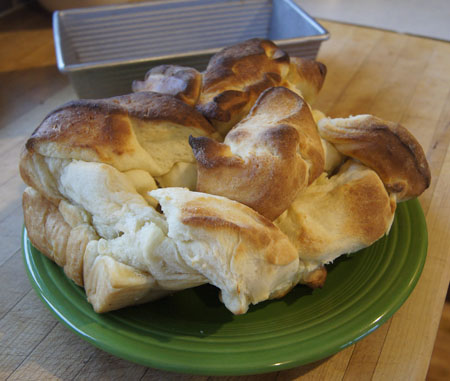 As you can see, my bread rose crazily! That’s why I suggest a bundt pan next time. Usually a 9×5-inch loaf pan is big enough for 2 1/2 cups flour – but this time it obviously wasn’t!
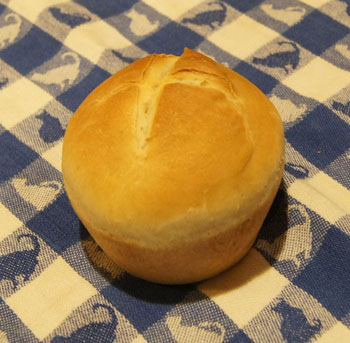
 Here are the rolls, ready for the oven after the first rise. They rose to just above the top of the muffin tin.
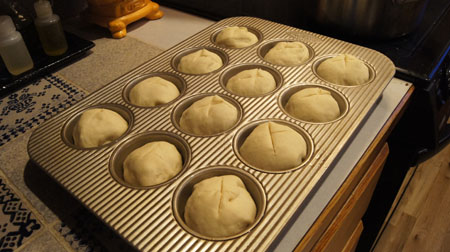 And here are the golden brown rolls, baked:
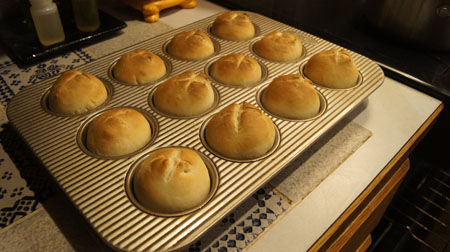
 Note: I put the extra rolls in the freezer. A week later, I needed bread for a dinner, so I popped three in the microwave on high for 60 seconds. Perfect! Now these are “60 second 60 minute rolls”.
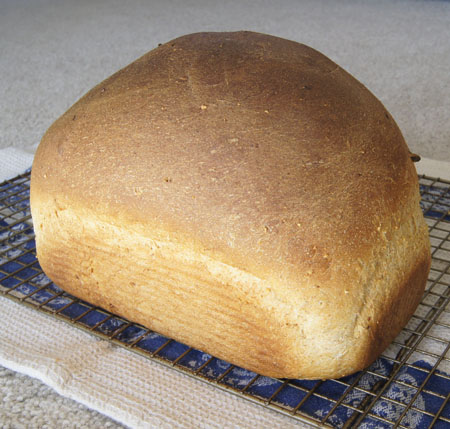

 This bread has an excellent flavor and a pleasant crunchy-chewiness. Not too chewy as I feared. Great for sandwiches, toast, and with stews and spaghetti. A success!

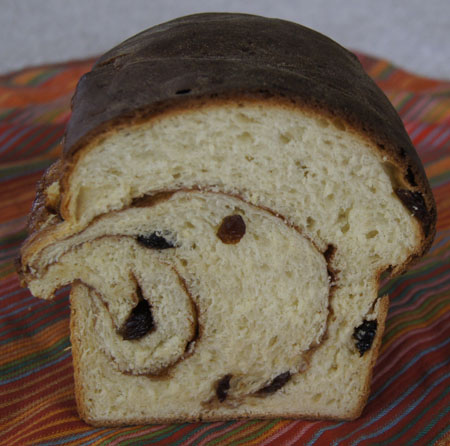
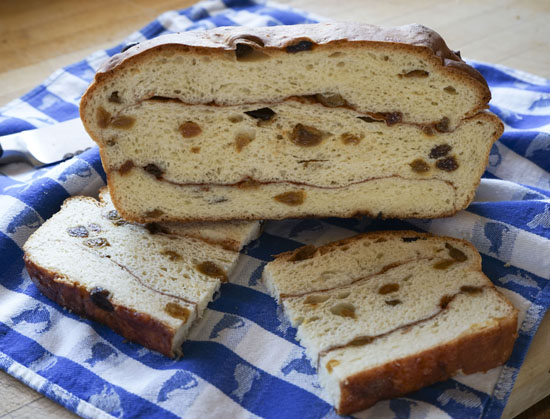
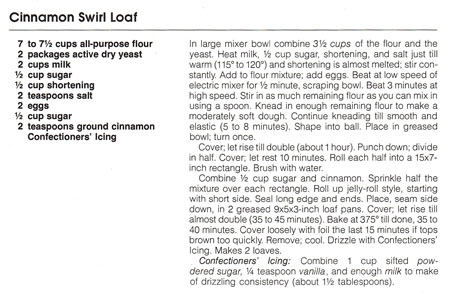 In this recipe, a sweet and rich yeast bread dough is rolled around cinnamon and sugar before baking. I’ve tried swirled breads before, but after baking they always had big gaps in the swirls. Why? Because I always brushed butter onto the dough before the cinnamon and sugar. The butter sent the layers flying apart when the loaf was cooked. This recipe uses water (duh! says this chemist) to keep the dough layers together. I want to see if it works.
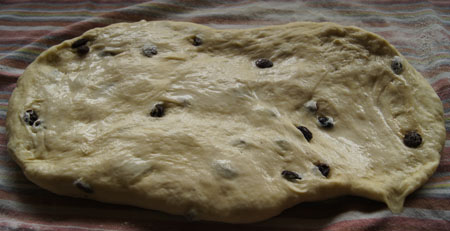 The cinnamon-sugar sprinkled on top:
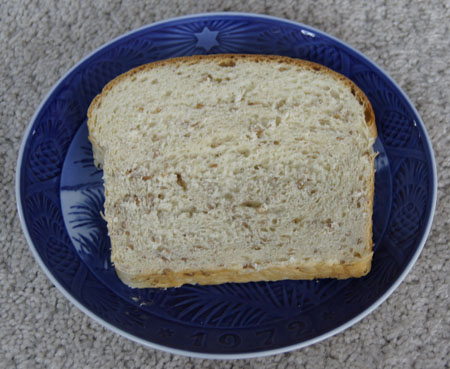
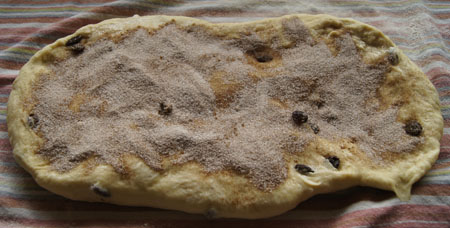 Now the next photo isn’t terribly pretty. This bread about overflowed the pan on baking and leaned to one side. But it tasted great! Next time I make it, I will probably start with less milk and less flour or maybe less yeast (this is not written into the above recipe). I baked it at 375˚, and the crust was browner than I like; next time, I will bake it at 350˚. Otherwise, I will definitely make this again! The swirled layers stayed together, just like I wanted.