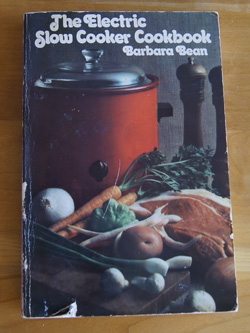
Cookbook #18: The Electric Slow Cooker Cookbook. Barbara Bean, Henry Regnery Company, Chicago, Illinois, 1975.
 I have eleven crock pot/slow cooker cookbooks – guess that says something! Three are copyright 1975. Let’s see, where were we then. We moved to Colorado in 1973, so we were living in Boulder. I was in my first years as a working young woman, and interested in the current healthy-style trends. I used the crock pot to cook beans or inexpensive cuts of meat while I was at work (or at play, thinking back …).
Crock pots (as we know them) had not yet been invented when I grew up. Out of curiosity, I google-searched news articles employing date limits and found the first mention of “crock pot” in 1973. A “crock pot” was demonstrated at a church gathering by a “Mrs. Fred Jones”, and a bride-elect was presented with “an electric crock pot and a lily corsage accented with red roses”. A more traditional search of the web pulled up a Wikipedia entry. The crock pot’s predecessor was the “Naxon Beanery All-Purpose Cooker” developed by the Naxon Utilities Corporation of Chicago. In 1970, Rival bought Naxon and the rights to the Beanery, upgraded the appliance, and called it the Crock-Pot®. The PetitChef website used to have a graphic of crock pots from different eras, and my first one looked just like the “1971” version. (2025 update: the Los Angeles Times has this article.)
My use of a crock pot has ebbed and flowed over the years. I tried a lot of recipes; some failed, some worked. I used to use the crock pot a lot for my own version of refried beans. I would buy dry pinto beans, soak them, then cook them in the crock pot with a bunch of seasonings. When done, I would mash them with an electric hand mixer while still in the pot. This way, I would have “refried” beans without any fat. In the early 70s, I also cooked soy beans for a soy bean chile.
I consider a slow cooker an essential tool for my kitchen, even if it sometimes sits for months without use. I’m now on my third slow cooker. My first one was a Rival CrockPot® (it got a crack in it), my second one was a “Crock Watcher” by Hamilton Beach (it had a removable crock; the switch wore out). My newest has a timer and a removable cooking crock. Recently, I had a lot of fun using it to make Apple Butter.
The best thing about a crock pot meal? Walking into the kitchen after a long day day at work or play, and finding the house suffused with the aroma of something delicious simmering and ready to be dished up.
What I don’t like about the crock pot is that with the wrong recipe, it can turn a mixture of meat, vegetables, and liquid into an amorphous mass. I’ve learned to choose my recipes carefully. It’s good for breaking down tough, inexpensive cuts of meat, like round steak or chuck roast, turning them into tender and tasty stews and stroganoffs (try it for my Lamb Stew with Cinnamon). I have a good recipe for game hens in a slow-cooker and a great cassoulet recipe. I’m sure I’ll come across other crock pot favorites when I go through the rest of my cookbooks, and I’ll share those that have become favorites. And, I’ll try to branch out as I go through these eleven crock pot cookbooks.
And I am branching out with my recipe choice from this cookbook: Duck!
Yes, duck. That other poultry. We’ve had it at restaurants a few times but I’ve only cooked it once or twice. So trying this recipe is a bit of a stretch for me. Good exercise!
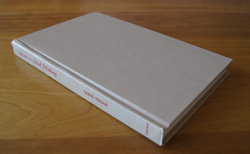
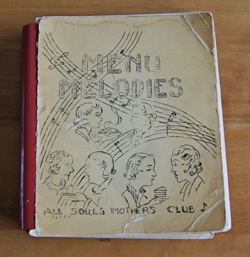
The duck recipe is not the only recipe that I might eventually try out of this cookbook. I noted about six that look interesting. Years ago, I tried the recipe for Teriyaki Chicken and wrote notes on it. The recipes in this 1975 cookbook are a bit dated, perhaps, but I think they stand the test of time as “comfort foods”. One would not see their simple titles on a recipe in a fancy restaurant, but in my kitchen, after a cold winter day spent outdoors in the Colorado high country? Yes, they have their place. I am going to keep this cookbook. You can see from the photo (at the top of this entry) that it is well-worn.
The recipe I will try is “Duck Bayou”. I think that duck will hold up well in the slow cooker; it probably will retain some texture after a long cook. And it has a distinct flavor to bring to the dish.
 Recipe Comments
The dish turned out to be a success. I probably will cook it again, and I think it’s interesting enough to share. I did run into some issues, though, both at the store and in the cooking.
First, duck can be hard to find. But, I was lucky and found three leg-thigh pieces at the counter at our local groovy store (a store that is now a bicycle shop). They had frozen whole (and expensive) ducks in the freezer display, but I’m cooking for two, and I don’t want to cook an entire duck for just us.
Second, the recipe said to cook for 8-10 hours on low. I checked my duck at 6 hours, and found that the liquid was almost evaporated and the duck was starting to char. I immediately removed the food from the cooker. The problem with the cooking time might be that the original recipe was written for a tall, round slow cooker. Mine is large and oval-shaped. Also, I downsized the recipe but still used a large slow cooker. Two approaches fix the problem: less cooking time and more liquid.
I made a few other changes as I cooked this recipe: more herbs, chicken stock, extra wine added at last step, fresh mushrooms. My modifications are incorporated in the version below.
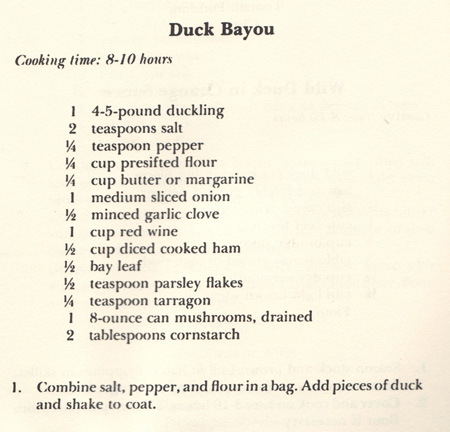
Duck Bayou
This recipe is written for 2-3 people, depending on appetites. Double the recipe (using a whole duck) and it will serve 4-6 people.
- 3 pieces of duck (breasts or leg-thighs)
- 1 teaspoon salt
- 1/4 teaspoon pepper
- 1/2 cup flour
- oil or butter for frying the duck
- 3/4 of a medium onion, chopped
- 1 clove garlic, chopped fine
- 1 cup red wine, divided
- 1/2 – 1 cup chicken stock or water
- 1/2 cup diced ham
- 1 bay leaf
- 1 tablespoon chopped fresh parsley, or 1 teaspoon dried parsley
- 1/2 teaspoon tarragon (dried, more if you have fresh tarragon)
- 1 cup sliced or chopped fresh mushrooms
- 1 tablespoon cornstarch
Carefully trim the fat and any excess skin from the duck pieces. Duck skin tends to pack a lot of fat.
Combine the flour, salt, and pepper in a paper bag. Add pieces of duck and shake to coat.
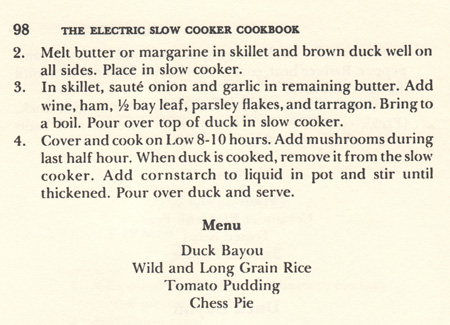
Put a small amount of oil (I used olive oil) or butter in a frying pan. Add the duck pieces and brown well on all sides. Place in slow cooker.
In the same pan, saute the onion until it wilts, then add the garlic and saute 30 seconds. Add 3/4 cup wine, 1/2 cup stock (or water), ham, bay leaf, parsley, and tarragon. Bring to a boil. Pour over top of duck in slow cooker.
Cover and cook on the low setting for 6 hours. (If you double the recipe and have a tall, round slow-cooker, it can probably cook for 8 hours, but check it at 6 hours and add more stock if necessary.)
Remove the duck from the slow cooker. Add 1/4 cup red wine to the cooker. If there is only a small amount of sauce in the cooker, add some chicken stock until you have at least a cup of sauce. Add the mushrooms to the slow cooker and turn the heat to high. Cook about 10 minutes, until the mushrooms are done. Taste the sauce and add a bit more salt, pepper, tarragon, and/or parsley to taste.
Dissolve the cornstarch in a small amount of water, then add to the sauce. Cook on high until the sauce thickens.
(If you prefer, you can pour the sauce into a pan and cook the mushrooms and thicken the sauce on the stove top.)
Serve the duck with the sauce; rice is a good accompaniment. I served it over a white-brown-wild rice medley.
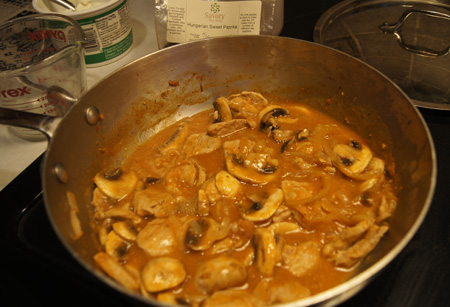
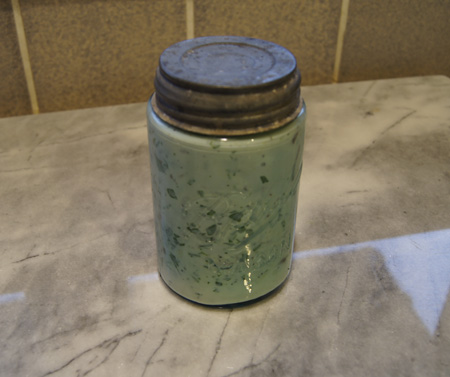
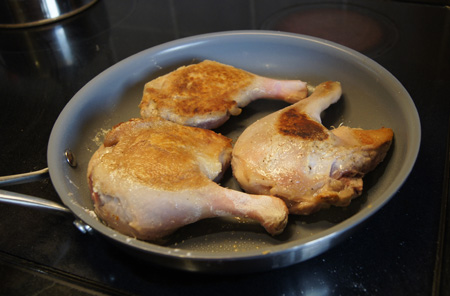
Here are the duck pieces browning. Actually, the main purpose of this photo is to show off my new, “green” non-stick pan:
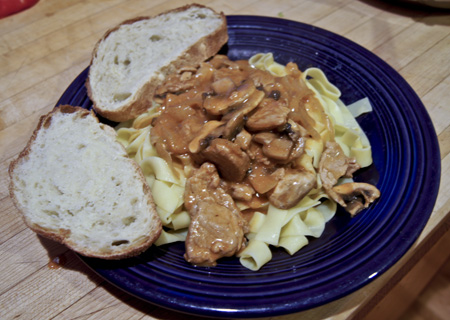
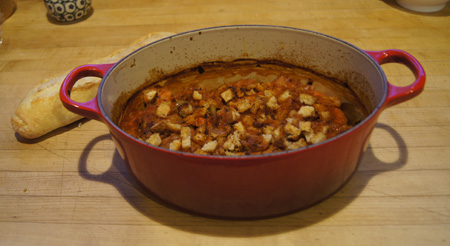
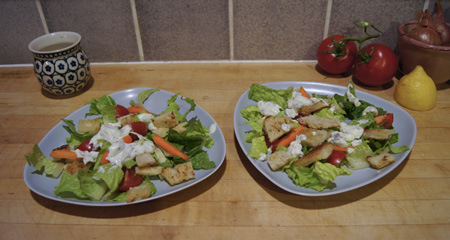
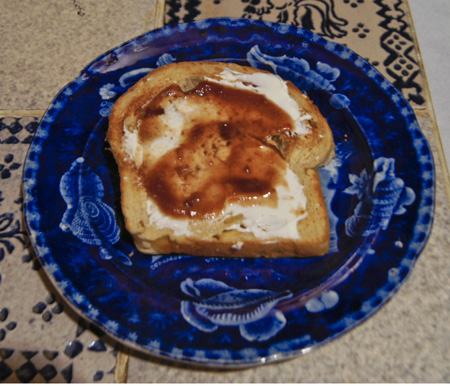
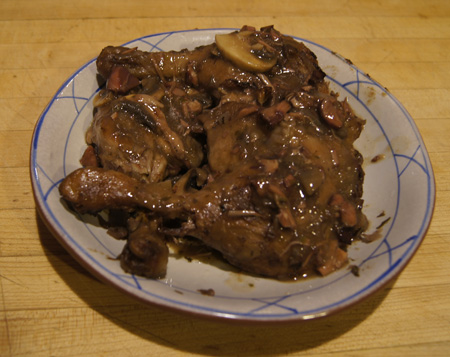
 Here is the cooked dish. The photo is here for proof that I actually cooked the recipe; it isn’t really very pretty. But it tasted good!
250 Cookbooks next post

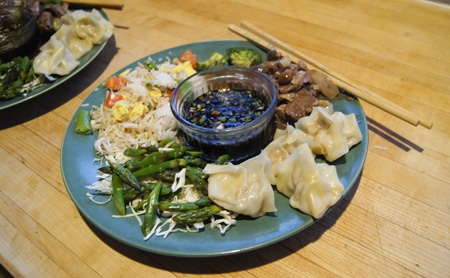 The shui mai are at about 4 o’clock on the plate, with the dipping sauce in the center. There are many ways to gather in the sides of the wonton skins to form these dumplings; feel free to be creative. Round skins (gyozo) can also be used. And of course, you can vary the ingredients.