Cookbook #64: Römertopf Cooking is Fun. Wendy Philipson, Eduard Bay, Ransbach, 1971.
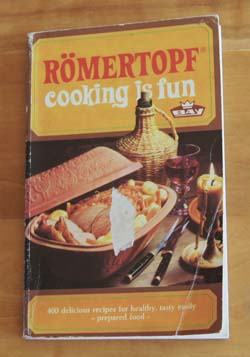 I picked this book out of the stack of paperback cookbooks totally thinking it would be out of date and nearly useless. But no, it made me smile, and that in itself has value.
My sister gave me a Römertopf cooker back in the 70s. I did use it a few times, but I’m not sure if I ever used this particular cookbook or even how I got this cookbook. It is not marked with food stains or notes.
And now my big admission of guilt: I broke my Römertopf after I’d had it a couple years. I forget exactly how I broke it, whether it was temperature-shock or a physical drop. My husband glued it back together, but I never felt safe using it for cooking again. So it sat accusingly on the soffit in the kitchen for years and years. I finally tossed it during a kitchen cleaning some time back.
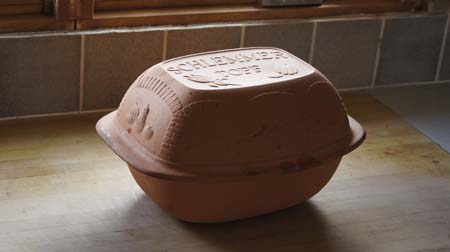
What is a Römertopf cooker? It’s a covered clay pot, one of several brands available. You use it, pre-soaked in water, in a hot oven, for braising meats, cooking fish and soups, and even desserts. Supposedly, it cooks especially well because the soaked pot releases steam as the food bakes and all the natural (and healthy) juices are kept in the finished meal.
Let’s compare clay pots to other braising methods. A slow cooker (crock pot) can be left all day, unattended, which is great. Drawbacks: you need to use a separate pan if you want to start with browned meats, and sometimes a crock pot overcooks everything. Any stove top covered pan is useful for braising, but it needs to be monitored. Covered, stove-top-to-oven cookware like Le Creusets allow you to brown meats directly in the pot, then you can leave then unattended in the oven for several hours. Le Creusets are especially heavy and sturdy. (You can drop them!)
Now we come to clay pots. Clay pots require a soaking in water before use. You cannot set them on a hot stove top to pre-brown meats. You cannot add cold liquids during the cooking process or the pot will break. They are fragile, sensitive both to temperature and physical shock. They are difficult to get clean. (Le Creusets are really easy to clean.)
So why use a clay cooker? This cookbook and even today’s online resources claim that a clay cooker imparts excellent flavor and tenderness to a meal, require no added fat, and keep in all the nutrients. So I will give mine a try.
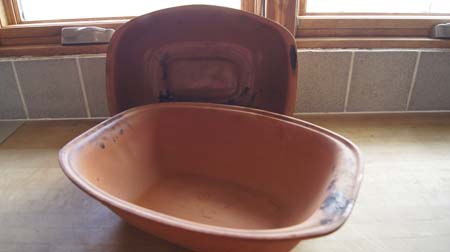
Oh – yes, I do again have a clay pot cooker – so I am able to cook a meal from this cookbook. I got it for baking no-knead bread loaves. It is a different brand: Schlemmer Topf. The inside of the bottom section is glazed, I think for easier cleaning. Anyway, it’s a clay pot, and I’ll cook something in it for this blog.
A little bit about this cookbook
skip to the recipe if this bores you!
This book is the English adaptation of the original German “Braten und Schmoren im Römertopf”. Wendy Philipson completely reworked and extended the German version. She is from England, and spent time in Germany teaching English at the University of Munich.
Clay pot cooking dates back thousands of years, to the Romans and even before to “our most primitive ancestors, who lived from the fruits of the hunt, cooked the meat of the animals they had killed in simple clay containers placed in the glowing embers of their fires.” Why cook in a clay pot today? Wendy gives several reasons. For one, very little liquid needs to be added, so the natural juices and the full “flavour” and taste and vitamins are retained. “The aroma and taste of food prepared in this way is rich and nutritious.” Secondly, no fat needs to be added to a dish, great for those on a diet for slimming or health reasons. “This has been officially verified by the Institute of Domestic Science in Munich – and the Bay-Römertopf is the only casserole of its kind which has been subjected to these tests.” Third, “cooking in a Römertopf is really child’s play. ‘Overdone’ and ‘burnt’ are words which are completely unknown in the Römertopf kitchen. Once a dish is in the oven nothing can go wrong.”
Finally, the Romertopf is “attractive as well as useful. Nowadays, with modern technical developments, not only in outer space but also in the kitchen, the housewife is grateful for every technical improvement – from the high-speed pressure cooker to the fully automatic oven. Yet sometimes we think wistfully that with all this progress the cosiness of the old-fashioned kitchen is being lost. The Römertopf – much to our delight – combines the best of both worlds.”
(Note the publication date: 1971. Crock pot cookery came to the American kitchen in the early 70s, as per my research for my first slow-cooker cookbook blog post.)
Clay pot basics: Soak the clay pot and the lid for at least 10 minutes before use, put into a cold oven and then heat the oven slowly; never add cold liquids during the cooking process; uncover during the last 10 minutes or so to brown the meat; take out of the oven and set on a folded towel to prevent temperature shock. Clean in hot water with a brush, do not use harsh cleaners, and learn to accept that you will not get it looking sparkly clean.
Basically, in my opinion, using a clay baker seems like kind of a pain. But, will using the clay pot be worth the trouble? Will it taste fantastic? Will I regain the cosiness of an old-fashioned kitchen?
The recipe
I chose to cook “Roman Pot Beef”. Like many of the entries in this cookbook, the recipe is just sketched out. The majority of recipes are for meats (beef, veal, pork, mutton and lamb, game, and poultry). Fish and soups are also included. Desserts are given a few pages, with the caution “not for slimmers!”. (As I said, this book makes me smile.)
I checked online, and the current Römertopf website has content quite similar to my 1971 Römertopf Cooking is Fun cookbook. (It’s written in English, with a heavy German accent.) The recipe for “Braised Joint of Beef” reads a lot like the “Roman Pot Beef“ recipe in my cookbook:
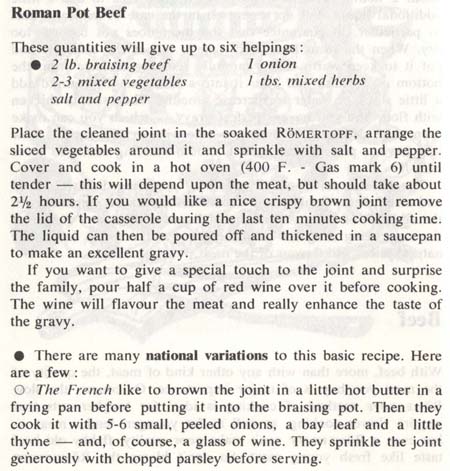
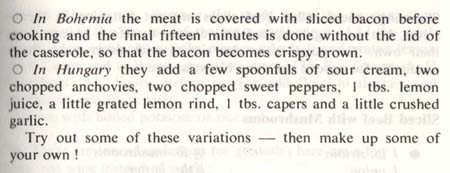 A “joint” of beef is a roast. I chose a cross-rib chuck roast. Mixed vegetables, 2-3? I think carrots for sure, then maybe leeks and parsnips. Potatoes would work, but I suggest adding them about an hour before the dish is done, or they will be cooked to death. I like the Hungarian national variation: sour cream, anchovies, garlic, capers, and a bit of lemon. And the red wine from the general suggestion. So here goes!
Römertopf Pot Roast (“Roman Pot Beef”)
serves 4-6
- cross-rib roast, 2-3 pounds
- 1 onion, chopped roughly
- carrots, leeks, parsnips, potatoes, red bell pepper, about 3/4 cup each, roughly chopped
- fresh herbs (parsley, thyme, oregano) or dried, to your own taste (or use 1 tablespoon dried Italian seasoning herbs)
- potatoes (optional)
- 1 tablespoon sour cream
- 2 anchovies, chopped
- 1 tablespoon lemon rind
- 1 tablespoon capers
- 2 cloves garlic, chopped
- salt and pepper
- about 1/2 cup red wine
Soak both the top and bottom of a clay baker in water for at least 10 minutes. Leave your oven off.
Take the clay baker out of the water and towel off. Put the roast in it, then the onion and other vegetables, the herbs, capers, anchovies, lemon rind, garlic, and salt and pepper. Smear the sour cream on top of the roast. Pour a little wine over the mixture. Cover the pot.
Place the clay baker in a cool oven (adjust the oven rack to a low position). Turn the oven to 400˚. Let cook for 2 1/2 hours. You can peek at it during the cooking time to make sure it isn’t drying out and browning, but it does work. And, you can’t add cold liquid anyway, as it might break the pot. You can add quartered potatoes during the last hour of cooking.
Note: CAREFULLY open the clay baker to check the contents. Do not put your face directly over it and pull off the lid. I learned the hard way! It is very hot and steamy! Using a pot holder, lift the lid so that it vents away from you.
At the end of the cooking time, remove the pot from the oven and carefully remove the lid. Take the roast out of the pot, set it on a plate, and cover it with foil. If you wish, use a slotted spoon to remove the (overcooked) vegetables to serve with the roast and then pour the meat juices into a pan to make a gravy. What I did was pour the entire vegetable-meat juice mixture into a food processor, then pulsed until it was fairly smooth. I put that mixture into a pan, added beef stock and about a tablespoon of corn starch, and heated it all until it was thick. It was wonderful!
Comments
This “pot beef” was very, very good, as cooked per my version above. It’s hard to tell whether or not it was better than my usual version of a pot roast (a recipe from Cooks Illustrated). In some ways, the preparation was easier, since I did not have to brown the meat first. In some ways, it was harder, since handling the hot, almost fragile clay pot is tricky. But I do like the connection with the past of cooking in a clay pot. Last June, we traveled to Turkey, and learned a lot about ancient civilizations, including the Romans. So, I’ll probably use the clay pot again for a stew or such. It was fun.
My clay pot began this current adventure sort of dirty. Just saying. It’s hard to get clay pots clean. Before this pot beef, I had only used it for baking bread.
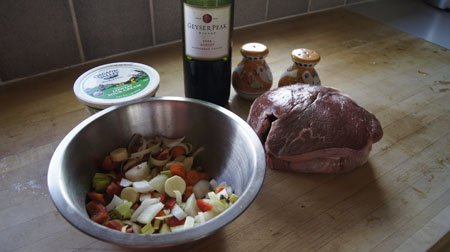
 Here are the ingredients that I used. You really can use just about whatever you like. There are onions, carrots, parsnips, red bell peppers, garlic, anchovies, capers, and lemon rind in the bowl.
 After cooking, the vegetables are kind of overdone. The cookbook claims that the cooked mixtures are a good presentation “as is”. I disagree. Plus, look at all the browned stuff on the sides that will be hard to clean off.
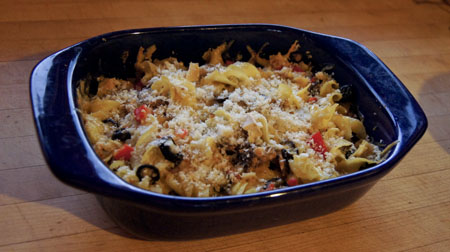
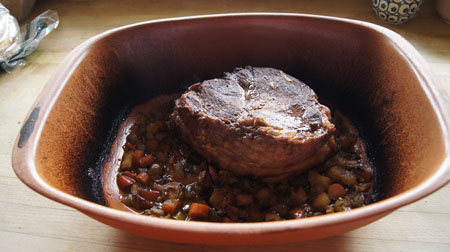 The meat itself is nicely browned and very tender. As I wrote above, I made a gravy from the meat juices and food-processed vegetables. When the pot had cooled a bit, I used some beef stock to rinse some of the nice browned stuff into the gravy mixture. I served it over big flat noodles and it was excellent. Good flavor, tender meat.
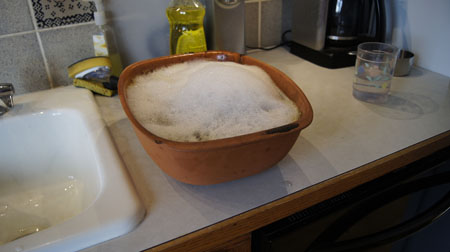
Clean-up time. I soaked the pot in soapy water for an hour or so, and to my surprise, it cleaned up nicely. So no complaints from me.
250 Cookbooks next post
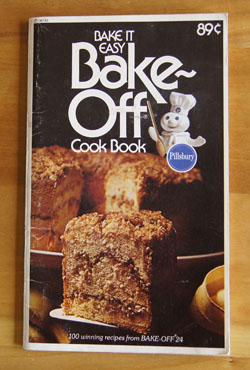 Yet another Pillsbury Bake-Off Cookbook. So far I’ve done four Bake-off years: 1964 (Cookbook #4) and 1959 (Cookbook #10), 1963 (Cookbook #27), and 1966 (Cookbook #61). I refer you to the 1964 blog post for a more thorough discussion of these booklets. I had to guess at the publication date for this one: I have the silver (25th) anniversary cook-off booklet published in 1974, and this one is the 24th, so I figure it was published in 1973. There is a table in this book listing the winners of the 1949-1973 Bake-Offs. Inflation note: this one cost 89¢.
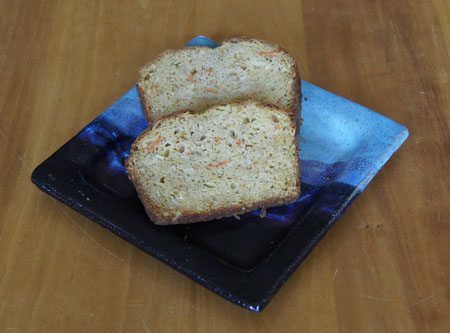
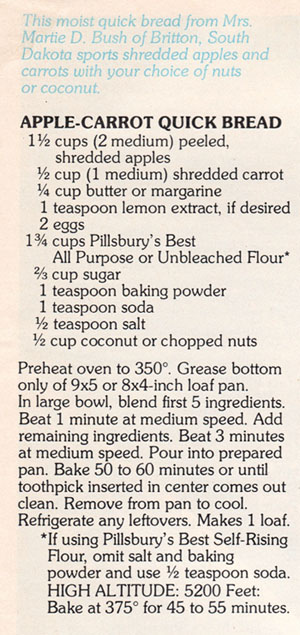 Aren’t there just tons of recipes for carrot bread, and apple bread? Always with slight variations. I have my favorites, but sometimes it’s fun to try something a little different. Grated apple in a bread gives a different texture than, say, applesauce or apple chunks. Lemon extract? I don’t keep that around, so I’ll use grated lemon peel (lemon zest). I decide to use coconut (not nuts), and I’ll use regular shredded (angel flake) coconut rather than the big coconut slices that I like for granola. I am going to add vanilla, since I like it a lot. But I’ll hold off on my usual cinnamon and nutmeg, sometimes it’s nice to have a change in spices.
