This favorite recipe for leftover beef in crepes was in my 1990s blog. I’m listing it in both categories because unlike the cookie recipes, which I can make only rarely, I make this recipe a lot.
I love to make crepes. They are so pretty and yummy. They do take a chunk of time, though, since I always mix them and then let the batter sit for at least an hour before cooking. And pan-cooking the crepes is time-intensive, at least for about 10-15 minutes. This all means that (for me) the time chosen to make crepes is traditionally a slow, leisurely pocket of time, a Sunday afternoon, a time with nothing pressing.
Crepes can be made ahead of time and stored in the refrigerator for several days. For Beef Jardiniere Crepes, I used to make the crepes, filling, and sauce on Sunday, and then on a weekday quickly put them all together and bake. Then it was a 30-minute weekday meal, and delicious and low calorie.
I have watched Alton Brown make crepes on TV, and read about them elsewhere. I make them a little different. I cook both sides, and rarely are my crepes “lacy”. If crepes are lacy, all the good moist filling leaks out. And I really don’t understand why one would only cook one side. Maybe mine are thicker. Maybe mine are better.
I do use a pan sold specifically for crepes. I bought it years ago and it looks like it. It is a cheap, light, non-stick pan with shallow sides. Any 8-10″ non-stick pan will do. To save calories, I lightly coat the pan with non-stick spray (instead of butter) before cooking each crepe. Details on my method are in the text and photos below.
Beef Jardiniere Crepes
I make these a lot. They are yummy, on the low-calorie side, have lots of veggies, and use up leftover roast beef. Plus I just like crepes. [Note to myself in my personal recipe file.]
This recipe serves about 4.
Crepes:
- 2 eggs
- 1 cup milk
- 3/4 cup flour
- 1/2 teaspoon baking powder
- 1/4 teaspoon salt
Filling:
- 1 pound leftover cooked beef, chopped into 1/4-1/2″ dice
- 1 1/2-2 cups beef broth
- 1/2 cup chopped onion
- 1/2 cup chopped celery
- 3/4 cup chopped carrots
- 1/2 teaspoon dried basil or fresh basil to taste
- 1/2 teaspoon dried sage or fresh sage to taste
- salt and pepper to taste
- 1 tablespoon cornstarch mixed with 1/4 cup water
Sauce:
- 1 1/4 cup reserved cooking liquid
- 1 tablespoon catsup
- 1 tablespoon red wine (optional, but good)
- 1/8 teaspoon garlic powder
- salt and pepper to taste
- parsley, fresh or dried, to taste
- 1 tablespoon cornstarch
Place all crepe ingredients in a blender and blend until smooth, stopping and scraping down a couple times, about 1-2 minutes. Let stand at least one half hour before making the crepes, then blend briefly again.
(At this point, you can jump down to making the filling while the crepes rest.)
Heat a non-stick skillet on medium high until a drop of water sizzles when put in the pan. Or, hold your hand an inch above the pan and see if noticeable heat is coming off it. I keep my pan on a setting between 8 and 9 (with 10 being the highest setting). Give the pan a quick spray with something like Pam (do this before cooking each crepe). Measure out about 1/3 cup crepe batter. Hold the pan in one hand and quickly pour the batter into the pan and rotate the pan so that the batter covers the pan. Cook only 10-20 seconds, until golden brown on the bottom. Then, flip and cook the other side. Continue until all crepes are cooked. (Makes 8-10 crepes.)
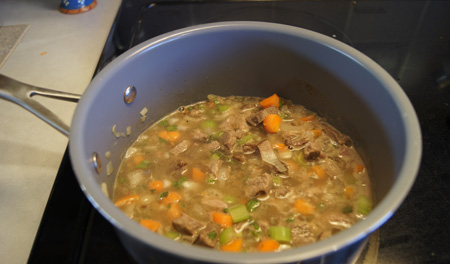
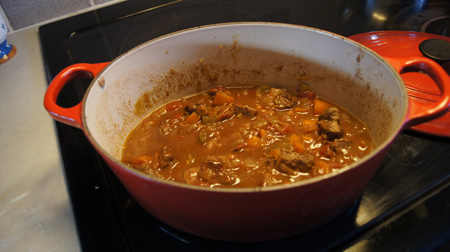
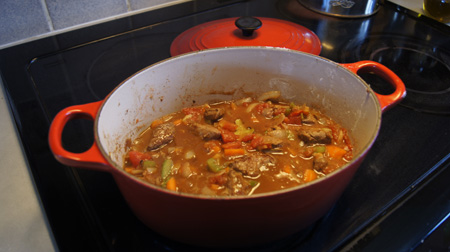
Cook the onion, carrots, and celery in a small amount of butter or olive oil until the onion wilts, then add the chopped roast beef and the broth and cover and cook 15 minutes.
Pour off 1 1/4 cup of the vegetable-beef cooking liquid and reserve for the sauce. If too much of the liquid has cooked away, make up to this volume with more beef broth. You want to leave a little liquid behind in the vegetable-beef mixture too, so that it is saucy.
Add the 1 tablespoon cornstarch mixed with 1/4 cup water to the vegetable-beef mixture and cook over medium high heat until the mixture thickens. Remove from heat and set aside.
Combine all the sauce ingredients except the cornstarch. If the mixture is cool, you can add the cornstarch directly to it; otherwise, stir the cornstarch into a little water first and then slowly stir it into the sauce. Cook the sauce until thick – this takes just a few minutes.
Note: We like our sauces fairly thick. If I see that the sauce is not thickening as much as I like, I’ll add more cornstarch. This is an individual preference so feel free to make changes.
Fill crepes with vegetable-beef mixture, cover with foil, and bake at 375° for 15-20 minutes. Serve with the heated sauce.
Below is a photo of a crepe just about ready to be turned. See the how the edges are golden brown. And I wasn’t kidding when I said my crepe pan was old and worn – but it works great.  Now the second side cooks:

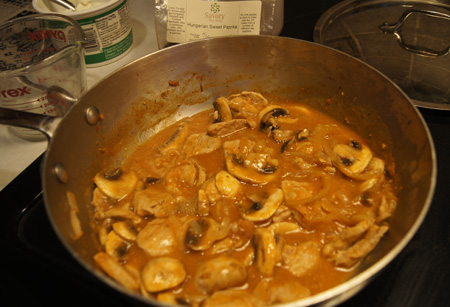
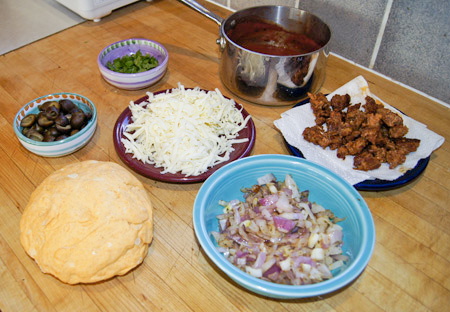
A pile of crepes: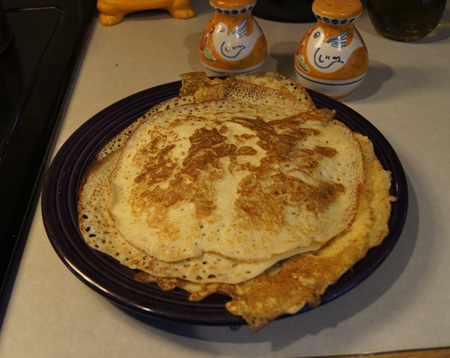 The beef and vegetables cooking:
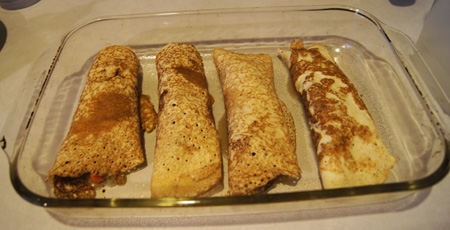
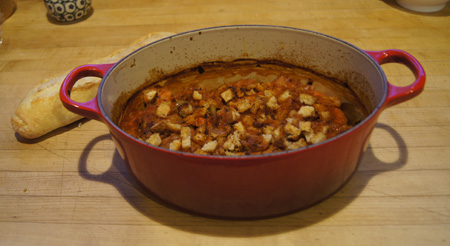
 The filled crepes waiting to be covered and baked. I usually have a little extra filling that I put over the top of the filled crepes, it makes them look prettier.
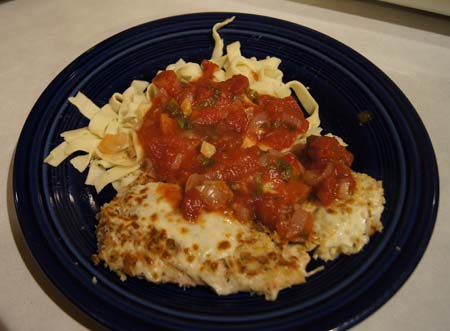
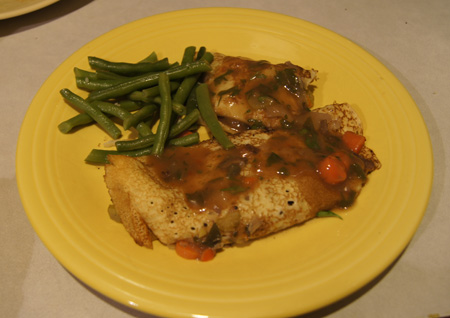
 I wasn’t going to take another photo of the prepared crepes or I wouldn’t have chosen the yellow plate. But plated, they looked so pretty (we both commented on them) that I just couldn’t resist. Below is my one-and-a-half crepe serving, my calorie-allotted amount. It was very good.
 I usually have some leftover crepes. I don’t mind, I like them for breakfast. Sometimes I fill them with cottage cheese, sprinkle with a little cinnamon, roll up and cook in a non-stick pan for a few minutes. Kind of like healthy crepes suzette. Or I just heat them up and drizzle with syrup. Or we have them for dessert, filled with blueberries. Can’t go wrong having too many crepes about.


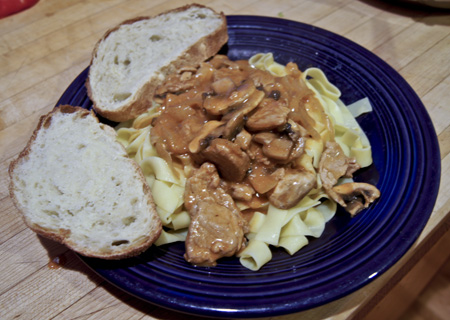


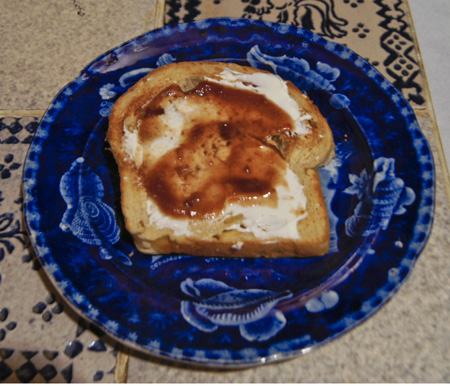
 Here is the plated meal. I used my own homemade noodles, prepared in a big batch the week before and stored in the freezer. Making the